


Runescape Dragonwilds: Complete Goblin Amulet Hunt – A Goblin Diplomacy Guide

Table of Contents
- 1 Unraveling Goblin Diplomacy in Runescape: Dragonwilds
- 2 Starting the Quest: Speak with Zanik
- 3 Finding the First Amulet: Goblin Ruins & Bilegut’s Clue
- 4 Second Amulet Location: Swamps & the Garou Druid
- 5 Quest Rewards: Goblin War Banner
- 6 Pro Tips for a Smooth Run
- 7 Get a Boost with GladiatorBoost’s Runescape Dragonwilds Services
- 8 Final Thoughts
Unraveling Goblin Diplomacy in Runescape: Dragonwilds
In Runescape: Dragonwilds, the Goblin Diplomacy quest makes a nostalgic return—but this time, it’s wrapped in mystery, danger, and a distinct lack of hand-holding. Unlike the more guided quests elsewhere in Gielinor, Goblin Diplomacy in Dragonwilds offers only vague hints about the amulets you’re tasked with retrieving. No quest markers, no highlighted paths—just pure exploration, goblin chatter, and environmental clues.
This guide will walk you through both amulet locations, provide battle tips, and highlight the valuable rewards waiting at the end of this short but surprisingly challenging adventure.
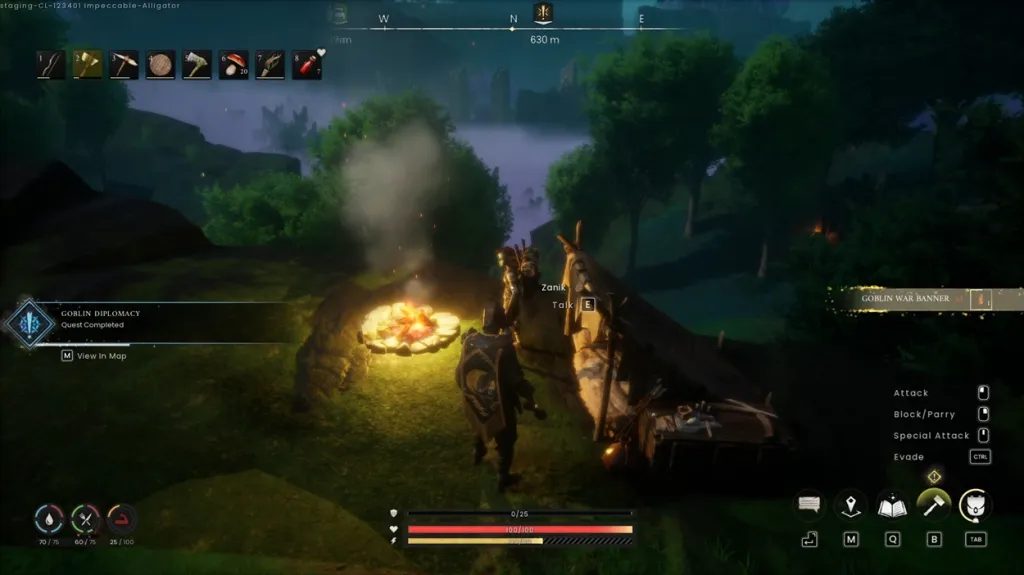
Starting the Quest: Speak with Zanik
To begin Goblin Diplomacy, head east of Goblin Castle in Bramblemead Valley. Perched at a cliffside camp, you’ll find Zanik, a friendly goblin with a request: retrieve two ancient goblin amulets lost in nearby lands.
Zanik mentions one amulet is northeast of your current position, and the other lies within a guild to the south. While you can also stumble into the quest by finding a Reliquary on a lake island southeast of the camp, this is more of a side discovery than a requirement.
Finding the First Amulet: Goblin Ruins & Bilegut’s Clue
Your first stop is directly northeast of Zanik’s camp. Descend the cliff, traverse the short stretch of land, and enter the crumbling ruins filled with hostile goblins. These foes aren’t pushovers, but even basic equipment like a Stone Club will be enough to dispatch them if you time your strikes well and use terrain to your advantage.
Inside the ruined structure, search behind crates and an open barrel to find the Reliquary containing your first amulet.
Once you’ve secured it, locate Bilegut, a caged goblin just outside the ruins. Freeing him requires feeding him two Steaks—which, conveniently, can be hunted or purchased from nearby NPCs. In return, he provides a key piece of intel: the second amulet is held by a Garou beastman who roams the swamplands nearby.
Second Amulet Location: Swamps & the Garou Druid
To track down the Garou beastman, head northeast from the ruins, hugging the cliff wall until you come across a torch-lit cave entrance nestled in the swamps. Inside dwells the Level 3 Garou Druid—a dangerous foe that requires preparation.
Combat Tip:
Equip poison-resistant gear and ensure your Lifeward bar is full before engaging. The Garou Druid has a poison-infused attack pattern that can quickly drain your health, especially if your armor hasn’t been upgraded.
Defeating the druid earns you the second amulet, completing Zanik’s request and advancing the quest toward completion.
Quest Rewards: Goblin War Banner
Upon returning both amulets to Zanik, you’ll receive one of Dragonwilds’ more stylish and practical early-game rewards: the Goblin War Banner.
This item isn’t just for show. The cape grants:
-
+2 to all defensive stats
-
Protection across melee, ranged, and magic damage
It offers comparable defensive bonuses to the Pioneer’s Cape, a reward once exclusive to early adopters, making it an excellent pickup for any mid-game adventurer still building their arsenal.
Pro Tips for a Smooth Run
-
Stock Up on Antipoison Potions: Especially before facing the Garou Druid, who can inflict lasting poison effects.
-
Scout the Area: Dragonwilds lacks heavy quest handholding, so use terrain features like torchlights, ruins, or cliff walls to guide your path.
-
Food is Key: Whether for feeding Bilegut or surviving fights, keeping a few Steaks or Roasted Yams in your inventory can be a game-changer.
-
Save at Campsites: Dying without saving progress will mean retracing several steps, so be sure to use nearby campfires or tents when available.
Get a Boost with GladiatorBoost’s Runescape Dragonwilds Services
If you’re finding Dragonwilds’ quests more cryptic than fun, or you’re eager to skip the grind and jump into higher-tier content, GladiatorBoost’s Runescape Dragonwilds Boosting services have you covered.
Our seasoned boosters can assist with everything from difficult boss fights to quest completions, including challenging side missions like Goblin Diplomacy. Whether you’re short on time or just want to streamline your progress, GladiatorBoost ensures a secure, fast, and completely confidential boosting experience.
Let us help you conquer Dragonwilds and unlock the best of what Runescape has to offer—on your terms.
Final Thoughts
The Goblin Diplomacy quest in Runescape: Dragonwilds may seem simple on paper, but its lack of quest markers and unexpected twists set it apart from standard fetch quests. With hidden reliquaries, unpredictable enemies, and minimal guidance, it embodies the spirit of adventure that Dragonwilds does so well.
Whether you’re in it for the nostalgic vibes, the impressive Goblin War Banner, or just love exploring the lesser-known corners of the world, Goblin Diplomacy is a quest worth undertaking.
So grab your gear, follow Zanik’s cryptic clues, and show those goblins you’ve got what it takes to survive in the wilds.
Related Guides

ARC Raiders Red Coral Jewelry Farming Guide: Best Locations and Fastest Loot Routes

Best Early Cars in Forza Horizon 6: Fastest Budget Unlocks for New Players

Forza Horizon 6 House Locations Guide: Every Home, Price, Perk, and Unlock Requirement

Black Ops 7 Zombies Wonder Weapons Ranked: The Ultimate Tier List