





Dominating the Arena: Top Flying Machine Decks in Clash Royale & How to Shut It Down

The Flying Machine may not be the flashiest card in Clash Royale, but in the hands of a skilled player, it can easily take over games. With an impressive 6-tile attack range, solid single-target damage, and its ability to float above ground-based threats, this 4-elixir card often becomes a quiet MVP in both control and beatdown strategies. Whether it’s picking off defending troops from a distance or locking onto a tower unnoticed, the Flying Machine brings massive value when played strategically.
In this guide, we’ll cover the best Flying Machine decks for the current meta and break down reliable counters so you know how to stop it before it chips away your victory.
Table of Contents
Why the Flying Machine Is So Effective

Flying Machine’s long range allows it to stay behind tanks and chip away at enemy units and towers safely. Because it’s an air unit, it’s immune to many popular ground-based threats like Mini Pekka, Valkyrie, and Elite Barbarians. While it doesn’t have splash damage, its high attack speed makes it a lethal support unit in both single-lane and dual-lane strategies.
It’s particularly dangerous when placed at the center of the arena, where it can defend both lanes and pressure your opponent at the bridge. Left unchecked, it can dish out devastating damage, especially in the late game when your opponent is low on Elixir or key counters.
Best Flying Machine Decks in Clash Royale
If you’re looking to maximize the impact of the Flying Machine, try one of these powerful and proven decks that synergize with its strengths:
Deck 1: Royal Hogs Dual-Lane Pressure
-
Royal Recruits (Evo)
-
Royal Hogs
-
Flying Machine
-
Zappies
-
Golden Knight
-
Evo Goblin Cage
-
Barbarian Barrel
-
Arrows
Strategy:
This deck thrives on split-lane pressure. Deploy Royal Recruits to force split defense, then support both lanes with Royal Hogs and Flying Machine. Zappies and Flying Machine together make it hard for opponents to defend without overcommitting spells. Place the Flying Machine behind the Recruits to pressure from a safe distance.
Deck 2: Lava Hound Beatdown
-
Lava Hound
-
Flying Machine
-
Skeleton Dragons
-
Evo Goblin Cage
-
Evo Valkyrie
-
Guards
-
Lightning
-
Arrows
Strategy:
Flying Machine pairs beautifully with Lava Hound, acting as a high-DPS unit from the backline. Use Lightning to eliminate enemy support cards or buildings, clearing the way for your Lava Hound and Flying Machine combo to push through. Skeleton Dragons help clean up swarms, while Valkyrie defends ground pushes.
Deck 3: Lava Clone Pressure
-
Lava Hound
-
Flying Machine
-
Evo Lumberjack
-
Evo Barbarians
-
Miner
-
Baby Dragon
-
Giant Snowball
-
Mirror / Clone
Strategy:
This deck revolves around overwhelming your opponent. Use Miner to tank or take out support troops, then deploy Flying Machine to snipe defenders. Clone your Lava Hound and Flying Machine combo to generate immense pressure. Use Mirror if Clone isn’t available to double up on threat units.
How to Counter Flying Machine
Despite its strengths, the Flying Machine is relatively easy to counter with the right cards and timing. Here are the best ways to shut it down before it becomes a problem:
Troop Counters
-
Musketeer / Electro Wizard / Wizard
These ranged air-targeting troops eliminate the Flying Machine quickly and can survive to assist in a counterpush. -
Mega Minion / Minions
Both are cheap, effective aerial counters. They offer a positive Elixir trade and can take the Flying Machine out in just a few hits. -
Executioner
This card is ideal for hitting both the Flying Machine and the tank it hides behind. It’s especially useful in beatdown matchups. -
Inferno Dragon
Though the Elixir trade is even, it safely burns down the Flying Machine from a distance.
Spell Counters
-
Fireball
A direct and efficient way to eliminate the Flying Machine instantly. Always worth using for a clean trade or when it’s grouped with support troops. -
Poison
Slower than Fireball, but effective over time. Great for controlling zones where the Flying Machine may hover. -
Giant Snowball
While it won’t kill the Flying Machine, it knocks it back and stalls it long enough for your tower or troops to finish the job.
Kiting and Distraction
If you’re lacking a hard counter in your hand, kiting is the next best strategy. Dropping cheap units like Skeletons or Ice Spirit in the middle of the arena can pull the Flying Machine away from your tower, buying time and minimizing damage.
Cards like Knight or Ice Golem can act as mini-tanks to absorb hits while your tower chips it down. The key is not letting the Flying Machine hover unattended—any delay can cost you a significant chunk of your tower’s health.
Boost Your Clash Royale Journey with GladiatorBoost
If you’re pushing toward a higher Arena or climbing the ranks in competitive play, mastering card synergy is just part of the equation. Sometimes, having a professional hand to guide your strategy or climb for you can make a big difference. At GladiatorBoost’s Clash Royale Boosting Services, you can get help from elite players who know the ins and outs of every meta deck—including Flying Machine setups. Whether you’re aiming for a higher ladder position, season-end rewards, or just want to perfect your gameplay, GladiatorBoost delivers safe, fast, and reliable boosting tailored to your goals.
Final Thoughts
The Flying Machine is one of Clash Royale’s most deceptive support cards. Its long-range and air immunity make it a unique threat that can fit into multiple archetypes—from Lava Hound beatdown decks to split-lane control strategies. With the right deck, this 4-cost flyer becomes a silent powerhouse that forces your opponent into tough choices.
However, as strong as it is, it’s not invincible. Effective counterplay, smart Elixir trades, and a good understanding of positioning can render it useless. Whether you’re using it or playing against it, knowing how to adapt is key to success.
Related Guides

Assassin's Creed Black Flag Resynced: How to Beat Julien Du Casse
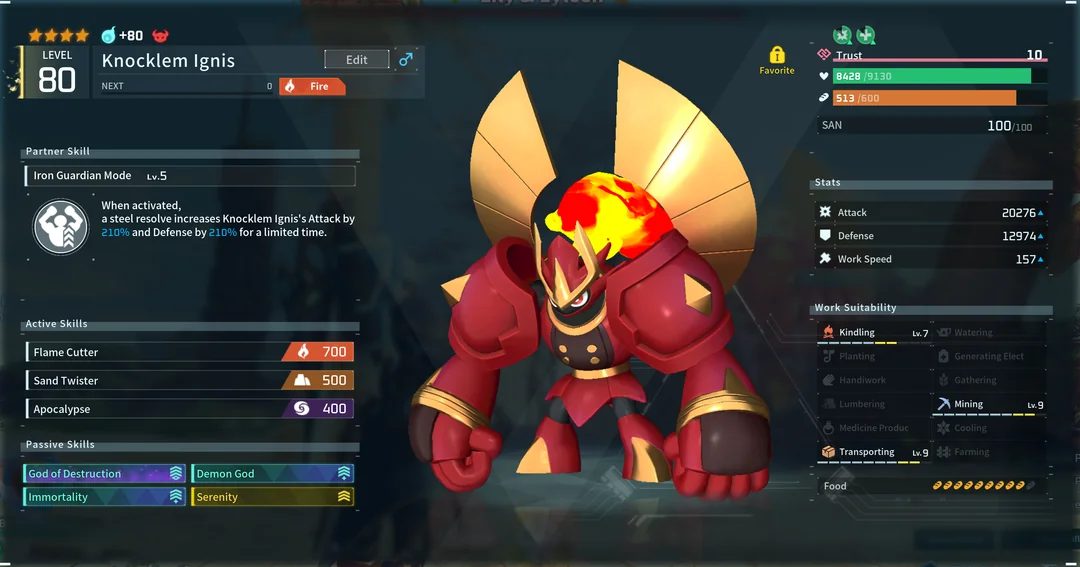
Best Farming Pals in Palworld 1.0: The Ultimate Guide to Base Automation
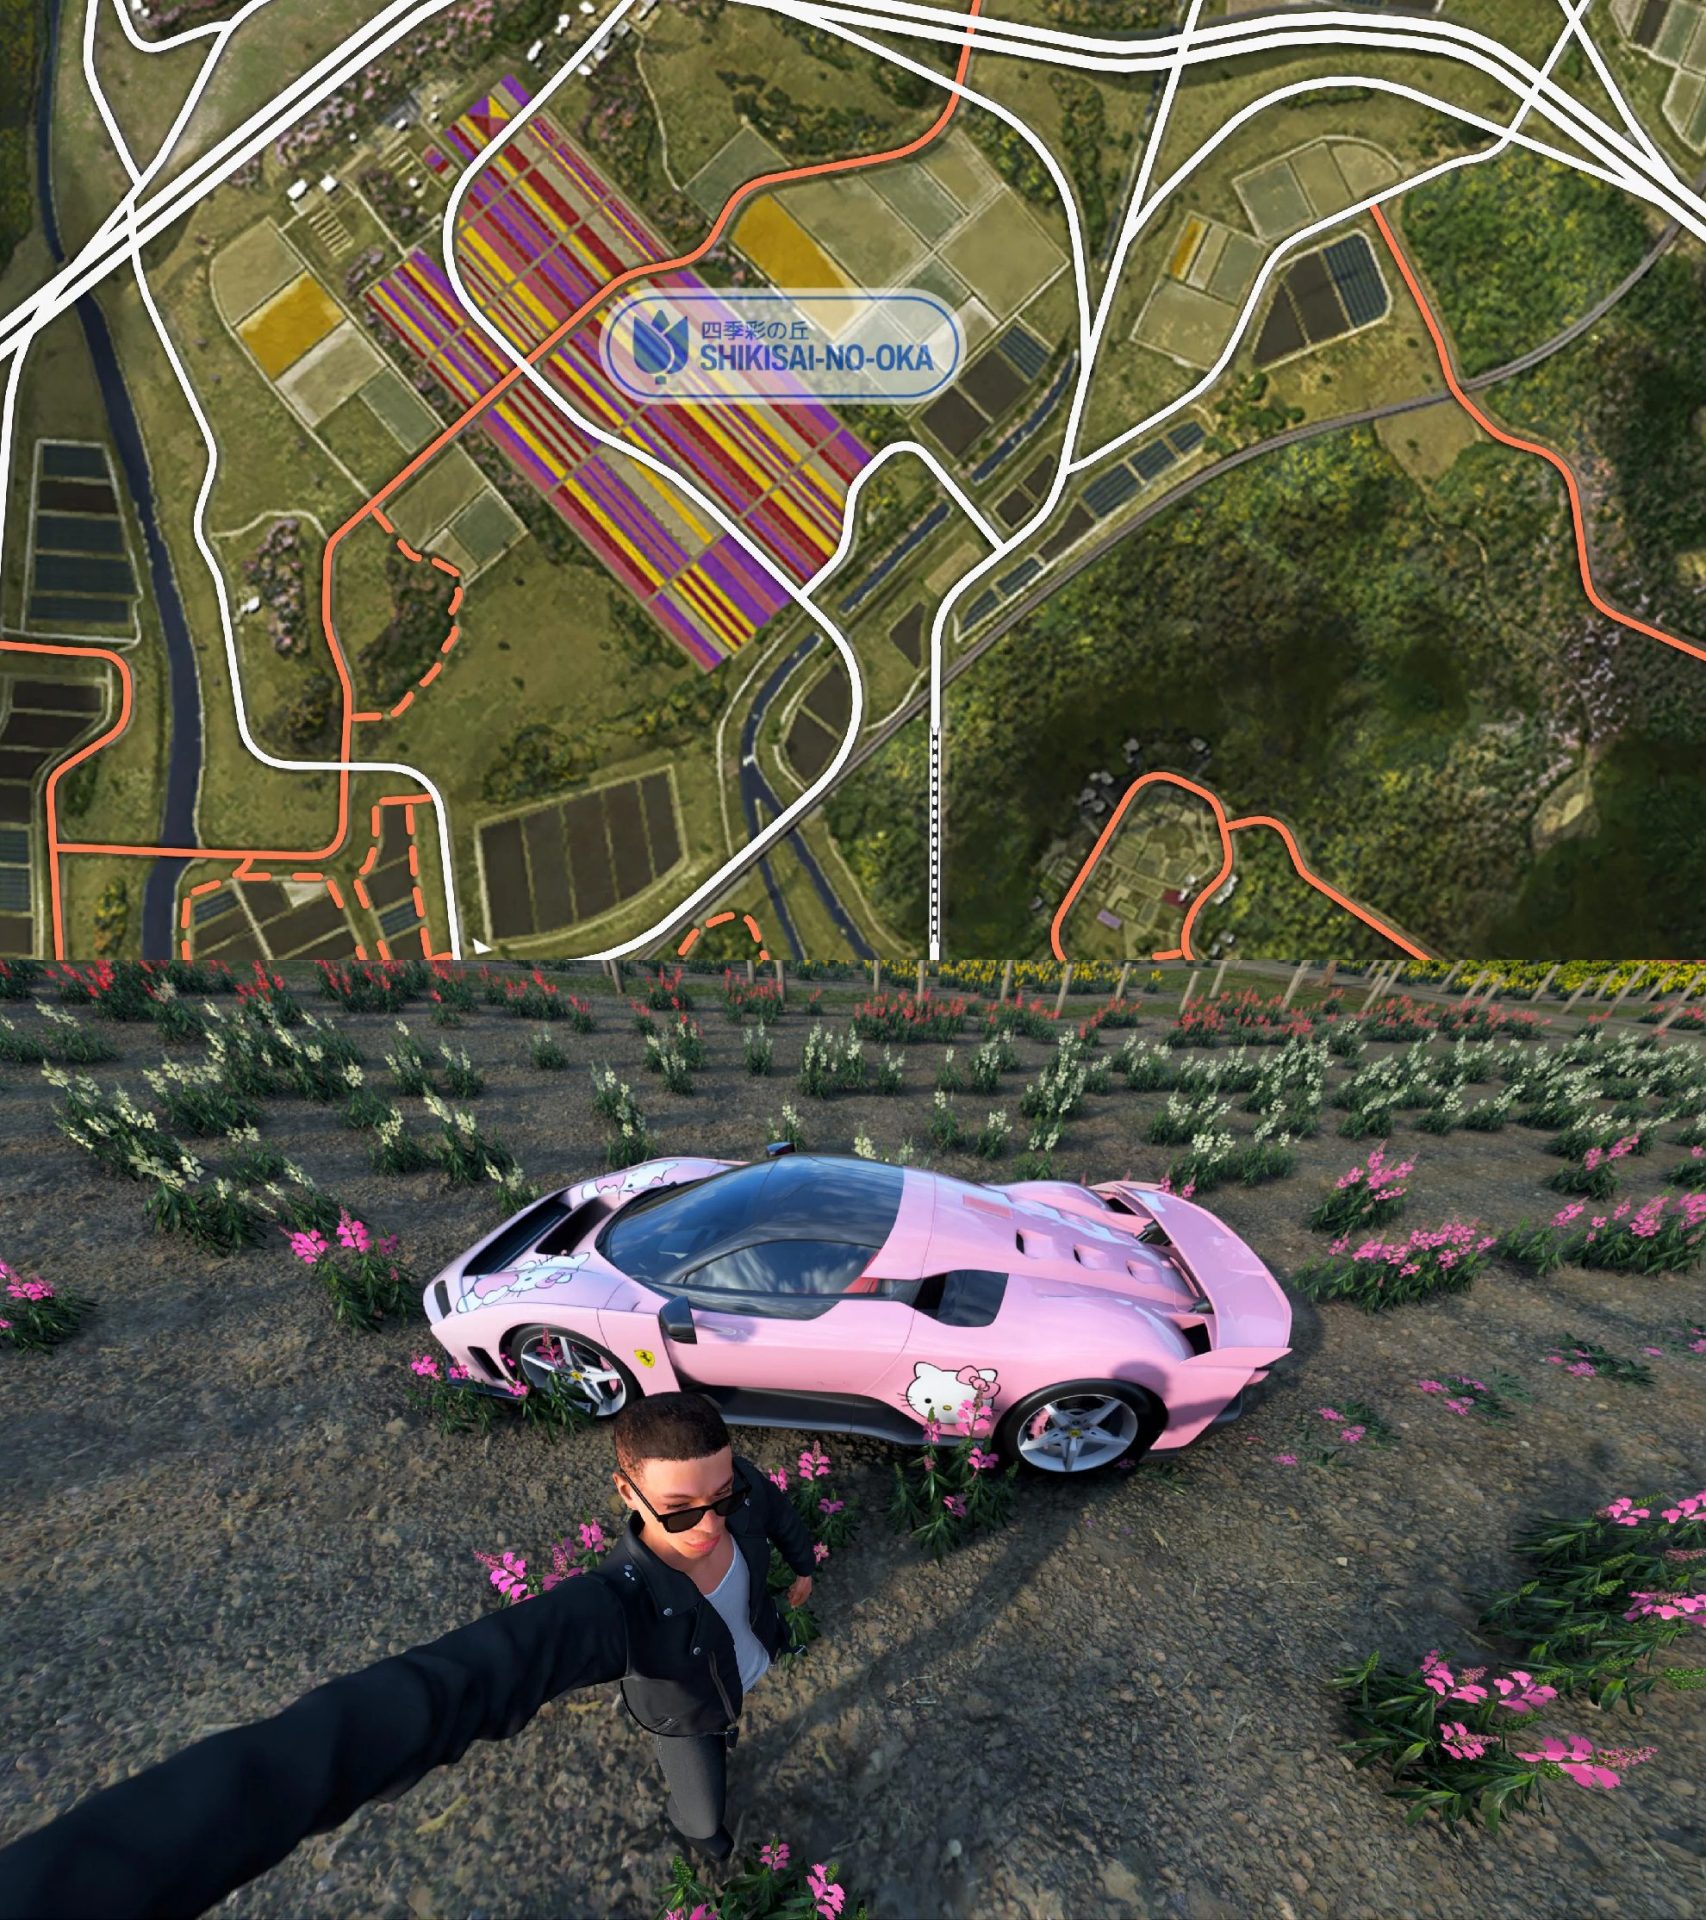
Shikisai-no-Oka in Forza Horizon 6: Complete Location Guide
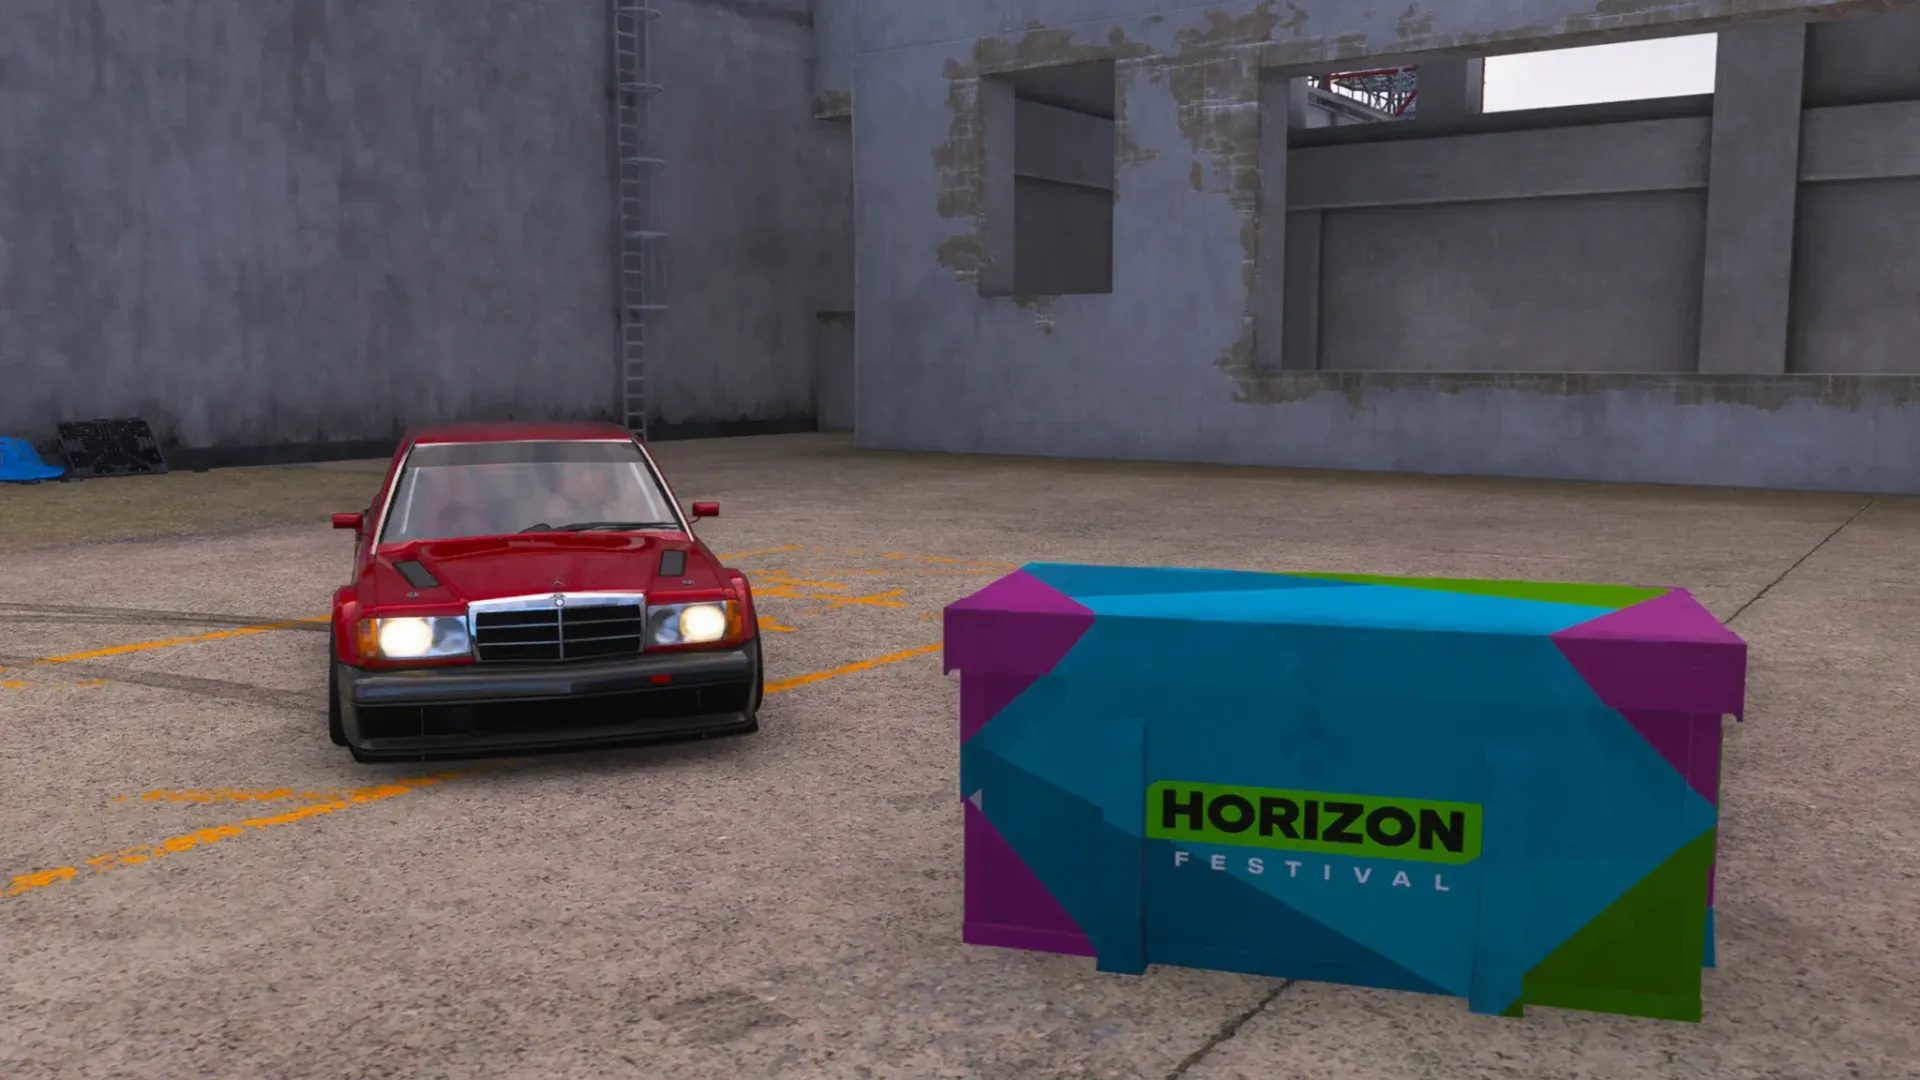
Forza Horizon 6 Nangan Treasure Hunt Guide: Rocket Ship Treasure Chest Location