


While Rematch doesn’t offer traditional football-style formations with fixed player roles, understanding spatial tactics and coordinated positioning can dramatically boost your win rate. This fast-paced 5v5 title requires fluid adaptation rather than rigid structure, but consistent roleplay—whether in attack, defense, or midfield—forms the backbone of winning strategies.
Let’s break down the most effective player setups and when to use them, whether you’re playing casually or climbing the ranked ladder.
Table of Contents
🔥 Why Positioning Still Matters in Rematch
Despite the lack of official formation mechanics, teams can function far more effectively when players stick to familiar roles. In unranked lobbies, spontaneous team chemistry might develop, but in ranked or coordinated group play, verbal communication or quick signals help establish a tactical edge. Fluid formations allow adaptation mid-match, depending on the score, opposition’s shape, and momentum shifts.
1. High Pressure Formation (1-3)
Use When: Chasing a deficit or in the final moments
Structure: 1 defender, 3 attackers
This aggressive formation overloads the opponent’s defense, forcing them into panicked clearances and rushed decisions. The lone defender must be skilled at intercepting long balls and directing play forward. Meanwhile, the front three apply constant pressure, rotating in and out of midfield to maintain intensity.
Pros:
-
Ideal for mounting a comeback
-
Keeps opponents boxed into their half
Cons:
-
Risky without excellent defensive coordination
-
Can be exposed by fast counters
Tips:
-
Have one attacker play slightly behind the others for rebounds and passes
-
Defensive stance and dash are essential for quick recoveries
2. Defensive Lockdown Formation (3-1)
Use When: Defending a narrow lead
Structure: 3 defenders, 1 attacker
Think of this as “parking the bus.” You’re committing numbers to the back to block shots and soak up pressure, with one attacker kept upfield for clearances or surprise goals. This setup frustrates opponents and helps run down the clock effectively.
Pros:
-
Strong defensive presence on flanks and center
-
Controls pace, minimizes risky plays
Cons:
-
Minimal pressure on enemy goal
-
Easy to be overwhelmed if passing accuracy drops
Tips:
-
Short passes between defenders to retain possession
-
Striker should stay mobile and ready to exploit quick breaks
3. Balanced Core Formation (2-2)
Use When: General gameplay, or vs. even teams
Structure: 2 defenders, 2 attackers
This is the safest all-round formation in Rematch. It offers both stability at the back and consistent forward pressure. Players must communicate fluidly—defenders stepping up when needed, attackers rotating into midfield to help with recovery.
Pros:
-
Excellent positional balance
-
Maintains pressure while retaining security
Cons:
-
Can struggle if opponents stack midfield
-
Less explosive than high press formations
Tips:
-
Use passing triangles for clean build-ups
-
Employ rebounds and wall shots for unexpected scoring angles
4. Midfield Anchor Formation (2-1-1)
Use When: Holding a lead but needing a transition option
Structure: 2 defenders, 1 central midfielder, 1 striker
This offers the best of both worlds: a solid defensive line and a capable transition into offense. The midfielder’s role is pivotal—they must track back to support defense and then push forward as the play unfolds.
Pros:
-
Midfield control and long pass potential
-
High adaptability for game flow
Cons:
-
Weak on wings
-
Over-reliance on central player’s game sense
Tips:
-
Striker should stay near defenders to block transitions
-
Midfielder can bait passes and turn them into through-ball chances
5. The Diamond Setup (1-2-1)
Use When: Looking to dominate possession and create structured attacks
Structure: 1 defender, 2 midfielders, 1 striker
This formation emphasizes movement and clean passing. Constant triangles make it easier to maintain possession and shift play. However, it can expose the team on flanks, particularly against fast counterattacks.
Pros:
-
Perfect for coordinated passing and overlaps
-
Great spacing and passing lanes
Cons:
-
Vulnerable on wings
-
Defender can get overrun without support
Tips:
-
Midfielders should stagger their depth and cover for each other
-
Striker needs to drop deep occasionally to enable overlaps
🔥 Enhance Your Game with Rematch Boosting
If you’re aiming to climb the Rematch ranks faster, consider using Rematch Boosting from GladiatorBoost. Whether you’re struggling to find consistent teammates or want to sharpen your understanding of tactical formations, our professional players can partner with you, helping you learn optimal positioning and secure wins reliably. Explore our Rematch Boosting services to gain the edge and dominate your matches. (Internal link to GladiatorBoost boosting service)
🧠 Final Takeaways
| Formation | Best Use Case | Key Benefit |
|---|---|---|
| 1-3 | Comebacks | High offensive pressure |
| 3-1 | Defending leads | Full control of the back line |
| 2-2 | Balanced play | Coverage in all areas |
| 2-1-1 | Holding leads | Centralized transition power |
| 1-2-1 | Possession focus | Consistent passing structure |
Choosing the right formation in Rematch isn’t about rigid roles, but adaptive gameplay. Understanding when to go aggressive or defensive and coordinating with your team—even subtly—can transform your experience and dramatically increase your win rate.
Related Guides
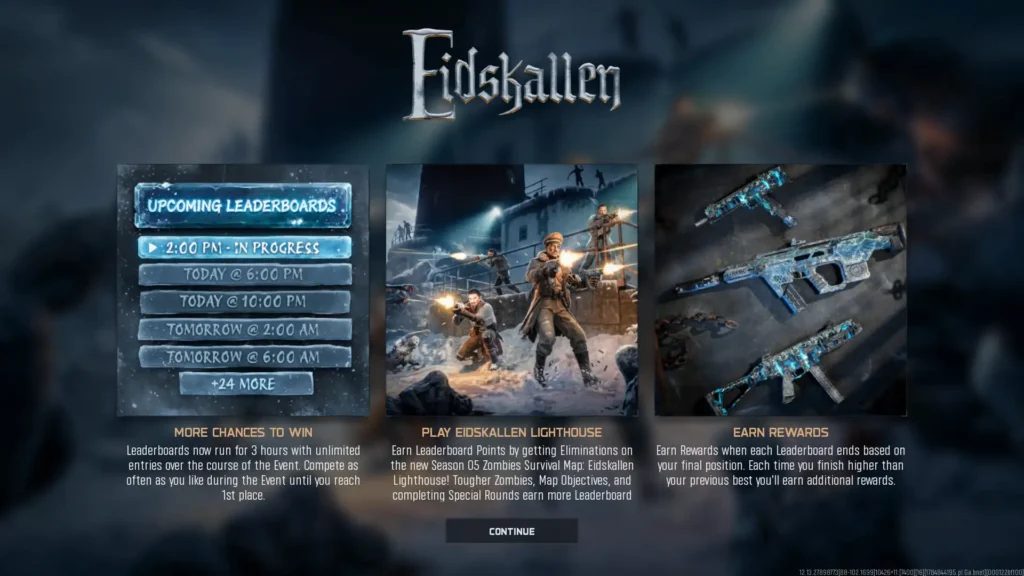
Black Ops 7 Zombies Eidskallen Event Rewards Guide: Every Leaderboard Reward Explained
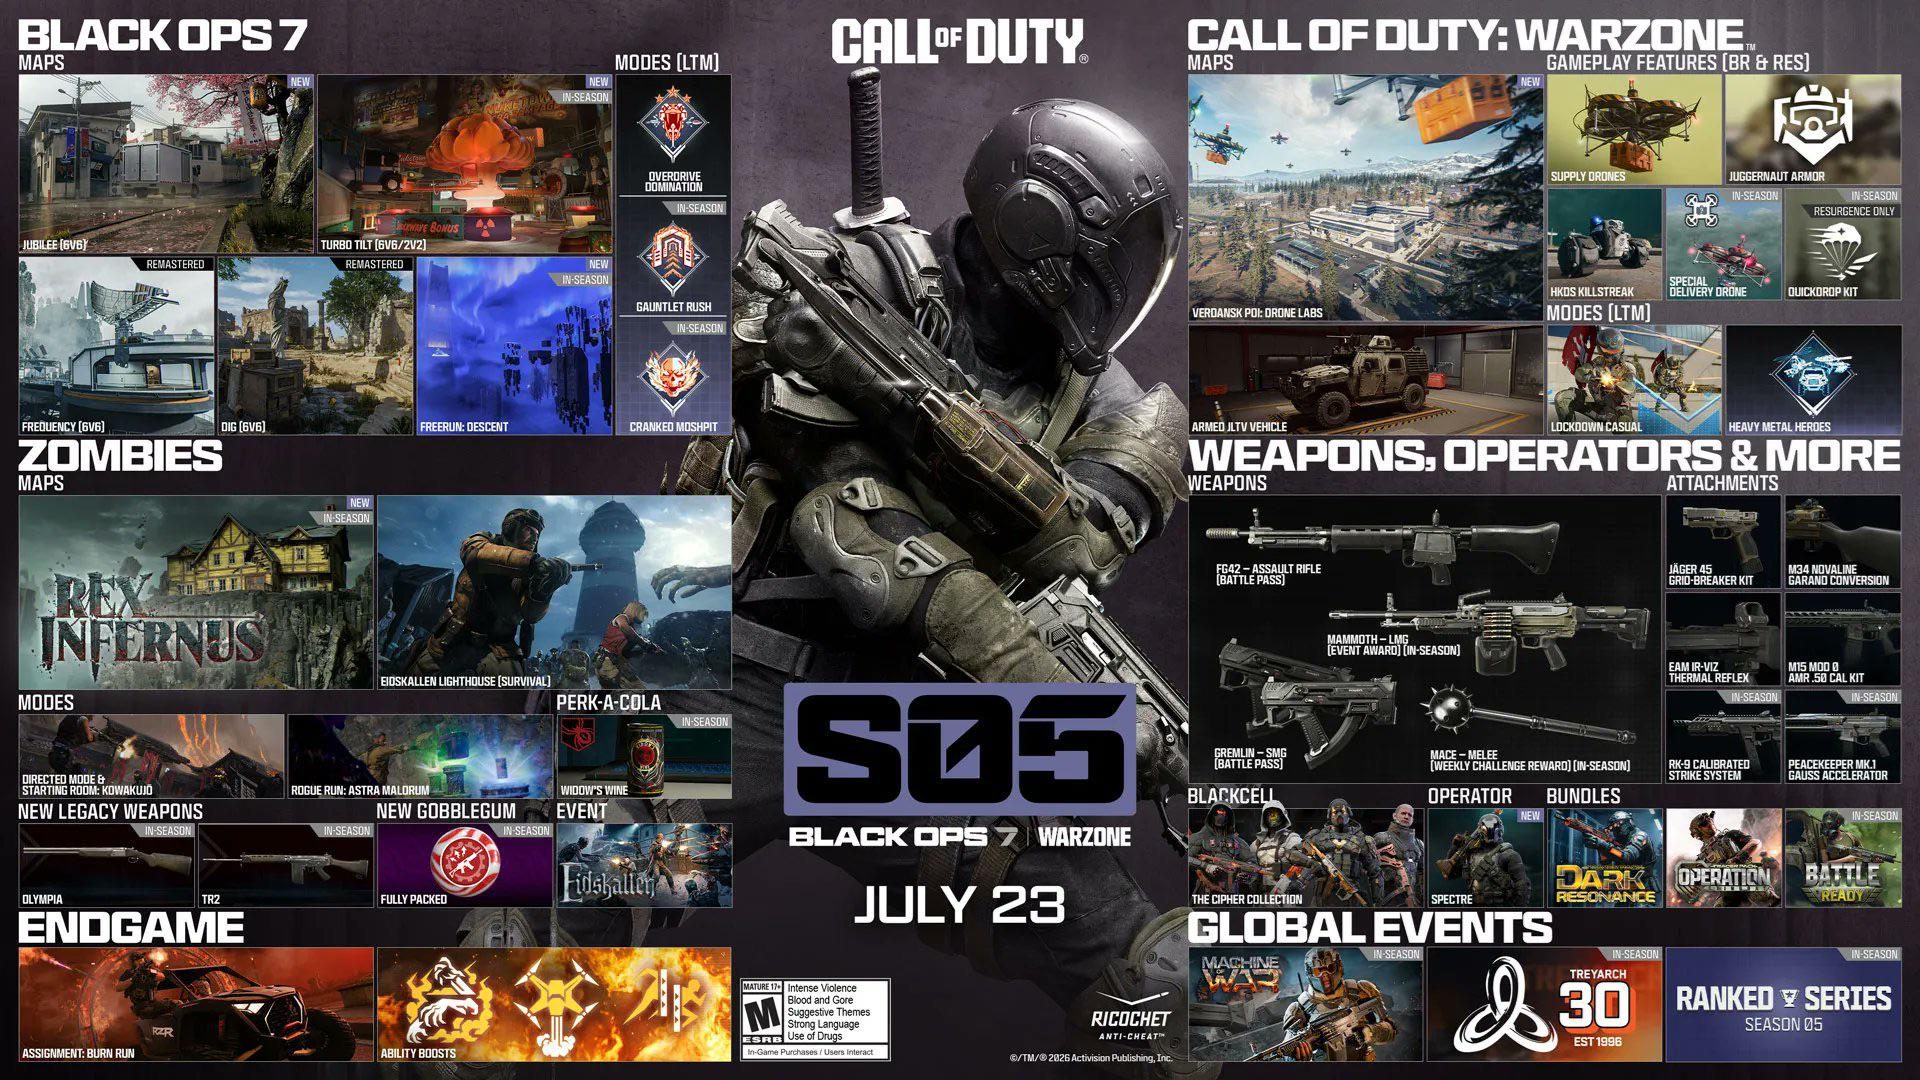
Black Ops 7 Season 5 Weapons Guide: Every New Weapon and How to Unlock Them

How to Unlock the Pirate Captain Outfit in Assassin's Creed Black Flag Resynced
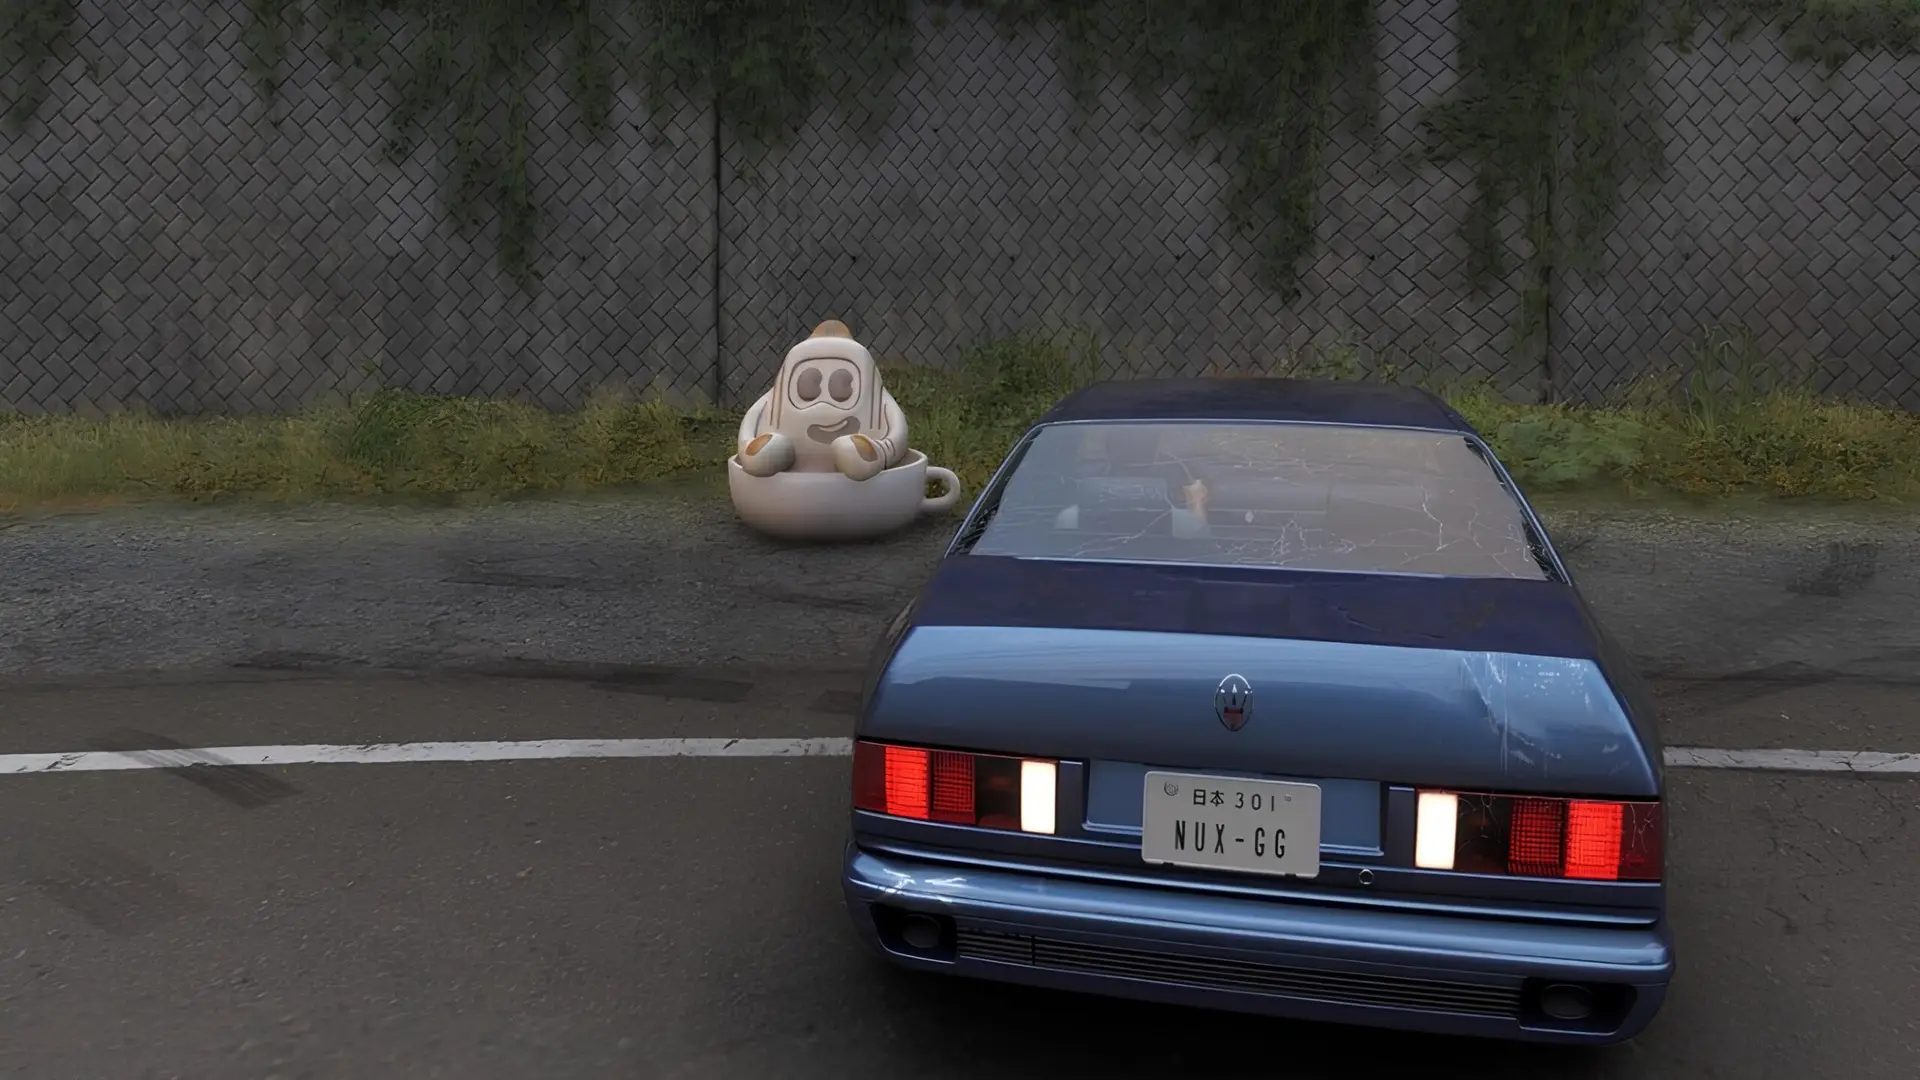
Forza Horizon 6 Tanks for the Coffee Collectible Locations Guide (Fastest Tank Latte Route)