


ARC Raiders: Snap and Salvage Quest Guide – How to Get the Flow Controller & Magnetron

Snap and Salvage is the third major quest you’ll receive from Tian Wen in the Stella Montis region of ARC Raiders, and it’s one of the first multi-step missions that pushes you to explore multiple floors, breach restricted areas, and search for rare Exodus materials. The quest includes three core tasks:
-
Photographing a Rover in the Sandbox
-
Locating important documents in the Security Checkpoint
-
Finding and extracting with both a Flow Controller and a Magnetron
This fully unique guide explains exactly where to go, how to handle each objective efficiently, and the best places to secure the materials needed to complete the mission.
Table of Contents
- 1 1. Photographing a Rover in the Sandbox (Robotic Sandbox A or B)
- 2 2. Locate Papers Inside the Security Checkpoint Near the Lobby
- 3 3. How to Find the Magnetron & Flow Controller in ARC Raiders
- 4 Best Locations for Magnetron & Flow Controller in Stella Montis
- 5 Alternative Method: Rocket Assembly on the Spaceport Map
- 6 Extraction Is Critical – Use Your Safe Pocket
- 7 Completing the Quest
- 8 Making Snap and Salvage Easier
- 9 Final Tips for Snap and Salvage
1. Photographing a Rover in the Sandbox (Robotic Sandbox A or B)

The first step of Snap and Salvage takes place in the lower level of Stella Montis—the underground region known as Layer 2. Your objective is to locate either Robotic Sandbox A or Robotic Sandbox B, both of which are found in the bottom section of the map.
How to Reach the Sandbox Areas
From the main lobby or business paths above, follow the stairs or lifts down into the lower layer. Once you’re in the underground zone, look for signage pointing toward Robotic Sandbox A/B. These areas are unmistakable thanks to the sand pits and training machines scattered around.
Identifying the Rover
Inside either Sandbox variant, you’ll find a Rover perched over a pile of sand, often being observed or surrounded by smaller ARC units.
Clear the Area First
Before interacting with the Rover, eliminate the threats commonly found here:
-
Turrets
-
Pops
-
Fireballs
-
Shredders (dangerous—stealth past them if possible)
Clearing the Sandbox ensures you can take the picture without being interrupted.
Taking the Photo
Approach the Rover and interact with it. Your Raider will raise their device and snap the image automatically. Once the animation concludes, the first objective is successfully completed.
2. Locate Papers Inside the Security Checkpoint Near the Lobby
Next, travel back up to Layer 1, where the main Lobby of Stella Montis is located. This area is heavily patrolled by ARC machines, so move carefully.
Finding the Security Checkpoint
The Security Checkpoint sits off to the side of the Lobby:
-
Look for a desk positioned in front of the room
-
A sign reading Security Restricted Access marks the correct door
This area is frequently locked.
How to Enter
If another player hasn’t breached it yet:
-
Approach the door
-
Perform a breach interaction
-
Enter once the door pops open
Collecting the Documents
Inside you’ll see a desk with a pile of scattered papers. Interact with the documents to complete this segment of the mission. This part is straightforward—just be sure enemies aren’t nearby.
3. How to Find the Magnetron & Flow Controller in ARC Raiders
The final objective requires you to secure two rare Exodus crafting materials:
-
Flow Controller
-
Magnetron
These aren’t guaranteed drops, so you’ll want to search high-probability areas on the first layer of Stella Montis.
Best Locations for Magnetron & Flow Controller in Stella Montis
There are two main zones on Layer 1 that contain multiple breachable lockers and drawers—your primary sources for Exodus materials:
Business Center
A well-populated interior zone filled with:
-
Office desks
-
Metal cabinets
-
Storage compartments
-
Wall-mounted lockers
Search every breachable container. The Business Center offers one of the highest densities of searchable objects.
Assembly Area
Located near the manufacturing wings of Stella Montis, this area has:
-
Red lockers
-
Mechanical storage units
-
Tool drawers
-
Supply cabinets
Both Flow Controllers and Magnetrons are known to drop here at reasonable rates.
Alternative Method: Rocket Assembly on the Spaceport Map
If you’re having no luck in Stella Montis, you can also hop over to the Spaceport map.
Inside the Rocket Assembly building, red storage lockers often contain:
-
Magnetrons
-
Flow Controllers
-
Other high-tier mechanical components
This is a great backup farming method if Stella Montis is overrun or already looted by other Raiders.
Extraction Is Critical – Use Your Safe Pocket
Once you have the materials:
Put at least one item into your Safe Pocket.
If you go down, un-pocketed items drop on the ground and can easily be stolen or lost.
Your Safe Pocket protects quest-critical items so you can extract safely.
Extract from any elevator on the map
As long as both the Magnetron and Flow Controller are in your inventory or Safe Pocket, extraction will successfully register them.
Completing the Quest
Return to Tian Wen once extracted. Turning in the materials completes Snap and Salvage.
Quest Rewards
You’ll receive:
-
Burletta III weapon
-
Silencer II attachment
-
Extended Light Mag attachment
-
100x Light Ammo
A worthwhile reward package that boosts both combat capability and early-game loadout flexibility.
Making Snap and Salvage Easier
Snap and Salvage can be tough if other Raiders are competing for loot or if enemy spawns overwhelm key areas. If you want stress-free completion or guaranteed Flow Controller and Magnetron farming, ARC Raiders Boosting at GladiatorBoost can help you:
-
Clear Sandbox areas safely
-
Breach security rooms instantly
-
Farm Exodus materials without RNG frustration
-
Extract with zero risk
Perfect for players who want reliable progression without repetitive grind. (Insert your internal link here.)
Final Tips for Snap and Salvage
-
Always clear Sandbox enemies before taking the photo
-
Breach the Security Checkpoint door quickly if another player hasn’t
-
Search Business Center > Assembly > Rocket Assembly if needed
-
Put quest items in your Safe Pocket immediately
-
Don’t overstay—extract the moment you secure both materials
Follow these steps and you’ll complete the quest in a single run.
Related Guides
Rainbow Six Siege Calypso Casino Guide: Best Strategies, Operators & Site Setups

Black Ops 7 Illicit Cargo Event Rewards Guide: Every Camo, Challenge & Unlock Explained
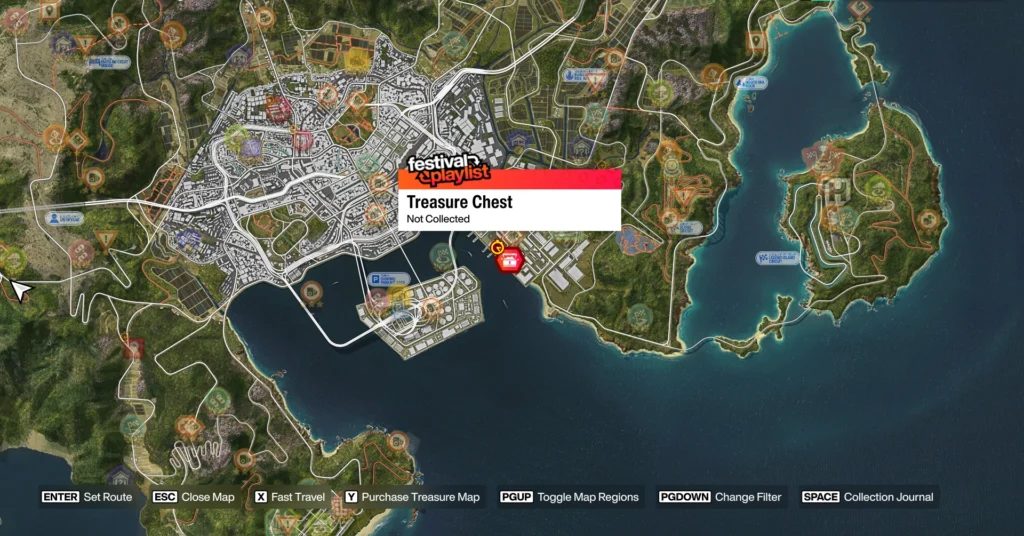
Forza Horizon 6 Treasure Hunt in Tokyo City Location (Spring) – Complete Guide
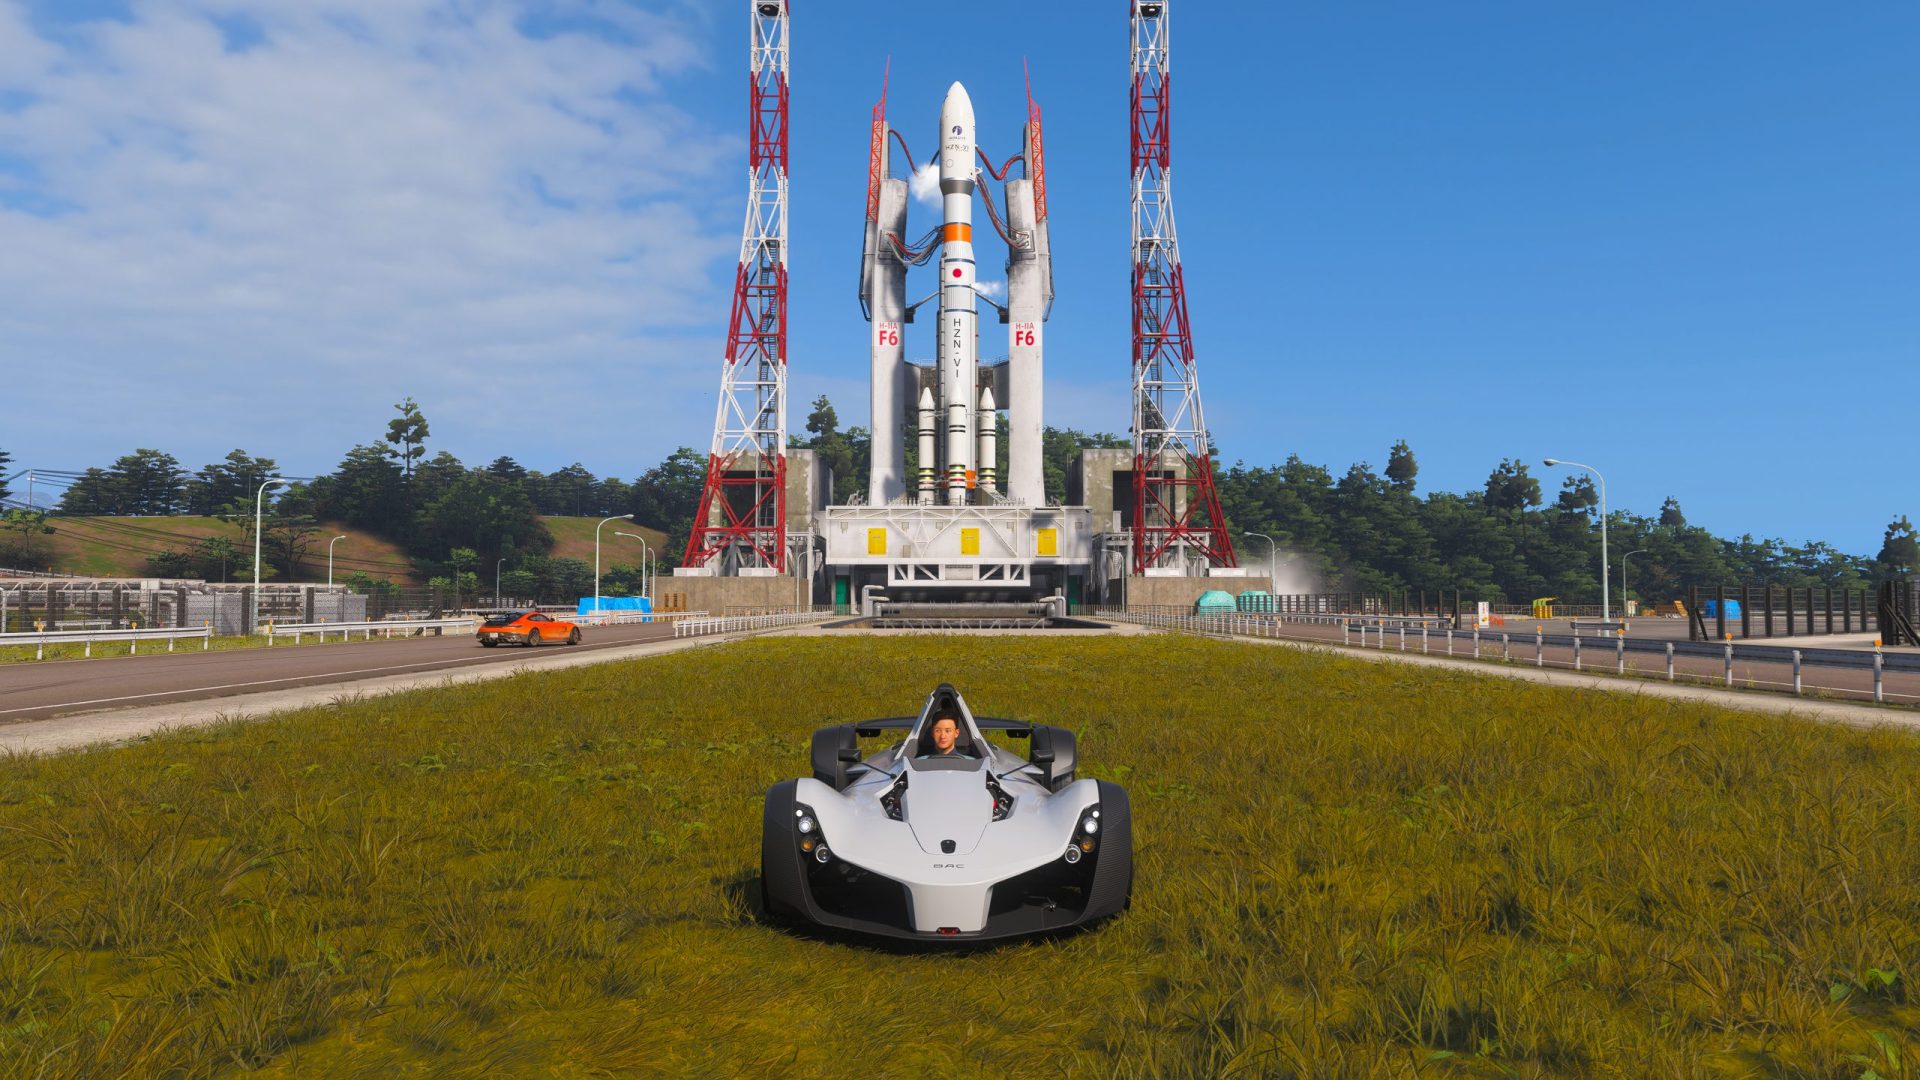
Forza Horizon 6 AstroToy Photo Challenge Guide: HZN-VI Rocket Location Explained