


Every holiday season, GTA Online brings back limited-time chaos, surprises, and exclusive cosmetics. Among the rarest and most mischievous rewards is the Gooch Outfit—a blue, thieving menace clearly inspired by a certain holiday villain. Unlike outfits you can simply buy or unlock through missions, the Gooch Outfit requires patience, setup, and a bit of luck.
This guide explains exactly how to trigger the Gooch encounter, how to maximize your chances of being targeted, and how to secure the outfit without wasting hours of your time.
Table of Contents
- 1 What Is the Gooch Outfit?
- 2 Event Availability Window
- 3 Requirements to Spawn the Gooch
- 4 Best Session Setup for Farming the Gooch
- 5 Best Locations to Wait
- 6 How the Gooch Spawns and Attacks
- 7 The Two-Minute Kill Window
- 8 Tips to Secure the Kill
- 9 Claiming the Gooch Outfit
- 10 Increasing Your Chances of Being Targeted
- 11 Don’t Want to Wait?
- 12 Common Mistakes to Avoid
- 13 Final Thoughts
What Is the Gooch Outfit?

The Gooch Outfit is a festive, parody-style costume available only during GTA Online’s holiday event window. Once unlocked, it lets your character run around Los Santos dressed as a sneaky holiday criminal, making it one of the most recognizable seasonal cosmetics in the game.
Why It’s So Rare
-
It’s only available for a limited time
-
The encounter relies on hidden spawn conditions
-
You can’t force it to appear instantly
-
Many players miss the timing or setup
Because of this, a large portion of the player base never unlocks it—making it a true flex item during the holidays.
Event Availability Window
The Gooch Outfit can only be obtained during the holiday event period:
-
December 18, 2025 – January 7, 2026
Outside of this window, the Gooch will not spawn at all, no matter what conditions you meet. Make sure you plan accordingly before the event ends.
Requirements to Spawn the Gooch
Before the Gooch can appear in your session, several conditions must be met. Missing even one will prevent the encounter.
Mandatory Conditions
-
You must be in Free Mode
-
The session must contain at least two players
-
Public, Invite-Only, Friends-Only, or Closed sessions all work
-
-
You must stay in the same session for 48 minutes of real-time
-
You must have at least $10,000 in cash, not deposited in the bank
-
You should carry snacks for quick healing
The Gooch will never spawn in solo sessions, and switching sessions resets the timer.
Best Session Setup for Farming the Gooch
While public lobbies work, they’re not ideal due to griefers and distractions.
Recommended Setup
-
Invite-Only or Friends-Only session
-
One trusted friend or secondary account present
-
Minimal distractions and PvP
Private sessions reduce interference and make it easier to spot and react when the Gooch finally appears.
Best Locations to Wait
Once you’re set up, the hardest part begins: waiting.
Ideal AFK-Friendly Locations
-
Diamond Casino & Resort entrance
-
Vespucci Beach boardwalk
-
Other open, well-lit public spaces
These locations make it easier to see the Gooch when he spawns and prevent him from escaping into tight alleyways.
How the Gooch Spawns and Attacks
After you’ve been in the same session for over 48 real-time minutes, the Gooch can spawn at any moment.
What Happens When He Appears
-
He spawns behind you
-
Knocks you down
-
Steals some of your cash
-
Attempts to flee
This happens suddenly, so avoid being AFK in menus or interiors. You need to react quickly.
The Two-Minute Kill Window
Once the Gooch attacks, a hidden timer starts.
Important Rules
-
You have 2 minutes to kill him
-
If he escapes or the timer expires, he despawns
-
You’ll need to wait another 48 minutes for another chance
Any weapon works—pistols, SMGs, rifles, or even explosives if you’re quick. The Gooch isn’t particularly tanky, but he’s fast.
Tips to Secure the Kill
-
Immediately turn around after the attack
-
Use auto-lock weapons for quicker targeting
-
Avoid chasing him into traffic-heavy areas
-
Heal with snacks if needed
If you die during the chase, the encounter usually fails, so staying alive is more important than aggression.
Claiming the Gooch Outfit
Once you successfully kill the Gooch:
-
He drops a present on the ground
-
Pick it up to unlock the outfit
You can then equip it at any wardrobe:
Outfits → Festive → Gooch Outfit
The unlock is permanent, meaning once you have it, you won’t need to repeat the process in future years.
Increasing Your Chances of Being Targeted
While the spawn is random, players with more cash on hand seem more likely to be targeted.
Helpful Tips
-
Carry more cash than other players in the session
-
Avoid banking your money
-
Stay visible and in open areas
This doesn’t guarantee selection, but it does tilt the odds in your favor.
Don’t Want to Wait?
If you’re short on time or don’t want to babysit a session for nearly an hour, GTA 5 Boosting at GladiatorBoost can help you secure limited-time rewards efficiently. Boosting services are especially useful during seasonal events, ensuring you don’t miss exclusive outfits like the Gooch while juggling other GTA Online activities or real-life commitments.
Common Mistakes to Avoid
-
Switching sessions before 48 minutes
-
Waiting inside buildings or interiors
-
Depositing all your cash
-
Playing in solo sessions
-
Going fully AFK and missing the spawn
Avoid these pitfalls, and your chances improve dramatically.
Final Thoughts
The Gooch Outfit is one of GTA Online’s most entertaining and elusive holiday rewards. While the process requires patience, following the right setup makes it far more manageable. Once unlocked, you’ll own a rare cosmetic that instantly sets you apart during the festive season—and lets you embrace your inner holiday menace.
Stick to the steps, stay alert, and when the Gooch strikes, make sure he doesn’t get away.
Related Guides
Rainbow Six Siege Calypso Casino Guide: Best Strategies, Operators & Site Setups

Black Ops 7 Illicit Cargo Event Rewards Guide: Every Camo, Challenge & Unlock Explained
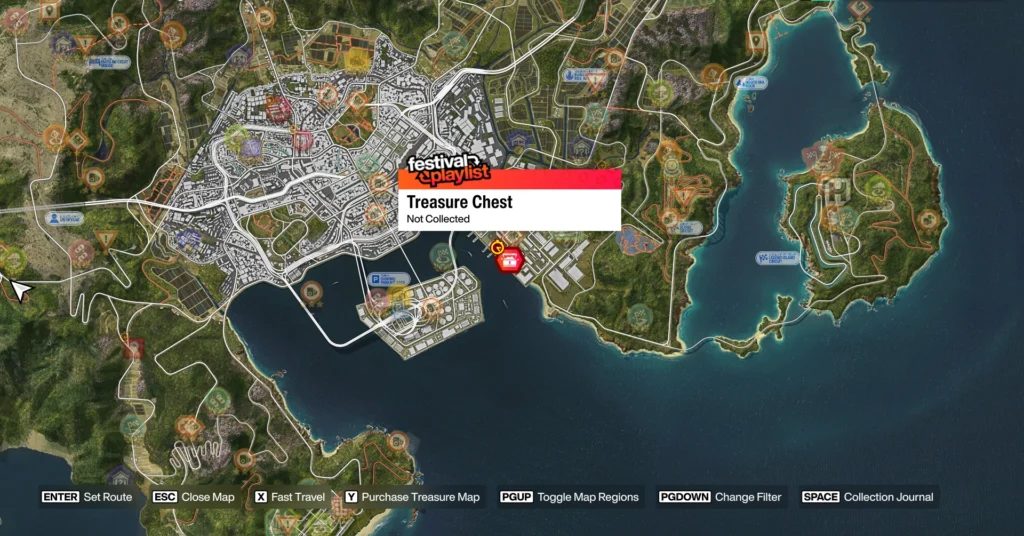
Forza Horizon 6 Treasure Hunt in Tokyo City Location (Spring) – Complete Guide
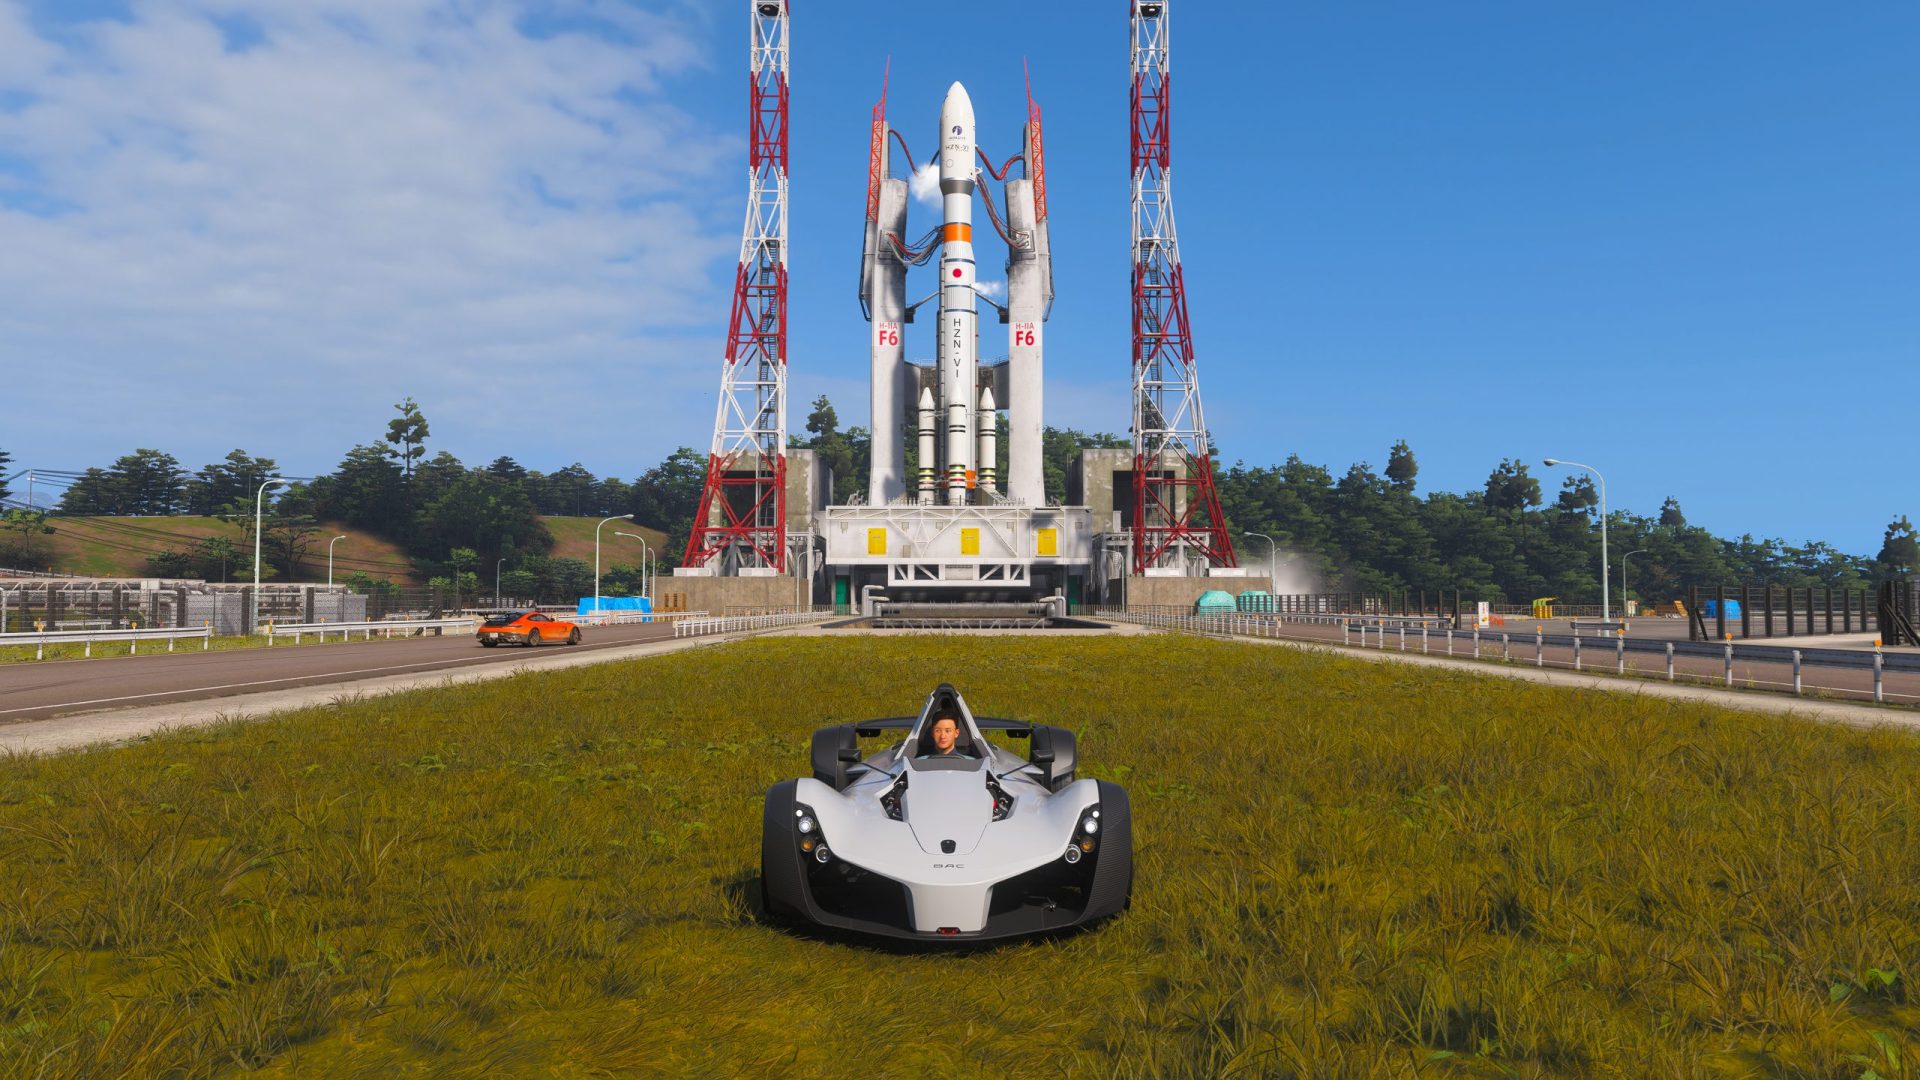
Forza Horizon 6 AstroToy Photo Challenge Guide: HZN-VI Rocket Location Explained