


A Warm Place to Rest – Full Quest Walkthrough for Arc Raiders (Signs of Survivors)

The A Warm Place to Rest quest in Arc Raiders is one of the more atmospheric and exploration-heavy tasks offered during the Signs of Survivors questline. Given by Apollo, this mission asks you to traverse nearly the entire Buried City map and inspect two key survivor-related locations. While not mechanically difficult, players often get confused because the quest splits itself between two far-apart areas—one requiring you to search carefully, and the other involving a lengthy cross-map journey.
This guide provides a completely unique, step-by-step walkthrough of the quest, including map directions, tips for surviving open-world threats, and the full list of rewards.
Table of Contents
- 1 How to Start “A Warm Place to Rest”
- 2 Objective 1: Searching the Abandoned Highway Camp
- 3 Objective 2: Following the Red Trail of Markers
- 4 Objective 3: Inspecting the Grave Site
- 5 Objective 4: Extracting and Claiming Rewards
- 6 Survival Tips While Traversing Buried City
- 7 Speedrunning the Quest – Fastest Possible Route
- 8 Power Up Your Progress
- 9 Final Thoughts
How to Start “A Warm Place to Rest”
Once you acquire the quest from Apollo, it becomes available the next time you enter a raid. The quest can be completed over multiple runs, allowing you to approach it safely even if the map becomes hostile or too populated with enemy raiders.
The objectives are straightforward on paper:
-
Locate a survivor’s belongings.
-
Follow the trail of markers across the Buried City.
-
Inspect a grave site.
-
Extract and claim your rewards.
However, the distance between these objectives makes the quest feel long—and potentially dangerous—if you’re not prepared.
Objective 1: Searching the Abandoned Highway Camp
To begin, queue into the Buried City map. Your first task is to travel to the Abandoned Highway Camp on the southwestern edge of the zone. If you’re unfamiliar with the landmarks:
-
Look for the long stretch of broken highway.
-
Your goal is slightly above the “Highway” label on the map.
The key object here is a large abandoned bus sitting at the camp. Approach the front steps of the bus, and you’ll notice a backpack lying on the ground. This backpack is the quest’s first interactive item.
Tips for the Area
-
Snitches regularly scan the region. If one spots you, reinforcements or roaming ARC units may converge quickly.
-
Other raiders may also pass through since the Highway Camp often spawns mid-tier supply crates.
-
If you’re worried about losing your gear, load into the run using a free loadout—you don’t need strong weapons for this quest.
Inspect the backpack, and a new objective appears.
Objective 2: Following the Red Trail of Markers
After searching the bus, a path of red markers begins to populate the terrain. These markers appear roughly every 20–30 meters, forming a long, meandering trail across the Buried City. Following them step-by-step works fine if you enjoy the environmental storytelling—but the path is long. Expect several minutes of jogging, parkour, and keeping an eye out for enemy patrols.
Shortcut for Experienced Players
If you’d rather skip the breadcrumb trail:
-
Open your map and mark the Buried Properties on the far eastern edge.
-
The final marker is located slightly southeast of the Buried Properties, inside a collapsed structure.
As long as you know where to go, you can head directly there without following the complete line of markers.
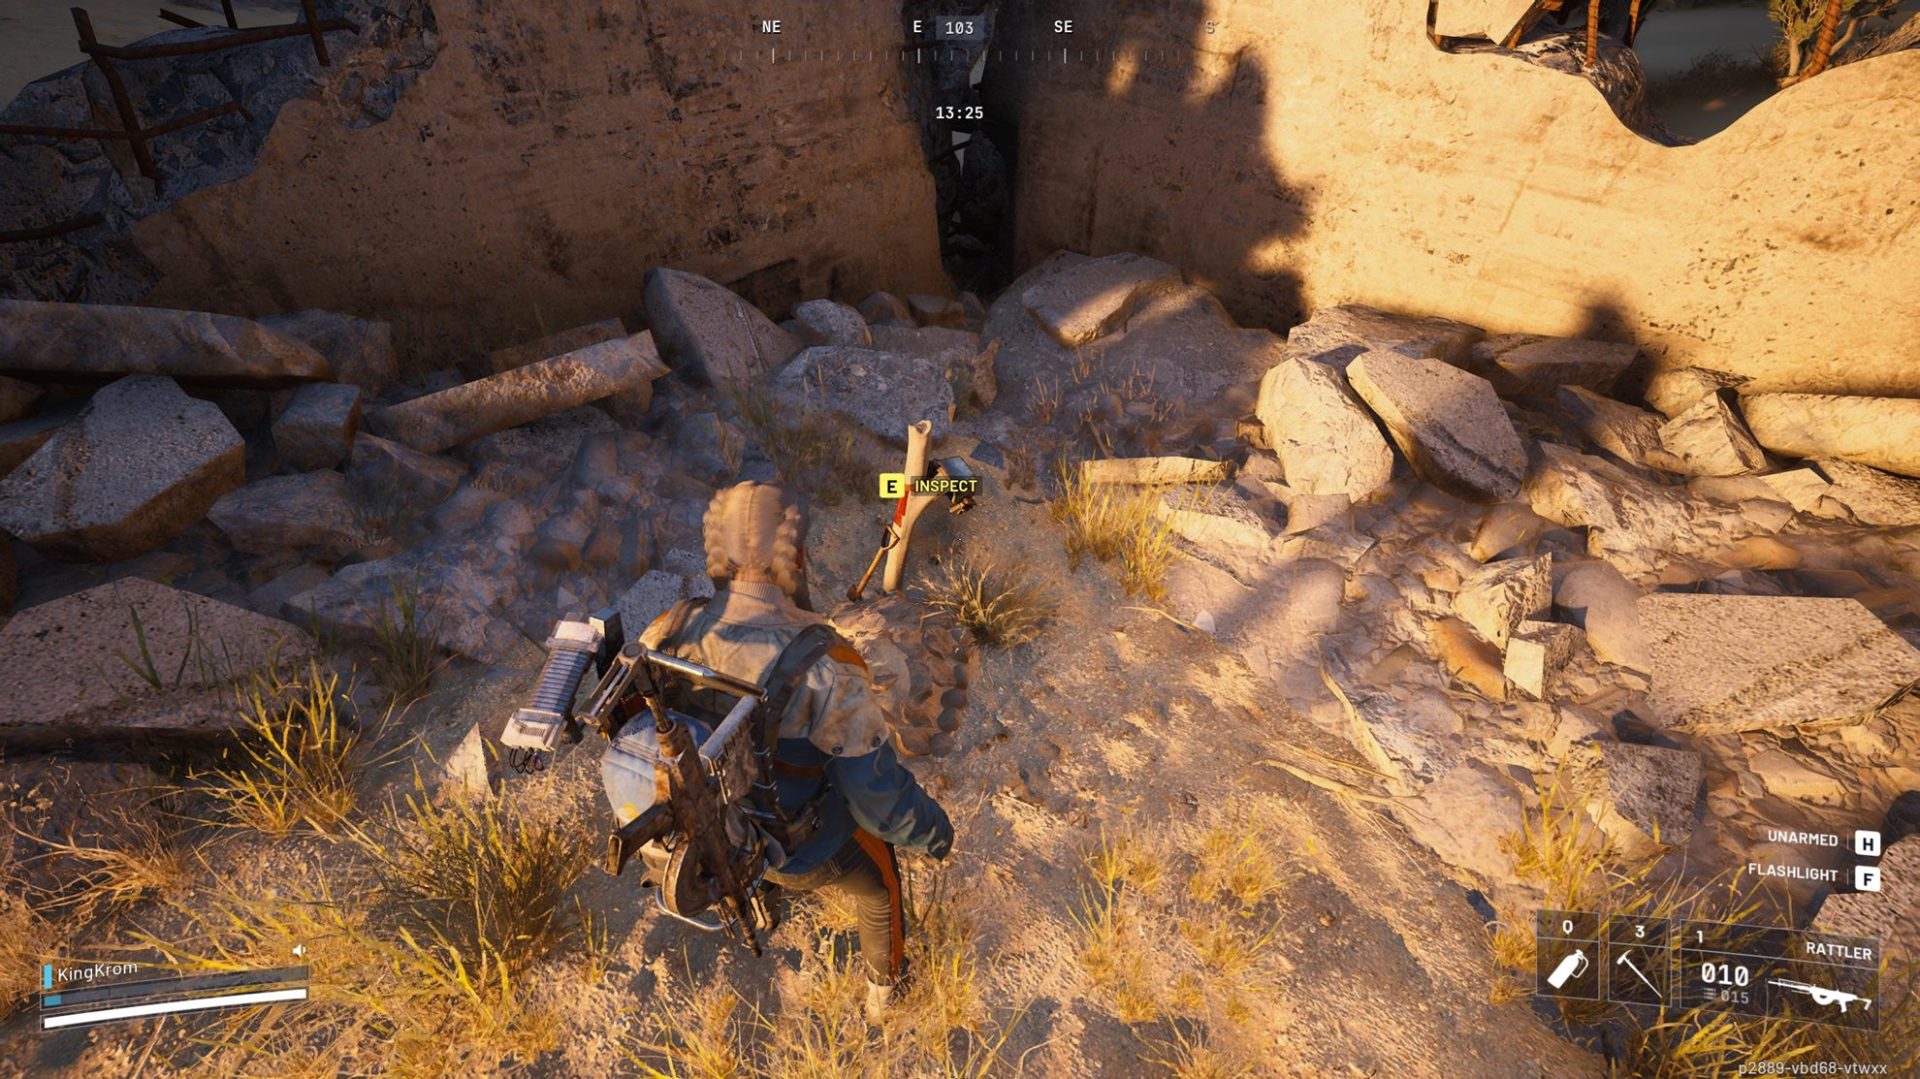
Objective 3: Inspecting the Grave Site
When you reach the southeastern zone near the Buried Properties, look for:
-
A destroyed building with broken walls
-
A single grave in the middle of the rubble
This grave is your target. Interact with it to complete the second major requirement of the quest. The moment you inspect it, the mission objectives will update, and you’ll be free to extract.
The grave itself is one of the more somber Signs of Survivors moments, hinting at the struggles of explorers and scavengers who traversed this hostile landscape before you.
Objective 4: Extracting and Claiming Rewards
Once you’ve interacted with the grave, make your way to an extraction point and return to Esperanza.
From here:
-
Open Vendors
-
Navigate to Apollo
-
Turn in the quest
-
Claim your items
Rewards for Completing A Warm Place to Rest
You will receive the following:
-
Goggles (Radio Renegade Variant)
-
Noisemaker x3
-
Blue Light Stick x5
-
Rosary x1
While the rewards aren’t build-changing, the cosmetic item and utility tools come in handy, especially for players who enjoy stealth or misdirection in PvE/PvP mixes.
Survival Tips While Traversing Buried City
Because this quest places you in wide-open terrain for extended periods, it’s easy to get ambushed or scanned. Here are strategies to mitigate risks:
1. Avoid High-Traffic Routes
The Buried City often funnels players toward the center. Hug the outskirts if you can.
2. Listen for Snitches
Their scanning pulses give away their position. Take cover and wait for them to pass if your gear isn’t optimized for fighting ARC units.
3. Carry Mobility Tools
Grapple lines, speed boosts, and elevated pathways can help avoid conflict entirely.
4. Extract Frequently
Since the quest saves progress between runs, don’t risk your best gear. If you complete one objective, extract safely before pushing deeper into the map.
Speedrunning the Quest – Fastest Possible Route
If your goal is to finish the quest as quickly as possible:
-
Spawn in Buried City
-
Head directly southwest toward the Abandoned Highway Camp
-
Inspect the backpack
-
Open map and place a marker southeast of Buried Properties
-
Move across the map, avoiding combat where possible
-
Inspect the grave in the broken building
-
Extract immediately
A clean run can take under 7 minutes if you avoid engagements and use efficient movement routes.
Power Up Your Progress
If you enjoy Arc Raiders but get frustrated by slow progression, unreliable teammates, or constant PvP pressure, GladiatorBoost’s Arc Raiders Boosting services can help streamline your experience. Whether you want support completing difficult raids, farming tools and materials, or clearing high-risk missions efficiently, professional boosters can guide you through the toughest parts of the game. It’s an excellent option for players who want steady progression, reliable partners, or simply a smoother path to late-game content.
Final Thoughts
“A Warm Place to Rest” is a slower-paced but emotionally grounded quest that helps flesh out the Signs of Survivors storyline. Between the long travel distance and the environmental hazards, it can feel a bit tedious—but the narrative touch and guaranteed rewards make it worthwhile for completionists and new players alike.
With this guide, you can now navigate the quest confidently, take shortcuts when needed, and finish it efficiently without risking unnecessary gear losses.
Related Guides

Black Ops 7 Illicit Cargo Event Rewards Guide: Every Camo, Challenge & Unlock Explained
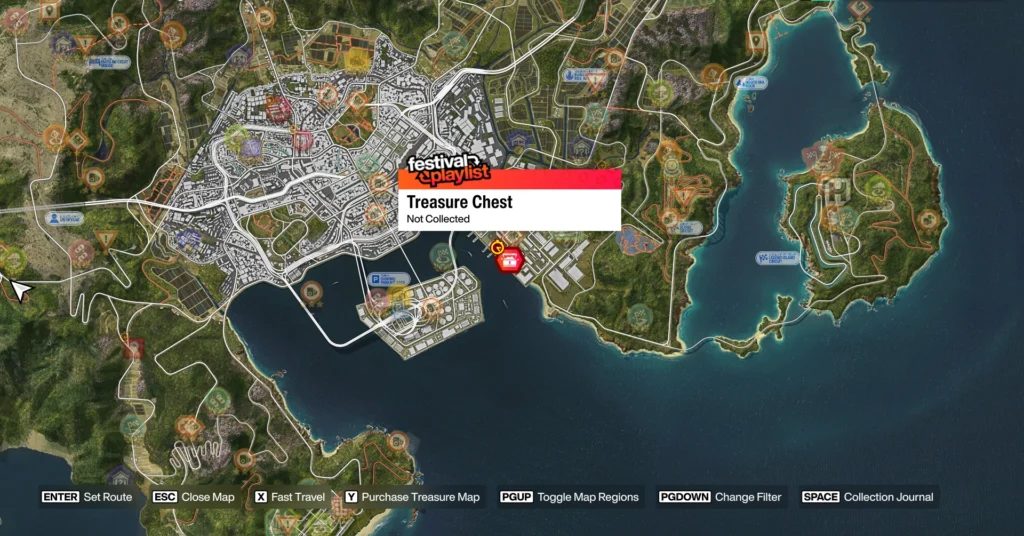
Forza Horizon 6 Treasure Hunt in Tokyo City Location (Spring) – Complete Guide

Forza Horizon 6 AstroToy Photo Challenge Guide: HZN-VI Rocket Location Explained
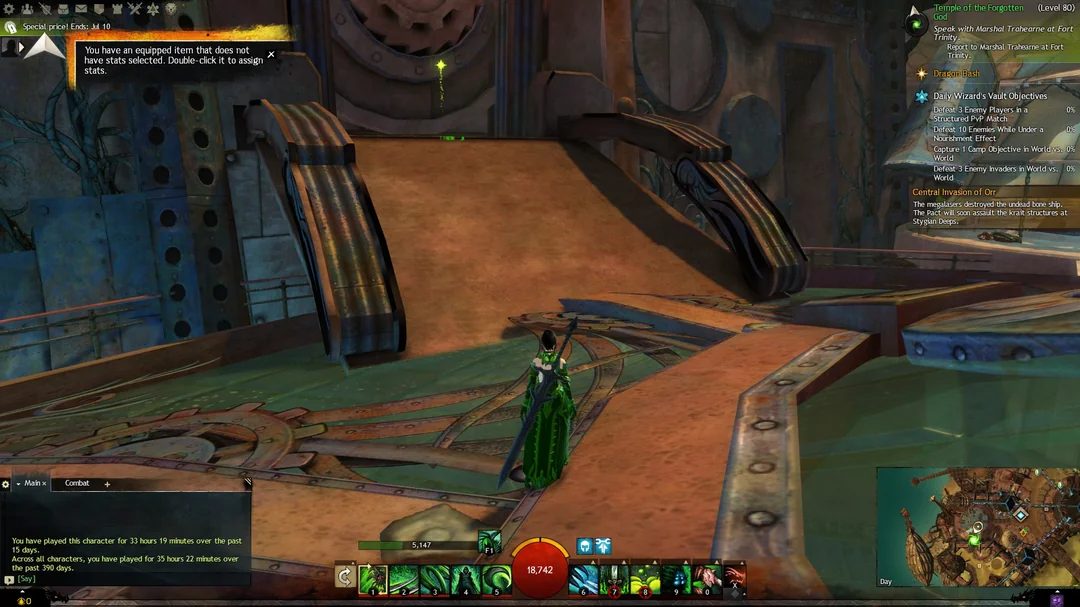
Guild Wars 2 Leveling Guide: The Fastest Ways to Reach Level 80