


ARC Raiders “Eyes in the Sky” Mission Walkthrough: All LIDAR Scanner Locations & Tips

The “Eyes in the Sky” mission in ARC Raiders stands out as one of the more strategic and exploration-heavy quests early in the game. On paper, the objective seems simple — deploy LIDAR Scanners at the highest points of three different regions. However, the game doesn’t give you precise markers, forcing you to rely on your map awareness, observation skills, and survival instincts to complete it efficiently.
In this guide, we’ll break down exactly where to find each LIDAR Scanner placement location — across the Dam Battlegrounds, Buried City, and Spaceport regions — and offer useful tips for surviving enemy ambushes and rival Raiders. You’ll also find a few quality-of-life recommendations to make the quest faster and safer, especially if you’re dealing with aggressive AI patrols or other players on the same mission.
Table of Contents
Quest Overview

Objective: Deploy three LIDAR Scanners at elevated points across the following regions:
-
Dam Battlegrounds
-
Buried City
-
Spaceport
These LIDAR units are designed to map the skies and surrounding areas, contributing to the ARC resistance’s data collection. Completing this mission not only helps you progress the campaign but also rewards you with valuable support tools, including the Tagging Grenade, Vita Spray, and Red Light Stick.
Although there’s no direct combat requirement, most scanner sites are located in contested zones, meaning you’ll need to deal with ARC patrols — and, in many cases, opportunistic players lurking nearby.
1. Dam Battlegrounds – Control Tower Scanner Location
Your first target is in the Dam Battlegrounds region, one of the most recognizable zones in ARC Raiders. You’ll need to plant the LIDAR Scanner on top of the Control Tower, which is located almost dead-center on the map.
Step-by-Step Directions:
-
Start by locating the Control Tower structure, visible from most parts of the map.
-
Enter through the door near the Red Lakes elevator, found at the tower’s base.
-
Inside, you’ll find an elevator shaft that leads upward. Use it to reach the upper floors.
-
From there, make your way behind a breachable door that leads to the zipline.
-
Use the zipline to access the roof — but be cautious, as it’s often patrolled by turrets and other Raiders.
Once on the roof, clear out any hostile ARC units before heading to the eastern corner of the rooftop. There you’ll see a tripod mount waiting for your LIDAR Scanner. Install it, and you’ll complete the first stage of the mission.
Pro Tip:
Because the Control Tower is a high-traffic area, it’s smart to equip a Ferro or low-cost loadout. The Ferro’s mobility and mid-range precision make it excellent for defending yourself without risking expensive gear.
2. Buried City – Galleria Sign Scanner Location
Next, you’ll head to the Buried City — a sprawling urban wasteland with multiple rooftops, narrow alleys, and the iconic Galleria Building, which hosts the second LIDAR Scanner spot.
Finding the Galleria Sign:
-
Navigate to the Galleria, a tall structure easily identified by its massive “G” logo sign.
-
Approach the building cautiously — it’s a popular spot, both for loot hunters and PvP encounters.
-
Once near the building, use your Zipline (either provided by Shani or one you’ve crafted/purchased).
-
Attach the Zipline and aim directly for the top of the Galleria sign, just below the large “G” symbol.
-
Ride up, then place your LIDAR Scanner on the support pillar next to the sign.
Combat Tips:
While this objective doesn’t require direct fighting, it’s common to run into ARCs or rival Raiders in the area. Bring a mid-range weapon and a Showstopper Grenade to quickly disable bots if they appear while climbing.
The height advantage at the Galleria can also make you an easy target for snipers, so move quickly and avoid lingering at the top once your Scanner is placed.
3. Spaceport – Communications Tower Scanner Location
The final LIDAR Scanner placement is found in the Spaceport region, a more open and industrial area with fewer cover points but plenty of vertical access routes.
Your destination is the Communications Tower, located on the east side of the Spaceport map.
How to Reach It:
-
Head toward the eastern perimeter of the map and look for the tall Communications Tower.
-
There’s a ladder on the tower’s base — climb it to reach the upper level.
-
At the top, you’ll find the final Scanner placement marker. Install the LIDAR Scanner to complete the last objective.
Warning:
While this is the easiest Scanner to reach, it’s also one of the most dangerous due to exposure. The climb leaves you open to attacks from other players or flying ARC drones patrolling the area.
If you come under fire, press your Sprint key to quickly slide down the ladder — a lifesaver if you’re pinned or low on health.
Quest Rewards
After installing all three LIDAR Scanners, return to your quest hub to claim your rewards. Completing the “Eyes in the Sky” mission grants:
-
Tagging Grenade – Reveals and marks enemies within its blast radius.
-
Vita Spray – A deployable healing spray that gradually restores health.
-
Red Light Stick – Useful for lighting dark environments and signaling teammates.
These tools are highly practical for exploration, team coordination, and surviving extended expeditions in ARC Raiders’ open world.
Bonus Tip: Streamline Your Progress
If you’re struggling with missions like Eyes in the Sky or simply don’t have time to grind through repetitive objectives, ARC Raiders Boosting at GladiatorBoost offers a perfect solution.
GladiatorBoost’s professional team can help you efficiently complete complex quests, farm rare resources, and optimize your loadouts — saving you hours of gameplay while ensuring you receive every reward legitimately.
Their services are designed for players who want to experience ARC Raiders’ best content without getting bogged down by frustrating mission design or high-level grind. Whether you’re looking to complete storyline quests, upgrade your base, or earn premium loot, GladiatorBoost provides a secure and efficient way to reach your goals faster.
Final Thoughts
The Eyes in the Sky quest is a great example of how ARC Raiders rewards exploration, navigation, and resourcefulness. Each Scanner location challenges you differently — from the enemy-heavy Control Tower to the risky climbs of the Galleria and Spaceport.
By following the directions and tips outlined in this guide, you’ll be able to complete the mission smoothly while minimizing unnecessary fights. Stay alert, use your tools wisely, and remember: mobility is your best defense when operating in contested zones.
Once you’ve finished, you’ll walk away not only with powerful new gadgets but also a deeper understanding of ARC Raiders’ world — preparing you for even greater challenges ahead.
Related Guides

Black Ops 7 Illicit Cargo Event Rewards Guide: Every Camo, Challenge & Unlock Explained
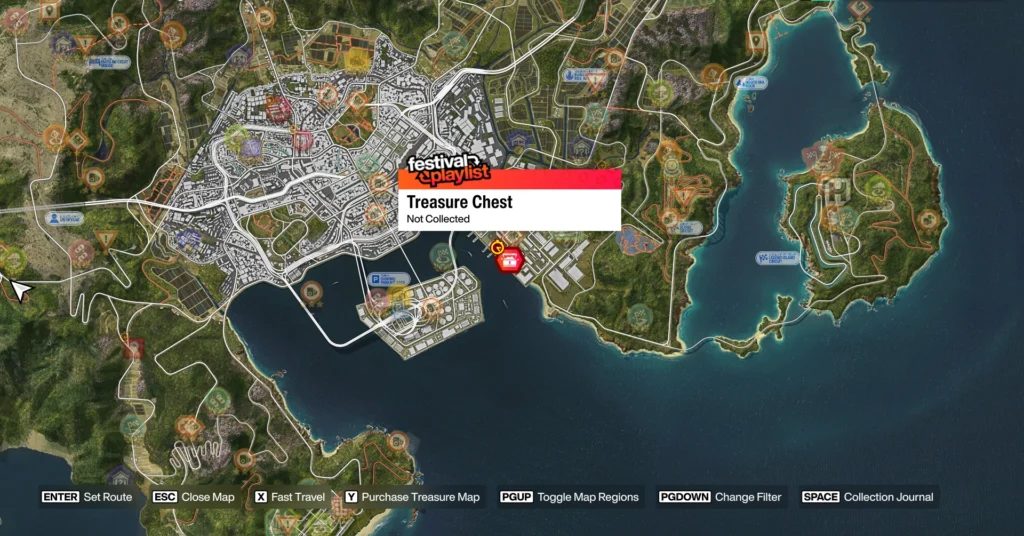
Forza Horizon 6 Treasure Hunt in Tokyo City Location (Spring) – Complete Guide
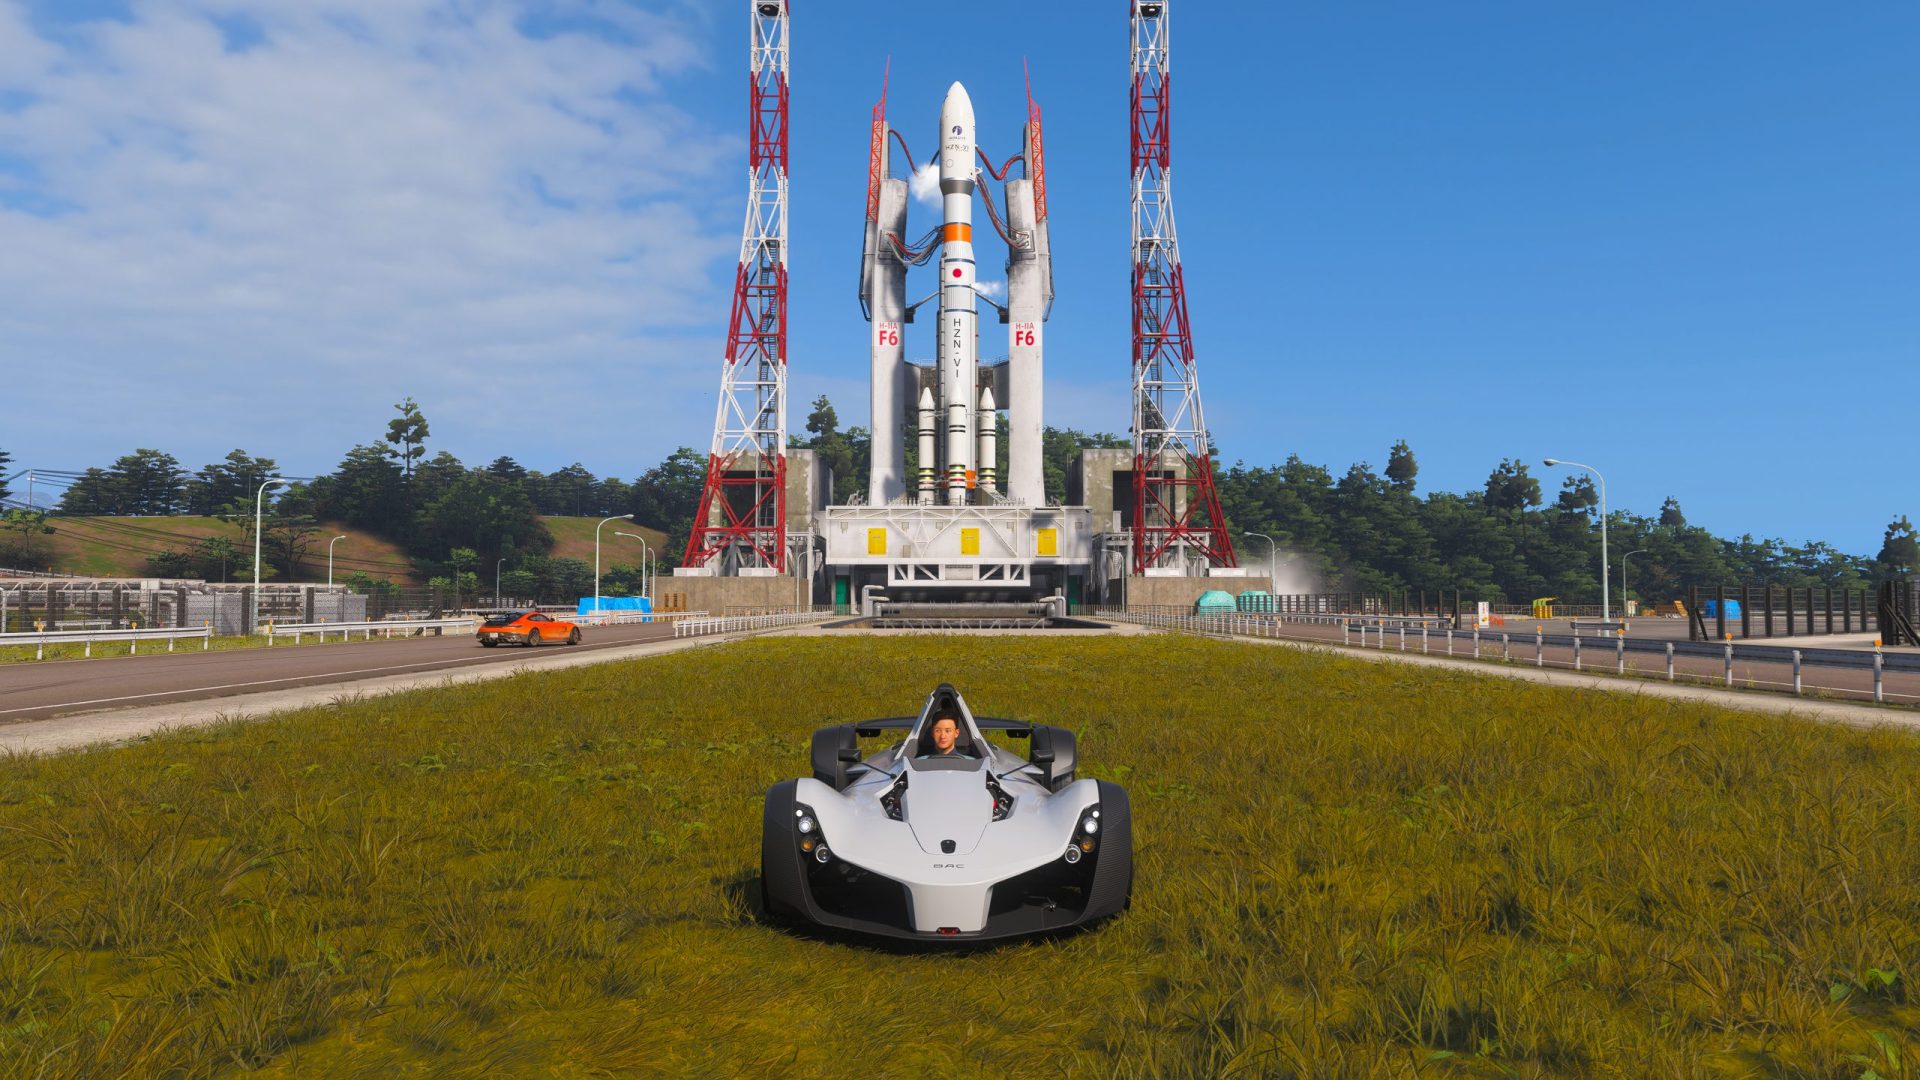
Forza Horizon 6 AstroToy Photo Challenge Guide: HZN-VI Rocket Location Explained
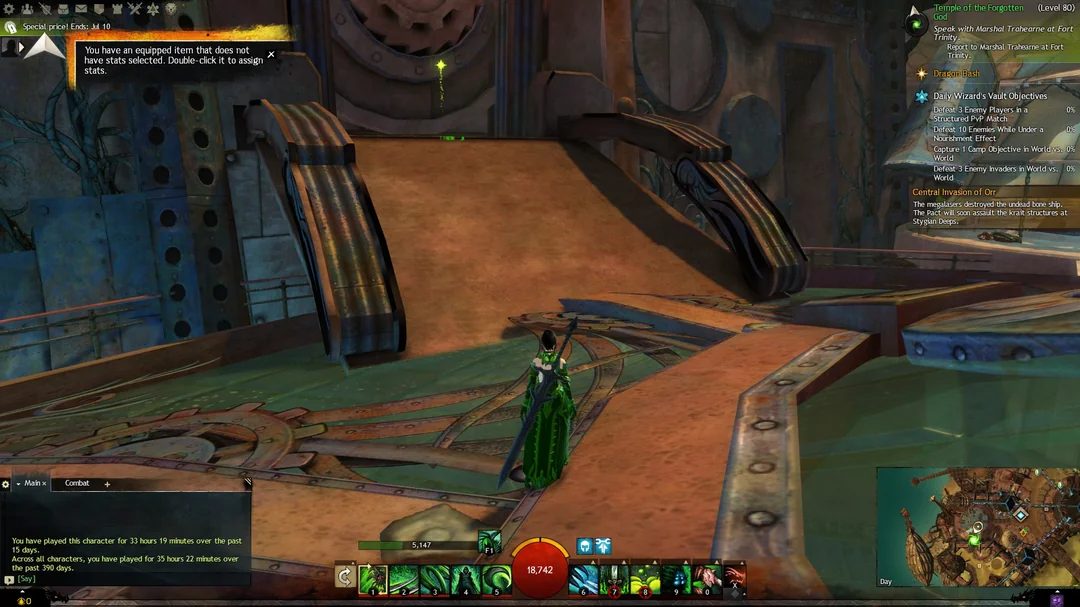
Guild Wars 2 Leveling Guide: The Fastest Ways to Reach Level 80