


ARC Raiders: Lost Transmission Quest Guide – How to Access Spaceport Control Tower A6

Lost Transmission is one of the more intense missions in ARC Raiders, not because the objective is complicated, but because the Spaceport Control Tower A6 is one of the most contested PvP hotspots in the entire game. You’re tasked with reaching the very top of the tower to establish a connection with Speranza—but standing between you and that terminal is a gauntlet of hostile Raiders, ARC units, and a locked path only accessible with a special key.
This guide covers everything you need to know—from acquiring and safely storing the Spaceport Control Tower Key, to navigating A6 without getting ambushed, to securing your extract after activating the terminal.
Table of Contents
- 1 Quest Overview – What Lost Transmission Requires
- 2 Step 1: Preparing for the Control Tower Assault
- 3 Step 2: Navigate to Control Tower A6 in Spaceport
- 4 Step 3: Entering the Control Tower – Using the A6 Key
- 5 Step 4: Reach the Top of Control Tower A6
- 6 Step 5: Extracting Safely from Spaceport
- 7 Lost Transmission Quest Reward
- 8 Why This Quest Matters
- 9 Need Help?
Quest Overview – What Lost Transmission Requires
Once the quest is accepted from Shani, your mission will be:
-
Obtain the Spaceport Control Tower Key (given automatically by Shani)
-
Deploy to Spaceport
-
Use the key to access the locked room inside Control Tower A6
-
Ride the interior zipline to reach the tower’s top platform
-
Activate the communication terminal
-
Extract safely and return to Shani
The quest is straightforward—but the area around A6 is notoriously dangerous.
Step 1: Preparing for the Control Tower Assault
Before deploying, do the following:
Store the Control Tower Key in Your Safe Pocket
If you die before reaching A6, you lose the key—forcing you to restart or reaccept the quest from scratch. Keeping it in a Safe Pocket ensures you won’t lose it even if things go south.
Recommended Items
-
Smoke Grenades (excellent for PvP disengagement)
-
Healing items or Adrenaline Shots
-
A weapon with medium to long-range potential
-
Armor or gadgets optimized for survivability
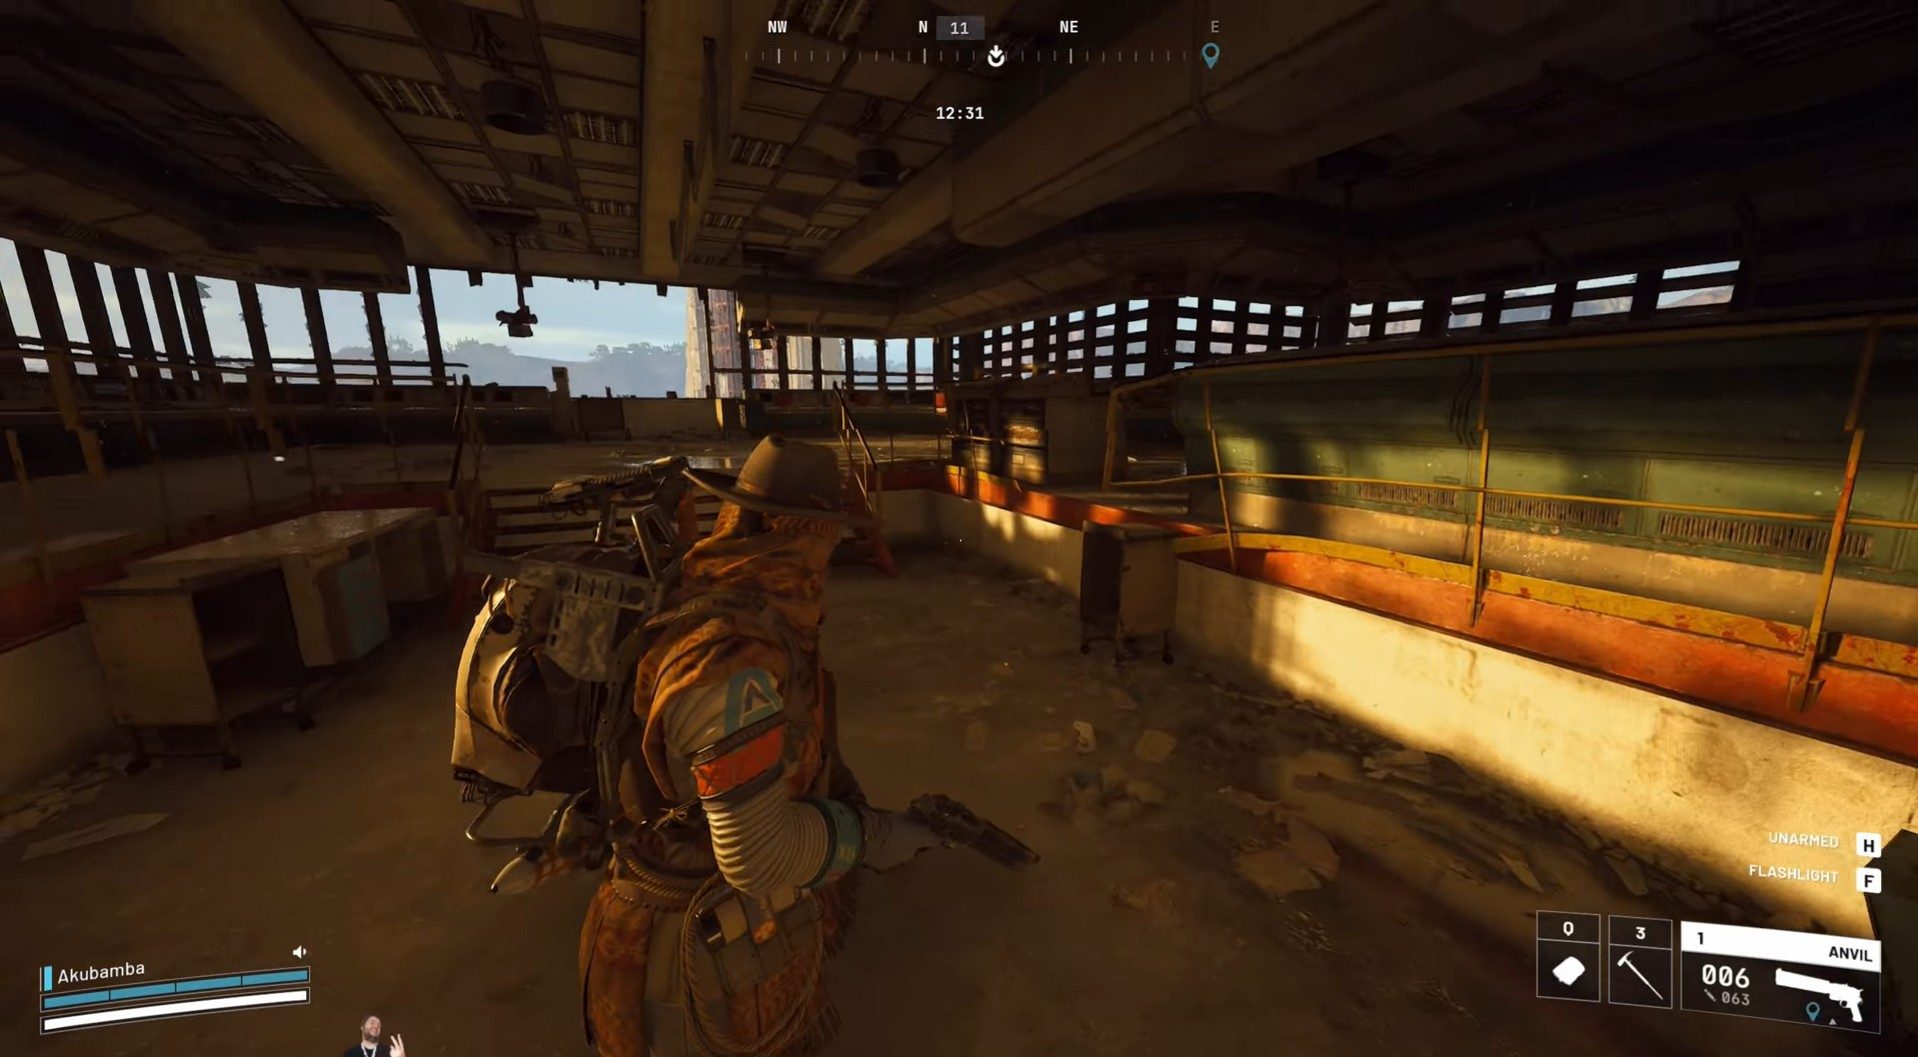
Spaceport often turns into a massive brawl, and the Control Tower area is especially notorious for ambushes.
Once you spawn into the Spaceport map, make your way to the center. Control Tower A6 sits directly beside:
-
Vehicle Maintenance
-
Container Storage
You can’t miss the massive tower labeled with a bold A6 near its main entrance.
PvP Warning
This zone is one of the most farmed high-value locations in Spaceport. Expect:
-
Raiders camping rooftops
-
Snipers overlooking the parking yards
-
ARC units patrolling the base
-
Teams watching zipline routes
Move cautiously, stick to cover, and avoid crossing open ground without smoke grenades ready.
Step 3: Entering the Control Tower – Using the A6 Key
Once you reach the ground level of A6, look for the main doorway located directly under the large painted A6 identifier. Enter the building and follow these steps:
-
Walk through the initial hallway
-
Turn left through the first doorway
-
Take the right-side passage
-
Continue until you reach a locked metal door
This locked door is what prevents players from reaching the top without the key.
Use the Spaceport Control Tower Key
Interact with the door to unlock it. Beyond it, you’ll find:
✔ A zipline
✔ The only route to access the upper platform of Control Tower A6
Take the zipline to ascend the tower.
Step 4: Reach the Top of Control Tower A6
Once the zipline deposits you at the top of the tower, you’ll be standing inside a small high-value room full of searchable loot containers—including:
-
Filing cabinets
-
Metal drawers
-
Supply crates
This room has high Epic drop potential, so take your time and loot everything while you’re here.
Activating the Terminal
To progress the quest:
-
Locate the terminal on the left side of the tower’s control platform
-
Interact with it to establish the transmission
-
A notification will confirm that Lost Transmission is complete
You can now move to extraction.
Step 5: Extracting Safely from Spaceport
Leaving the Control Tower can be just as dangerous as arriving there. The top platform is exposed, and multiple teams often rotate through the area looking for fights.
Tips for a Safe Exit:
-
Use the stairwell or zipline depending on which route seems clear
-
Avoid sprinting down the tower’s exterior walkways
-
Use smoke grenades to break sniper line-of-sight
-
Head toward extractions that are not located near Vehicle Maintenance or Storage zones
-
Move quickly—other Raiders often check the tower after hearing movement
Once you extract, return to Shani in Speranza.
Lost Transmission Quest Reward
Completing the mission earns you:
✔ Legendary Snap Hook (Grappling Hook)
This reward is especially valuable because it drastically improves traversal, repositioning, and escape options in future raids.
It’s not only one of the coolest items in ARC Raiders—it’s genuinely practical for PvP, scouting, and looting high-ground vantage points.
Why This Quest Matters
Lost Transmission is an early test of your ability to handle:
-
High-pressure PvP zones
-
Vertical navigation challenges
-
Locked progression routes
-
Vanguard-tier loot areas
It also serves as a soft introduction to how dangerous Spaceport’s central zones can be.
Completing it unlocks both powerful traversal gear and later storyline quests involving Shani’s recon efforts.
Need Help?
The Control Tower A6 assault is one of the most difficult solo tasks in Spaceport. If you’re tired of:
-
Getting sniped while approaching the tower
-
Losing the Control Tower key
-
Getting ambushed inside the A6 hallways
-
Being unable to reach the zipline
-
Dying to full squads camping the tower top
Then ARC Raiders Boosting at GladiatorBoost is an excellent solution. Their experts can:
-
Escort you straight to A6
-
Clear enemy squads
-
Secure the zipline access
-
Complete the terminal activation safely
-
Guarantee extraction without risk
A perfect option for players who want a smooth, stress-free quest completion experience.
Related Guides
How to Earn More Crowns in Sand: Raiders of Sophie – The Complete Money Farming Guide

Black Ops 7 Kowakujo Guide: How to Complete Takeo's Secret Side Easter Egg
Rainbow Six Siege Calypso Casino Guide: Best Strategies, Operators & Site Setups

Black Ops 7 Illicit Cargo Event Rewards Guide: Every Camo, Challenge & Unlock Explained