


Arc Raiders: Switching the Supply Quest Walkthrough – How to Find the Spaceport Tunnels

Arc Raiders is full of beautifully chaotic missions that blend exploration, teamwork, and tactical combat. While many of these quests are straightforward, “Switching the Supply” stands out as one that can leave players scratching their heads — especially when trying to locate the elusive Spaceport Tunnels.
This mission is one of Celeste’s quests, and while it doesn’t demand an all-out firefight, it does challenge your navigation skills and awareness of Arc Raiders’ vertical and underground environments. If you’ve found yourself running in circles around the Spaceport looking for the right entrance, don’t worry — this detailed walkthrough will take you through every step of the Switching the Supply quest, including the tunnel location, objectives, and rewards.
Table of Contents
How to Start the Switching the Supply Quest
You’ll receive the Switching the Supply quest directly from Celeste, one of the central NPCs who provides missions throughout your Arc Raiders journey. Once you’ve accepted it, your task will be to head to the Spaceport and complete an objective located deep within its tunnel system.
Before you jump into the mission, it’s worth noting that the Spaceport is an open and dangerous area. Expect long sightlines and minimal cover, making it a hotspot for snipers and other Raiders waiting to ambush you. Bring gear that prioritizes mobility, defense, and stealth, such as:
-
Smoke grenades to obscure vision while repositioning or healing
-
A strong mid-range rifle to deal with distant threats
-
A secondary shotgun or SMG for tunnel combat
If you’re running low on resources or don’t want to risk losing rare items, consider deploying with a free loadout. The mission’s difficulty comes from the open terrain, not necessarily from the objective itself.
Finding the Spaceport Tunnels
Once the mission begins, load into the Spaceport map and start making your way toward the central area. The Spaceport is massive and largely exposed, so be prepared to move quickly between cover points — the rooftops and elevated walkways often hide enemy Raiders with sniper rifles capable of two-shot kills.
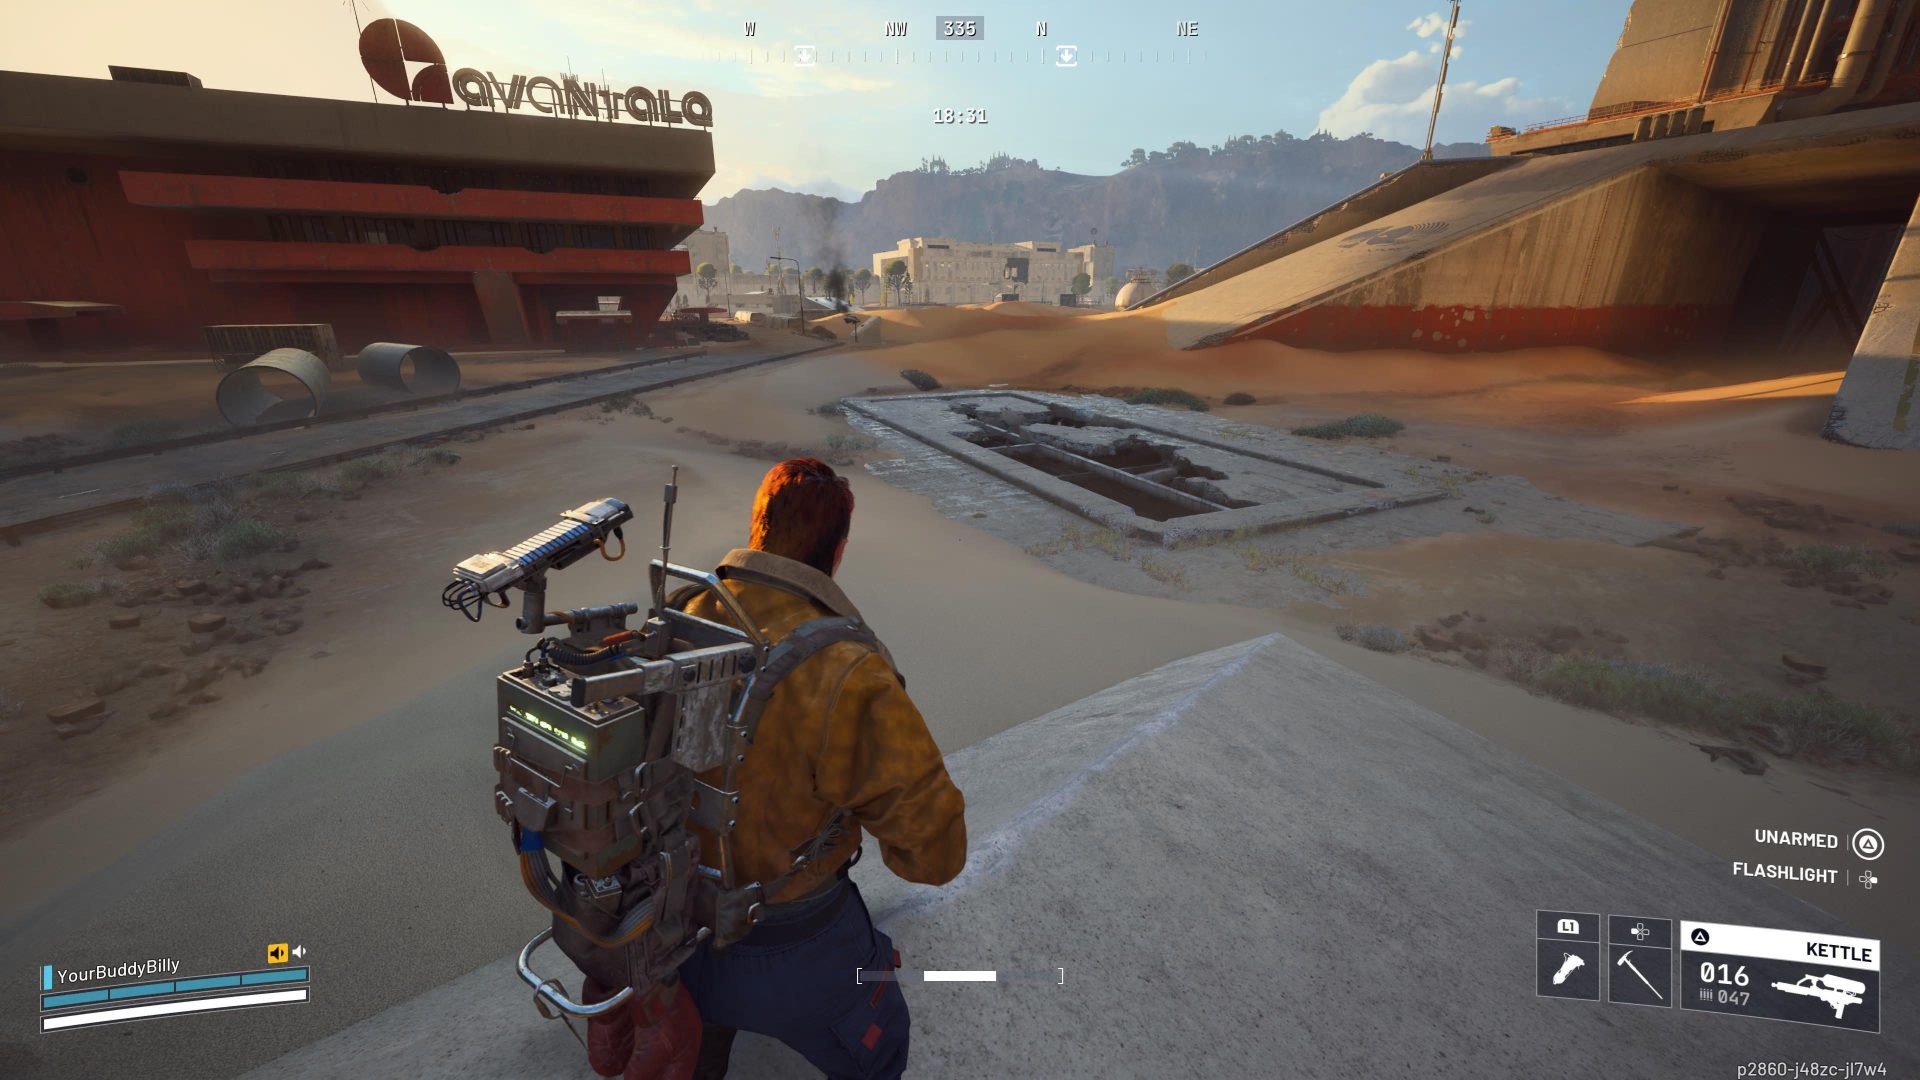
Your destination lies beneath the map’s core, where several access points lead to the underground tunnel network. Look for:
-
Rectangular openings in the ground surrounded by metallic edges
-
Ladders descending into dark shafts or utility hatches
It doesn’t matter which entrance you take — all tunnel routes are interconnected. Once underground, your focus should shift from evading open-area threats to clearing tight corridors. Enemy Raiders sometimes camp these tunnels, so stay alert and use corners to your advantage.
After entering the tunnels, orient yourself toward the western section of the underground network. This is where you’ll find the quest’s key objective: the supply valve that needs to be activated.
You’ll know you’re heading in the right direction when you encounter collapsed debris and partially blocked pathways. Continue moving west until you find a gap in the rubble on the right-hand side — this is the path forward.
Crouch or slide through the opening, and you’ll emerge in a narrow passage with machinery and pipes lining the walls. The valve will be mounted nearby, glowing slightly to indicate interactivity. Approach it and hold the interact button to activate it. Once the valve turns successfully, you’ll receive confirmation that the Switching the Supply quest objective is complete.
If the valve doesn’t respond or your character can’t interact with it, don’t panic — this is a known quest bug that’s currently affecting some players. Restarting your session or reloading the mission can sometimes fix it, and the developers have already confirmed they’re working on a permanent solution.
Extracting from the Spaceport
Once you’ve turned the valve, your mission is essentially complete. However, survival still matters — dying before extraction can cause you to lose valuable loot or progress if you’re playing in a live environment.
To exit safely:
-
Retrace your steps back through the tunnels.
-
Use your map to locate the nearest extraction point.
-
Avoid open areas with known sniper lines of sight.
-
Deploy smoke grenades if enemies are waiting near the extraction zone.
Once you successfully extract, you’ll return to the main hub where you can turn in the quest to Celeste.
Quest Rewards
After completing and submitting Switching the Supply, you’ll receive the following rewards:
-
Blue (Radio Renegade Color) – A stylish customization option for your Raider.
-
Spaceport Trench Tower Key – Grants access to new areas and loot opportunities in later missions.
-
Synthesized Fuel x3 – A valuable crafting and progression resource.
These rewards make the quest worthwhile even beyond the story progression — particularly the Trench Tower Key, which opens up new exploration opportunities within the Spaceport zone.
Pro Tips for Success
-
Stay mobile. The open layout of the Spaceport makes you an easy target. Avoid lingering in exposed zones.
-
Use height and verticality. Enemies positioned on towers can often be outflanked if you navigate through lower levels and tunnels.
-
Carry a mix of weapons. Shotguns and SMGs excel underground, but you’ll need range to survive the surface approach.
-
Check your radar. The tunnels amplify sound, so use audio cues to anticipate nearby threats.
-
Be patient if bugged. If the valve doesn’t interact, simply restart or wait for the dev fix — don’t waste resources forcing it.
Level Up Faster
Completing quests like Switching the Supply can be thrilling, but Arc Raiders also has a steep progression curve — especially when tackling tougher missions or farming rare materials. That’s where GladiatorBoost’s Arc Raiders Boosting services come in. Whether you’re looking to power-level your Raider, complete difficult objectives, or unlock high-tier rewards, GladiatorBoost provides professional assistance tailored to your goals.
Their experienced boosters can help you master combat mechanics, clear tough missions efficiently, and save valuable time — letting you focus on enjoying the adventure and story instead of grinding endlessly.
Conclusion: A Simple Mission in a Complex World
The Switching the Supply quest in Arc Raiders may seem straightforward at first glance, but its hidden tunnels and open combat zones can easily catch players off guard. By following this guide, you’ll know exactly where to find the Spaceport Tunnels, how to reach the valve objective, and how to safely extract with your rewards intact.
Even though minor bugs might interrupt your progress, the mission remains one of the more enjoyable tasks from Celeste, blending exploration, light combat, and environmental storytelling in classic Arc Raiders style.
Related Guides

ARC Raiders Red Coral Jewelry Farming Guide: Best Locations and Fastest Loot Routes

Best Early Cars in Forza Horizon 6: Fastest Budget Unlocks for New Players

Forza Horizon 6 House Locations Guide: Every Home, Price, Perk, and Unlock Requirement

Black Ops 7 Zombies Wonder Weapons Ranked: The Ultimate Tier List