


Battlefield 6 Field Specs Guide – Every Field Spec Explained and How to Use Them Effectively

There’s a lot happening at any given moment in a Battlefield 6 match — explosions, collapsing buildings, vehicles roaring across the map — and amidst all that chaos, it’s easy to overlook subtle mechanics that can give you a major advantage. One of these is the Field Spec system, a powerful but often underused feature that can dramatically enhance your performance when used correctly.
Field Specs act like mini specialization trees tied to each class. They reward players for performing well in battle by unlocking passive boosts that complement specific playstyles. In this guide, we’ll break down how Field Specs work, explain each available option for every class, and share tips on how to use them effectively to dominate the battlefield.
Table of Contents
What Are Field Specs in Battlefield 6?
Field Specs are passive abilities unique to each class in Battlefield 6. Think of them as secondary perks that enhance your chosen role’s strengths — for example, improving your repair speed as an Engineer or granting health regeneration boosts as an Assault player.
However, Field Specs don’t activate immediately. They are score-based bonuses that unlock during a match as you earn points through kills, assists, spotting, healing, revives, or completing objectives.
Once your Field Spec is active, it provides persistent benefits until the match ends. The better you perform, the faster it activates — making consistent teamwork and objective play crucial.
Key Points:
-
Each class has two Field Specs, with the second unlocked through account progression.
-
Specs reset after each match — they are not permanent upgrades.
-
Field Specs activate based on earned Score, not kills alone.
So, whether you’re a frontliner racking up eliminations or a support player feeding your squad ammo, you’re always contributing to your Spec’s activation.
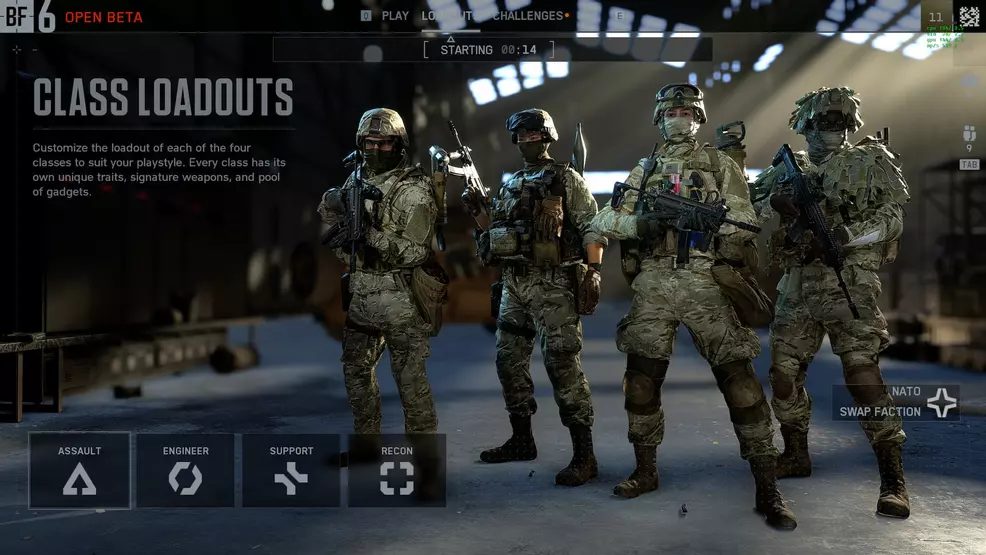
All Field Specs in Battlefield 6 by Class
Each of the four playable classes — Assault, Engineer, Support, and Recon — has its own unique Field Specs designed to complement different playstyles.
Assault Class Field Specs
1. Breacher
Effect:
-
Reduces damage taken from explosives.
-
Increases effectiveness with incendiary shotguns and grenade launchers.
Best For:
Aggressive, close-range players who push objectives or clear rooms.
Tips:
Use Breacher when playing on small, infantry-focused maps. It’s ideal for breaking entrenched defenses and surviving explosive-heavy zones. Combine this with the Adrenaline Injector for fast, high-risk plays.
2. Frontliner
Effect:
-
Reduces fall damage and boosts passive health regeneration.
-
Squadmates spawning on you (or your Deploy Beacon) temporarily gain Adrenaline Injector effects.
Best For:
Objective-based team players who act as rally points.
Tips:
Frontliner benefits both you and your squad, making it excellent for sustained pushes. Drop a Spawn Beacon near contested areas to provide allies with temporary buffs as they respawn.
Engineer Class Field Specs
1. Anti-Armour
Effect:
-
Increases rocket ammunition and improves reload speeds.
-
Reduces vehicle repair efficiency for targets you damage.
Best For:
Players who specialize in taking down tanks and aircraft.
Tips:
Pair this Field Spec with the SMAW or Javelin Launcher for maximum vehicle destruction. Stay behind cover and coordinate with teammates — your rocket reloads faster, so keep pressure on enemy armor.
2. Combat Engineer
Effect:
-
Greatly improves your ability to repair friendly vehicles and gadgets.
Best For:
Support-oriented Engineers who prioritize keeping armor alive.
Tips:
Stick close to tanks and transports. You’ll earn consistent XP by repairing allies while also maintaining a steady supply of vehicles for your team. Pair this with a repair tool and a deploy beacon for continuous support.
Support Class Field Specs
1. Combat Medic
Effect:
-
Speeds up dragging and reviving teammates.
-
Enhances the effectiveness of defensive gadgets.
Best For:
Frontline medics who thrive in heavy combat zones.
Tips:
Use Combat Medic on maps like Manhattan Bridge or Cairo Siege, where team revives can turn the tide. Combine this with Adrenaline Injectors for quicker recoveries under fire.
2. Fire Support
Effect:
-
Reduces the cooldown of ammo resupply bags.
-
Improves performance when using mounted or stationary weapons.
Best For:
Defensive players who hold objectives or suppress enemies.
Tips:
This is the go-to choice for Support mains during Breakthrough or Conquest. Constantly drop ammo packs near chokepoints and use mounted MGs for suppression XP and team defense.
Recon Class Field Specs
1. Sniper
Effect:
-
Enhances long-range capabilities by improving auto-spotting.
-
Prevents enemies killed with sniper headshots from being revived.
Best For:
Traditional Recon players focused on high-precision shooting.
Tips:
Equip the Range Finder to automatically zero your scope and make use of high vantage points. The anti-revive effect helps secure kills in large-scale firefights.
2. Spec Ops
Effect:
-
Reduces footstep noise and visibility to enemies.
-
Increases stealth performance for infiltration and flanking.
Best For:
Stealth-oriented players who favor close-range or covert gameplay.
Tips:
Pair Spec Ops with suppressed weapons for silent eliminations. Use it to infiltrate objectives unseen, or to counter enemy snipers by relocating undetected.
How to Unlock Field Specs Faster
Field Specs activate through your Score progression within a match. To make sure you reach activation as early as possible, focus on consistent performance and teamwork:
-
Play objectives — capturing and defending grants more points than kills.
-
Revive, repair, or resupply teammates depending on your class.
-
Spot enemies frequently using gadgets like the Recon Drone or Motion Sensors.
-
Avoid downtime — the more you contribute, the faster your Field Spec goes online.
Why Field Specs Matter
While small in description, Field Specs can significantly shape how a class functions mid-match. They reward consistent, team-focused gameplay and provide advantages that align perfectly with your chosen role.
A Recon Sniper with the Sniper Spec becomes a lethal overwatch unit. A Support with Combat Medic can turn the tide in sustained firefights. And an Assault running Frontliner not only survives longer but also empowers their teammates.
The beauty of the Field Spec system is how it encourages tactical depth — letting players tailor their loadouts to their preferred combat style without breaking class balance.
Boost Your Unlocks with Battlefield 6 Boosting at GladiatorBoost
Unlocking Field Specs and testing different playstyles can take time, especially if you’re trying to maximize performance across multiple classes. That’s where GladiatorBoost’s Battlefield 6 Boosting services come in.
With professional boosters completing class challenges, rank progression, and XP farming on your behalf, you can skip the grind and get straight to experimenting with the best setups and Field Specs. All boosting is done manually and safely, ensuring your account remains protected while you reap the rewards of high-level gameplay.
Whether you want faster class unlocks, rank boosts, or access to advanced gadgets, GladiatorBoost provides a fast, reliable way to stay ahead of the competition.
Final Thoughts
Field Specs in Battlefield 6 may seem like a minor feature at first glance, but they’re actually one of the game’s most impactful progression systems. Each one rewards you for leaning into your role — whether that’s pushing objectives as an Assault, supporting teammates as a Medic, or taking control of the battlefield from a distance as a Recon.
By understanding how Field Specs work and choosing the ones that best suit your playstyle, you’ll not only perform better but also contribute more effectively to your team’s victory.
And if you’re looking to unlock every Field Spec faster, GladiatorBoost’s Battlefield 6 Boosting services are the perfect way to speed up your progression and focus on what really matters — dominating the battlefield.
Related Guides

ARC Raiders Red Coral Jewelry Farming Guide: Best Locations and Fastest Loot Routes

Best Early Cars in Forza Horizon 6: Fastest Budget Unlocks for New Players

Forza Horizon 6 House Locations Guide: Every Home, Price, Perk, and Unlock Requirement

Black Ops 7 Zombies Wonder Weapons Ranked: The Ultimate Tier List