


Terminus Island is one of the most dangerous and chaotic maps in Black Ops 6 Zombies, filled with hordes of undead, tight corridors, and deadly Amalgams. To survive the madness, players will need to maximize their loadout with Perk-a-Colas, which provide critical stat boosts like increased health, faster reloads, and explosive immunity.
This guide will break down every Perk-a-Cola location on Terminus, helping you build the ultimate high-round setup and ensuring you’re never caught unprepared.
Table of Contents
- 1 Perk-a-Cola Pricing in Terminus
- 2 All Perk-a-Cola Locations on Terminus Island
- 2.1 Jugger-Nog – Extra Health (250 HP)
- 2.2 Stamin-Up – Faster Sprint & Tactical Sprint Cooldown
- 2.3 Quick Revive – Faster Healing & Revives
- 2.4 Deadshot Daiquiri – Increased Headshot Damage & Aim Assist
- 2.5 Elemental Pop – Random Ammo Mod Effects
- 2.6 PhD Flopper – Explosive Immunity & Dive Bomb Attacks
- 2.7 Speed Cola – Faster Reloads & Armor Replacement
- 2.8 Melee Macchiato – High-Powered Melee Attacks
- 2.9 Der Wunderfizz – All Perks in One Machine
- 2.10 Exclusive Perks at Der Wunderfizz:
- 3 Best Perk Setup for High Rounds
- 4 Dominate Black Ops 6 Zombies with GladiatorBoost
- 5 Final Thoughts
Perk-a-Cola Pricing in Terminus
The first Perk-a-Cola costs 2,500 Essence, with each additional Perk increasing in cost by 500 Essence. If you want to buy all 10 Perks, you’ll need a total of 47,500 Essence—so prioritize wisely!
All Perk-a-Cola Locations on Terminus Island
Jugger-Nog – Extra Health (250 HP)
📍 Location: Southwest corner of the Living Quarters, near the first AMP generator.
- Effect: Increases maximum health to 250 HP.
- Why You Need It: The most essential Perk in the game—doubles your effective health, making it a must-buy for survival.
Stamin-Up – Faster Sprint & Tactical Sprint Cooldown
📍 Location: Inside the Control Center, along the east wall.
- Effect: Increases sprint speed and reduces Tactical Sprint cooldown.
- Why You Need It: Perfect for a large map like Terminus, allowing for faster navigation and escape routes.
Quick Revive – Faster Healing & Revives
📍 Location: Inside the Interrogation Rooms, east wall (unlocked after activating the first AMP Generator at the Guard Station).
- Effect: Speeds up health regeneration and revive speed for allies.
- Why You Need It: Essential for both solo and co-op play, ensuring faster self-recovery and quicker revives in team matches.
Deadshot Daiquiri – Increased Headshot Damage & Aim Assist
📍 Location: Seaside Path, southeast wall (accessible through the Mess Hall, then down the Gun Platform path).
- Effect: Auto-aims for the head and increases critical damage on headshots.
- Why You Need It: Perfect for eliminating zombies and Amalgams quickly—especially useful for snipers and AR builds.
Elemental Pop – Random Ammo Mod Effects
📍 Location: Inside the Sea Tower, along the east wall (requires power to be turned on).
- Effect: Randomly applies Ammo Mods (like Dead Wire, Cryo Freeze, and Napalm Burst) to your bullets.
- Why You Need It: Adds elemental damage to your shots, making it a solid late-game Perk for maximizing damage.
PhD Flopper – Explosive Immunity & Dive Bomb Attacks
📍 Location: Mining Tunnels, at the northwest wall (accessed by heading down the stairs from Sea Tower).
- Effect: Negates self-inflicted explosive damage and enables explosive dive attacks.
- Why You Need It: A must-have for explosive weapons like the Pack-a-Punched GS45 or Ray Gun, preventing self-inflicted damage.
Speed Cola – Faster Reloads & Armor Replacement
📍 Location: Inside the Sea Caves, northwest wall (reachable via Seaside Path).
- Effect: Increases reload speed and speeds up armor plating replacement.
- Why You Need It: Essential for high fire-rate weapons like LMGs, Wonder Weapons, and SMGs.
Melee Macchiato – High-Powered Melee Attacks
📍 Location: Bio Lab, bottom floor, north wall, near the morgue area.
- Effect: Replaces standard melee attacks with a stronger, punch-based strike.
- Why You Need It: Great for melee builds, but not essential unless you’re running a knife-based loadout.
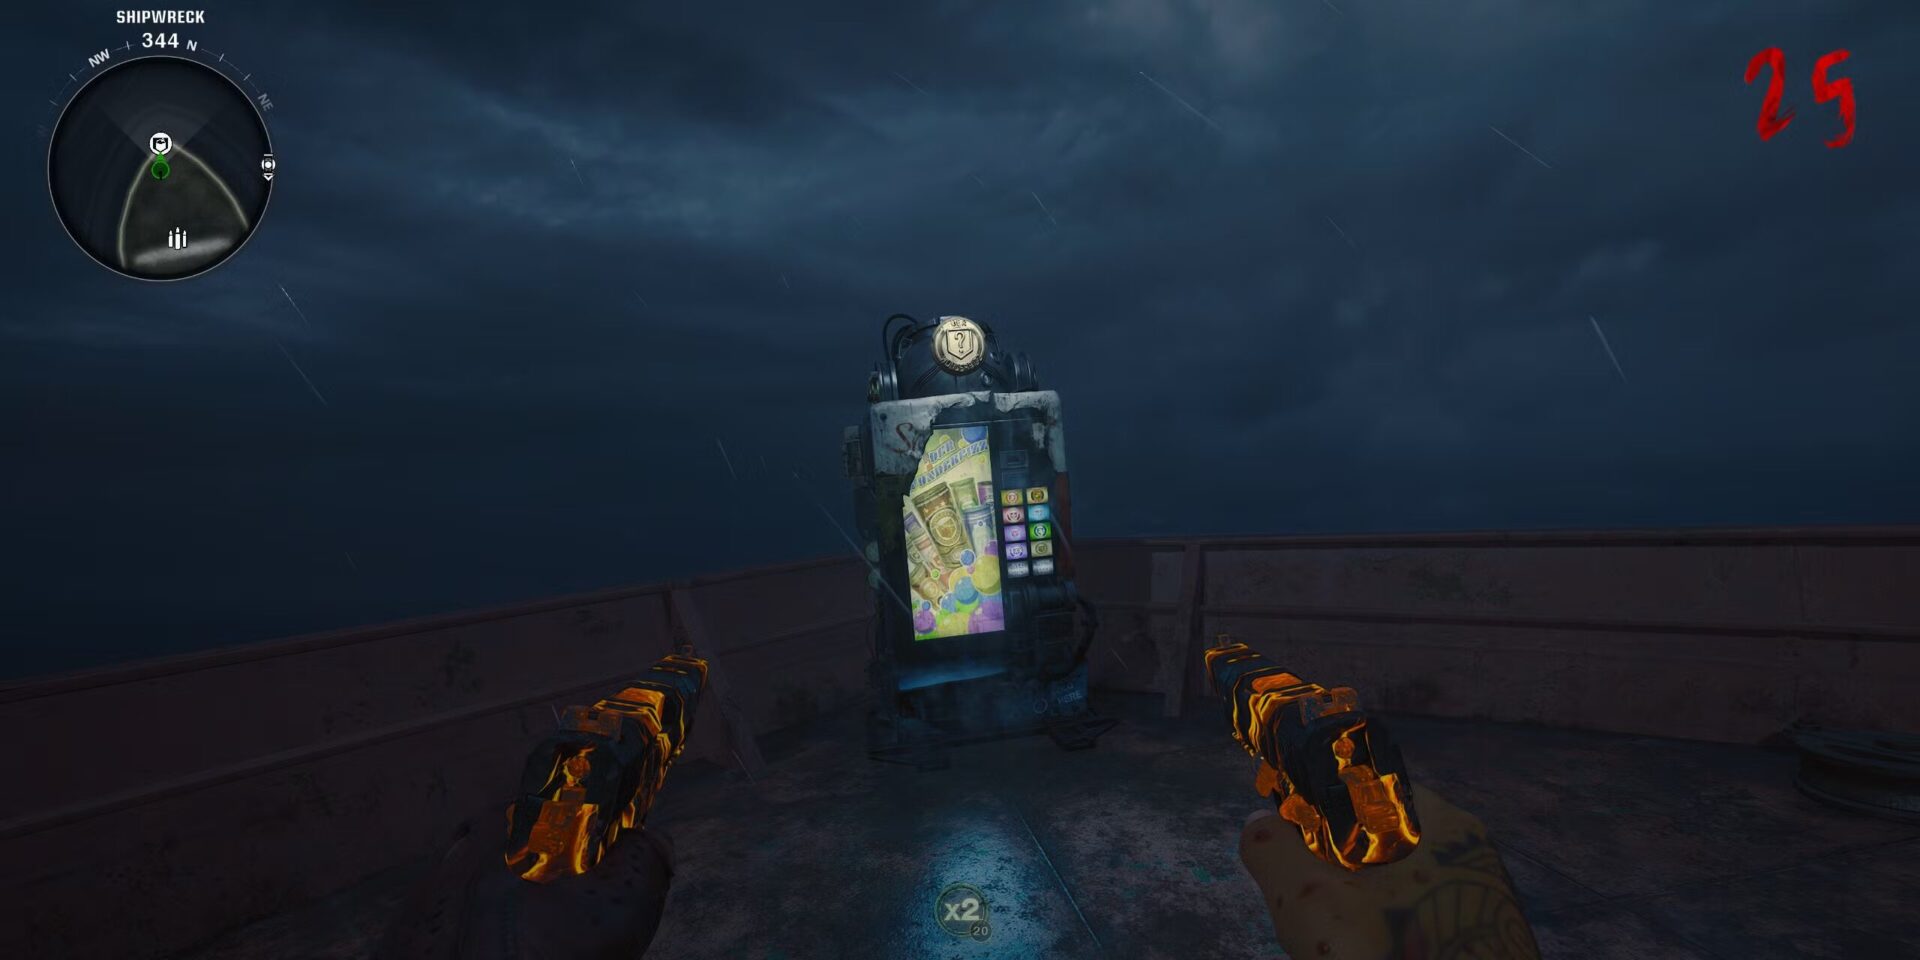
Der Wunderfizz – All Perks in One Machine
📍 Location: Shipwreck (Bow of the Ship)—accessible via tactical raft (West of Terminus).
- Effect: Lets you buy all Perks from one machine (only available after Round 25).
Exclusive Perks at Der Wunderfizz:
- Vulture Aid – Enemies drop extra loot (ammo, points, and Essence).
- Death Perception – Highlights obscured enemies, making them easier to track.
Why You Need It: If you survive past Round 25, Der Wunderfizz saves time by offering every Perk in one place.
Best Perk Setup for High Rounds
For optimal survival in Terminus, use the following Perk combination:
✅ Jugger-Nog – Extra health for tanking zombie hits.
✅ Speed Cola – Faster reloads for high-DPS weapons.
✅ Stamin-Up – Increased mobility for fast escapes.
✅ Quick Revive – Faster health regeneration & revives.
✅ PhD Flopper – Explosive protection for Ray Gun users.
✅ Elemental Pop – Bonus elemental damage for Wonder Weapons.
✅ Deadshot Daiquiri – Headshot damage boost for elite zombies.
✅ Vulture Aid – Extra ammo and Essence drops for sustained play.
Bonus: If you’re using LMGs, swap Melee Macchiato for Death Perception to track zombies through obstacles.
Dominate Black Ops 6 Zombies with GladiatorBoost
If you want to reach high rounds, complete Easter Eggs, or unlock rare rewards, GladiatorBoost’s BO6 Boosting Services can help. Our professional players offer expert assistance for high-round runs, weapon leveling, and zombie mastery—so you can dominate Terminus without the grind!
Final Thoughts
Perk-a-Colas are the key to survival in Terminus, and knowing their locations and effects ensures you’re always prepared.
Whether you’re boosting mobility with Stamin-Up, stacking damage with Deadshot Daiquiri, or going explosive with PhD Flopper, choosing the right Perks will give you the best chance at surviving high rounds.
With this guide, you’ll never waste time searching for Perks—so grab your Essence, build your loadout, and take on the undead in Black Ops 6 Zombies!
Related Guides

ARC Raiders Red Coral Jewelry Farming Guide: Best Locations and Fastest Loot Routes

Best Early Cars in Forza Horizon 6: Fastest Budget Unlocks for New Players

Forza Horizon 6 House Locations Guide: Every Home, Price, Perk, and Unlock Requirement

Black Ops 7 Zombies Wonder Weapons Ranked: The Ultimate Tier List