


In Black Ops 6 Zombies, the Terminus Main Quest takes players deep into a high-stakes adventure full of zombies, lore, and mystery. As ex-Requiem members seek revenge on Director Edward Richtofen, you’ll be thrust into a battle for survival on Terminus Island, an isolated prison surrounded by monsters. In this detailed guide, we’ll break down each step of the Terminus Main Quest, from obtaining the DRI-11 Beamsmasher to defeating the final boss, Patient 13.
**Whether you’re aiming for the Easter Egg completion or just trying to survive the onslaught, we’ve got all the details to guide you through this exciting, challenging experience.
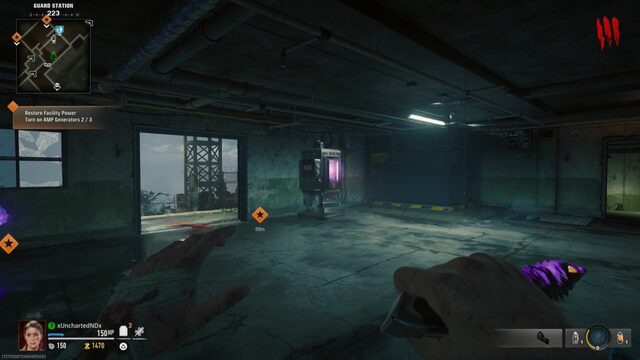
Table of Contents
- 1 Step 1: Obtain the DRI-11 Beamsmasher
- 2 Step 2: Acquire the Hard Drive and Give it to Peck
- 3 Step 3: Find the Codes to Nathan’s Containment Unit
- 4 Step 4: Defeat Nathan and Obtain the Keycard
- 5 Step 5: Fix the Computer Using Node Connectors
- 6 Step 6: Hack the Buoys and Defuse the Bombs
- 7 Step 7: Prepare for the Boss Fight Against Patient 13
- 8 Step 8: Terminus Main Quest Rewards
- 9 Maximize Your Progression with GladiatorBoost
- 10 Final Thoughts
Step 1: Obtain the DRI-11 Beamsmasher
Before starting the Terminus Main Quest, players must acquire the DRI-11 Beamsmasher, a Wonder Weapon crucial for progressing through the map.
How to Craft the DRI-11 Beamsmasher:
- Activate the AMPs: These power sources will turn on Pack-a-Punch and the overall power on the map.
- Activate Three Laptops:
- Outside Storage Area
- Outside Communications
- By the Docks after Sea Tower
- Deadwire Ammo Mod: Purchase this mod and shoot at an electric circuit through a broken window on the Inclined Lift. Follow the circuit to Living Quarters.
- Enter the Research Office at Rec Yard: Defeat the trapped zombie and pick up the EMF Fob.
- Multiphasic Resonator: Interact with a briefcase in Sea Tower.
- Pay Peck: At the Guard Station, spend 5,000 Essence to acquire a code.
- Multiphasic Resonator Placement: Head to the designated island, place the Resonator near the glowing orb, and defeat the spawning zombies. Repeat this process until you acquire the AMP Munition.
- Craft the DRI-11 Beamsmasher: Return to the Research Office and interact with the workbench to complete the craft.
Step 2: Acquire the Hard Drive and Give it to Peck
With the DRI-11 Beamsmasher in hand, you now need a Hard Drive. The Hard Drive is dropped from one of the Tentacle Traps on the map.
Tentacle Trap Locations:
- Mining Tunnels near Bio Lab
- Sea Caves near Bio Lab
- Between Holding Cells and Guard Station at spawn
- Living Quarters to Rec Yard
- Activate the Trap: Spend 750 Essence to turn on the Tentacle Trap.
- Shoot Tentacles: Use the DRI-11 Beamsmasher to destroy the tentacles, and a Hard Drive will pop out.
- Deliver the Hard Drive: Return to Guard Station, interact with the drop box, and give it to Peck.
Step 3: Find the Codes to Nathan’s Containment Unit
After interacting with Nathan’s containment unit in the Bio Lab, players must gather three codes in specific locations:
- Code #1 – Interrogation Rooms: Look at the clock’s hour hand on the south wall near Quick Revive.
- Code #2 – Mess Hall: Find the playing card attached to a wooden pinboard on the east wall.
- Code #3 – Engineering: On the northwest wall, find the Safety First sign and record the number.
Enter the codes in the correct order on Nathan’s containment unit in the Bio Lab to proceed.
Step 4: Defeat Nathan and Obtain the Keycard
Once Nathan’s containment unit is unlocked, a boss fight will begin. Nathan is a mini-boss with more health and the ability to consume zombies for healing.
Fight Tips:
- Stay Mobile: Keep moving to avoid being cornered.
- Use Powerful Weapons: Pack-a-Punched weapons like the GS45 or Wonder Weapons are essential.
- Don’t Let Zombies Pile Up: To prevent Nathan from healing, clear the zombies quickly.
After the Fight:
- Get the Keycard: After defeating Nathan, head into the water below the Bio Lab and collect the Keycard.
- Use the Keycard: Go to Communications and interact with the terminal to reveal a Network Connection Error.
Step 5: Fix the Computer Using Node Connectors
Now, you’ll need to obtain Node Connectors from the Shipwreck.
- Take a Tactical Raft: Head out to the Shipwreck and enter the bottom deck.
- Collect the Node Connector from the Workshop.
- Survive the Lockdown: Zombies will swarm during this step, so be prepared.
- Place the Node Connectors: There are three slots to place the connectors:
- Crab Island (South)
- Sea Tower (East)
- Speed Cola (West, near Sea Caves)
- Return to the Guard Station: Give the Node Connector to Peck to receive the Hacking Device.
Step 6: Hack the Buoys and Defuse the Bombs
This step involves hacking three Buoys around Terminus Island, followed by defusing bombs in the Bio Lab.
- Hack the Buoys:
- Use the Hacking Device on each Buoy found in the sea.
- Players will have two minutes to hack the Buoys in a specific order.
- Defuse the Bombs:
- After hacking all Buoys, rush back to the Bio Lab.
- Defuse three bombs within five minutes.
- Use Aether Shroud or Monkey Bombs to distract zombies while defusing the bombs.
Step 7: Prepare for the Boss Fight Against Patient 13
Once the bombs are defused, it’s time for the final boss fight.
Recommended Loadout:
- Jugger-Nog for extra health
- Quick Revive for fast self-revive
- Tier 3 Armor for protection
- Pack-a-Punched Wonder Weapons (with Shadow Rift Ammo Mod)
Patient 13 Fight Phases:
- Phase 1: Damage Patient 13 by shooting his red bulbs and avoid his tentacle slams.
- Phase 2: Eliminate mini-boss zombies to unlock damage spots in Patient 13’s mouth.
- Phase 3: Shoot Patient 13’s glowing blue eyes and mouth while avoiding his electric field.
After Defeating Patient 13:
Enjoy the cutscene and revel in completing the Terminus Main Quest.
Step 8: Terminus Main Quest Rewards
Upon completing the Terminus Easter Egg, you’ll unlock exclusive rewards:
- Trophy Collector Operator Skin for Maya
- Terminus Quest Complete Calling Card
- Vent-acles accessory (can be added to any weapon as a charm)
Additionally, if you complete the quest before Directed Mode’s release, you’ll receive a golden skull Terminus Quest Complete Calling Card.
Maximize Your Progression with GladiatorBoost
The Terminus Main Quest can be tough, but if you’re struggling with any part of the quest or want to avoid the grind, GladiatorBoost’s BO6 Boosting Services are here to help. Whether it’s completing Easter Eggs, getting high-round progression, or acquiring rare items, our expert boosters can help you tackle the most challenging aspects of Black Ops 6 Zombies.
Final Thoughts
The Terminus Main Quest is an epic journey full of challenges, puzzles, and a climactic boss fight. With the right preparation, you can conquer Nathan, defeat Patient 13, and unlock incredible rewards. Be ready for a long, tough fight, but the sense of achievement will be worth it. Follow this guide, prepare your loadout, and get ready for an unforgettable adventure in Black Ops 6 Zombies.
Related Guides
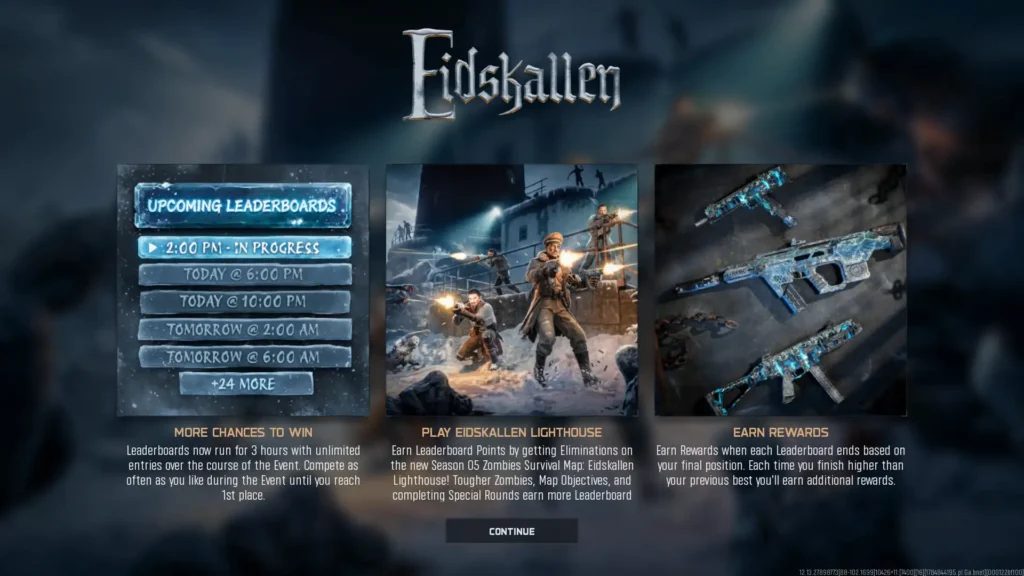
Black Ops 7 Zombies Eidskallen Event Rewards Guide: Every Leaderboard Reward Explained

Black Ops 7 Season 5 Weapons Guide: Every New Weapon and How to Unlock Them
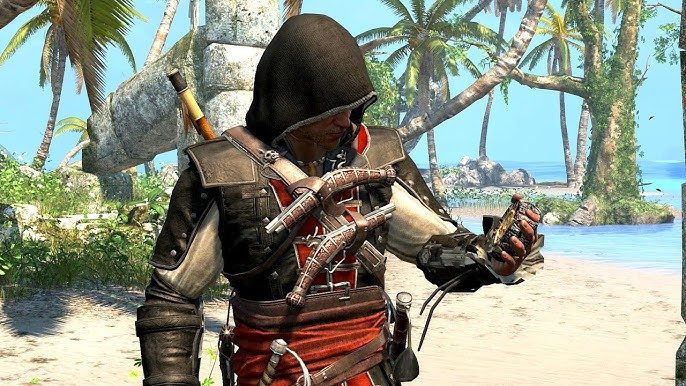
How to Unlock the Pirate Captain Outfit in Assassin's Creed Black Flag Resynced
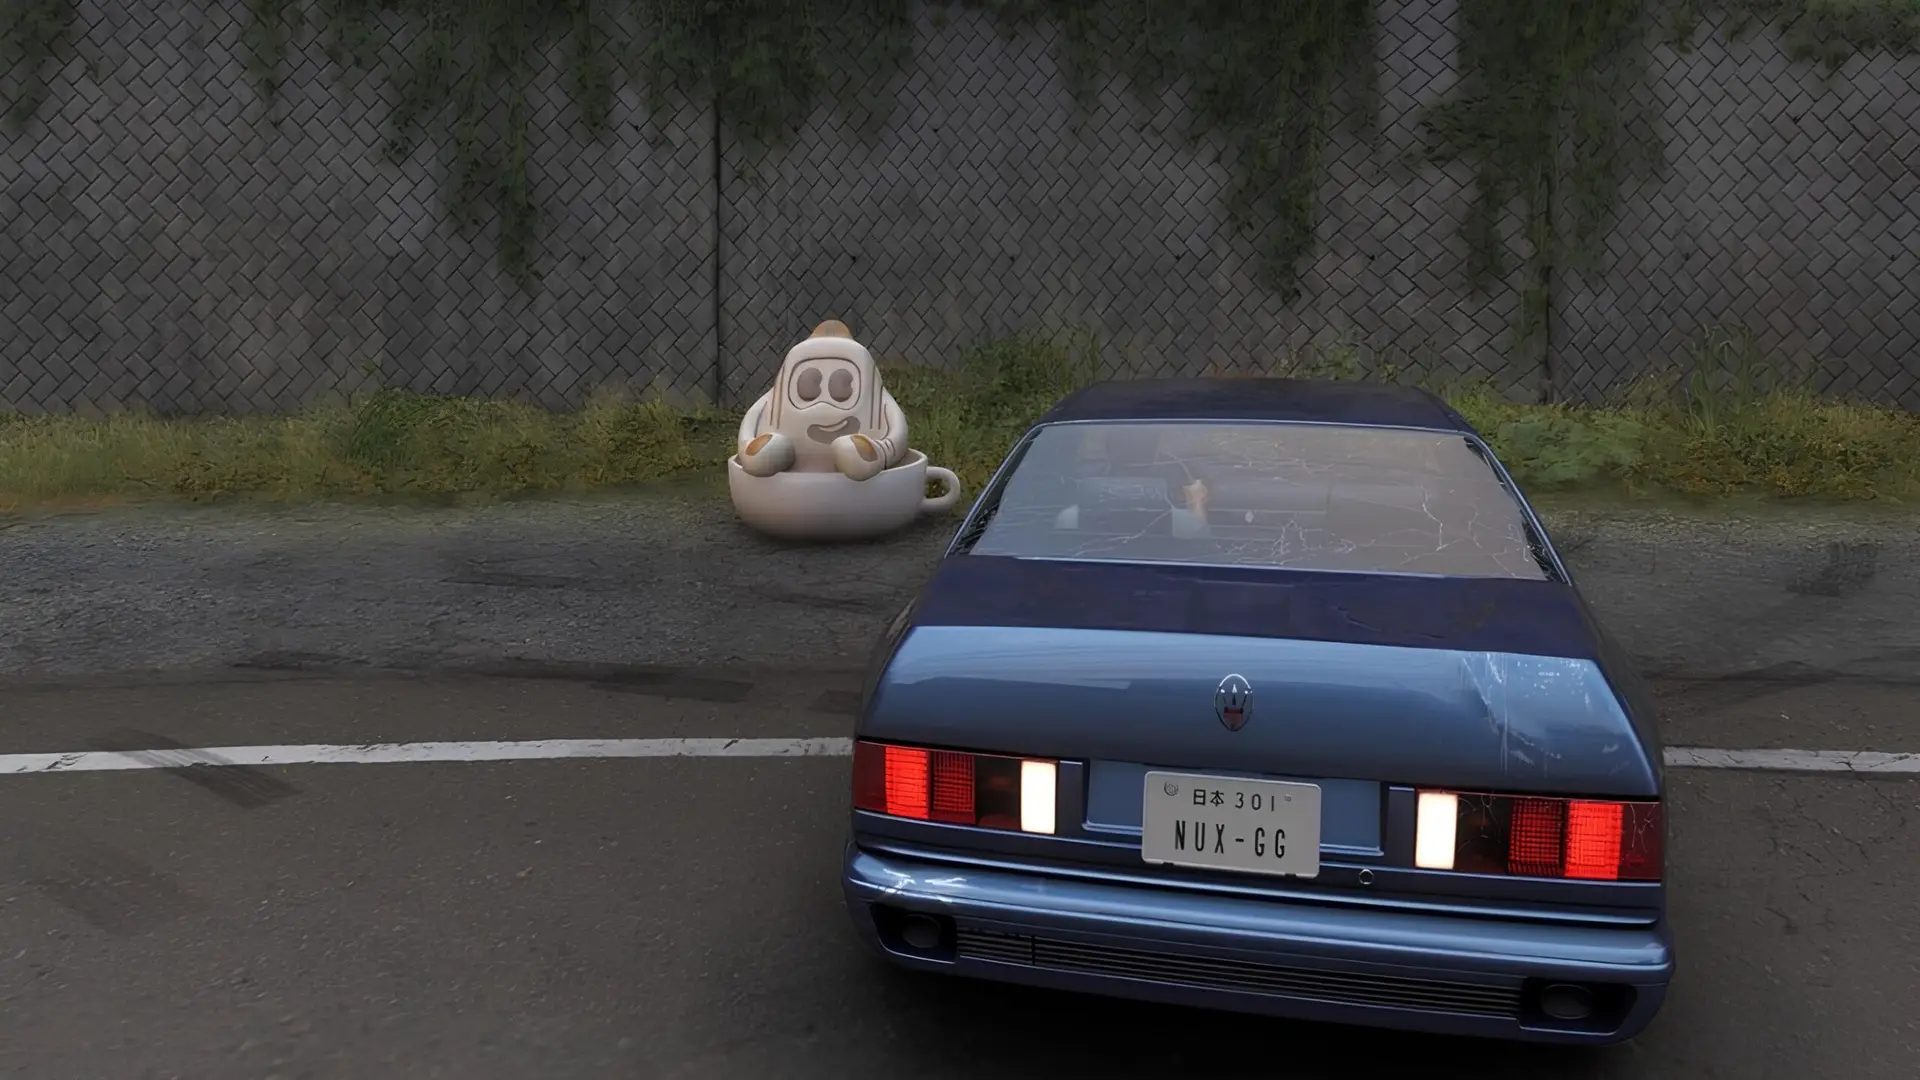
Forza Horizon 6 Tanks for the Coffee Collectible Locations Guide (Fastest Tank Latte Route)