


Table of Contents
🗺️ Where to Start / Prerequisites
-
Quest is given by Byron in Harper’s Hideaway, which is in the Fadefields region.
-
You need to have progressed past (or finished) Recruitment Drive main mission for it to be available.
🧩 Clue Locations in the Barn
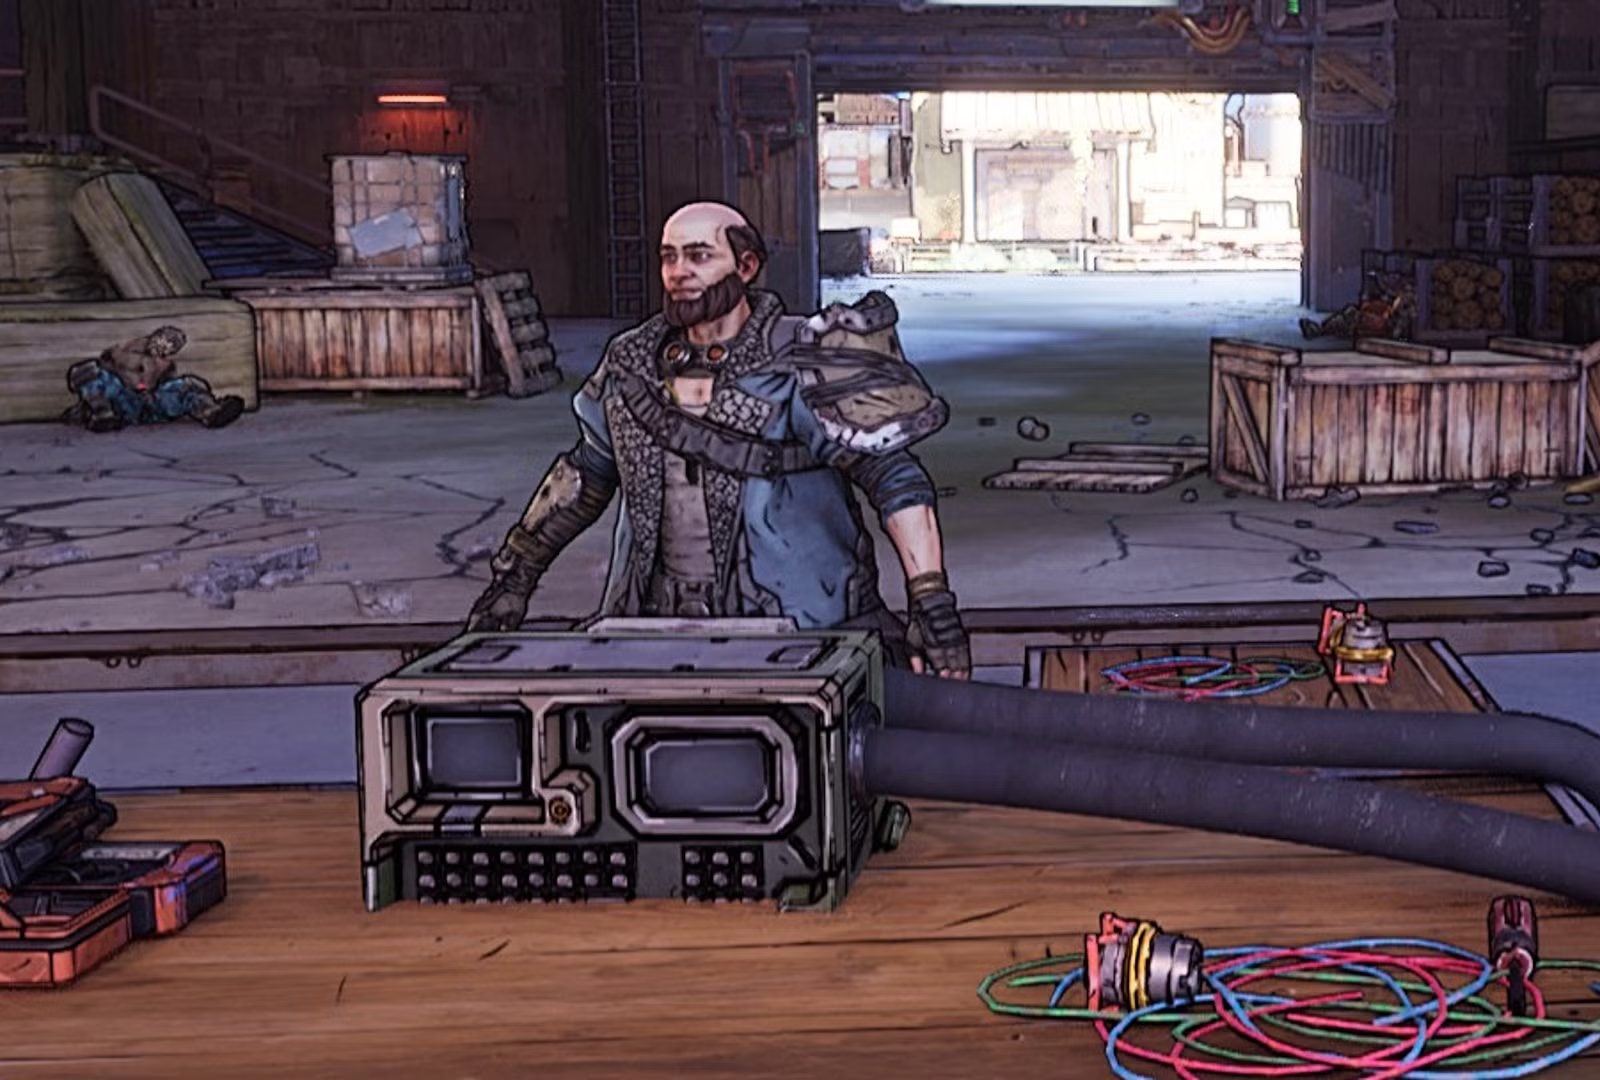
When you enter the barn after talking to Byron, you’ll need to locate four clues. Use your ECHO device (if available) to spot interactable (highlighted) objects. The four are:
-
The hand on the table set in the center of the barn.
-
Bodies / remains of Rippers near the table or entrance (e.g. a ripper corpse).
-
A large animal carcass beside the barn entrance, near a ladder.
-
A panel or piece of equipment (metal plate / scorched panel) on the side wall.
After examining all four, go to the table with the “bone arms” in the center and interact with the radio next to it — this triggers things that lead to finding Harper’s body.
🔧 Main Steps after Clues
-
Find Harper — He’s hanging from the ceiling above a grinder in the barn. Let the mission dialogue prompt you here.
-
Activate the Kill Switch — Go to a platform/computer in the barn (usually up to the left) and try switching it.
-
Destroy Coolant Regulators — Leave the barn, head outside to destroy two regulators (one on each side). Use grappling hooks on panels/hatches, open them, shoot inside to destroy.
-
Release Harper — Return to barn, shoot rope holding Harper’s body, so it drops. Then examine Harper’s body.
-
Examine Radio on Harper — There’s a radio attached or nearby to Harper’s corpse; interact to get some quest info.
-
Defeat Ripper Ambush — After examining, enemies (“Rippers”) will ambush you in the barn. Clear them out.
-
Reach the Tool Shop and Speak to Owner (Otis) — After the fight, follow the quest marker to a nearby tool shop; talk to the owner.
-
Find Cave Behind Waterfall — The tool shop owner tells you about a cave beyond a waterfall. Head north toward Plungeford, find the waterfall, then the cave entrance behind it.
-
Enter Cave & Kill the Murderer — Inside the cave, you’ll find Zeke (the murderer). Defeat him.
-
Listen to the Radio in the Cave — After you kill Zeke, interact with a radio inside the cave to complete the quest.
⚡ Tips & Tricks
-
Be sure to have enough ammo and gear before entering the cave—Zeke and surrounding Rippers can be tough if underprepared.
-
Use mobility (grapple, jump) to move quickly between regulators behind the barn.
-
Following the quest’s in-game tracker usually helps with “waterfall → cave” location; look for map markers and visual cues (waterfall, sound).
-
Examine all clues in the barn carefully—missing one delays progress.
🌟 Boosting Mention
If you don’t want to spend time exploring or looking for clues blindly, Borderlands 4 Boosting can help. Boosting can assist by guiding you directly to each clue, clearing the ambushes, and getting into the cave to defeat Zeke so you get the quest rewards faster.
Related Guides

ARC Raiders Red Coral Jewelry Farming Guide: Best Locations and Fastest Loot Routes

Best Early Cars in Forza Horizon 6: Fastest Budget Unlocks for New Players

Forza Horizon 6 House Locations Guide: Every Home, Price, Perk, and Unlock Requirement

Black Ops 7 Zombies Wonder Weapons Ranked: The Ultimate Tier List