


Breaking Ground: How to Complete the Paving the Way Quest in Arc Raiders

Paving the Way is a multi-stage quest introduced during the Arc Raiders Cold Snap update, and it’s one of the more confusing objectives players encounter early on. Unlike most missions, this quest sends you looking for ENELICA buildings, which are not clearly labeled as map locations. Instead, success depends on environmental awareness, map knowledge, and careful navigation through hostile zones.
Assigned by Apollo, Paving the Way unfolds across multiple maps and requires both investigation and vertical traversal. This guide breaks down each step clearly, helping you complete the quest efficiently without unnecessary risk.
Table of Contents
Quest Overview: What Makes Paving the Way Tricky
Paving the Way is divided into two distinct parts, and each must be completed in its respective raid. The biggest challenge lies in identifying ENELICA buildings correctly and reaching high-risk areas guarded by ARC enemies.
Quest objectives include:
-
Locating an ENELICA building
-
Investigating a notice board
-
Traveling to Buried City
-
Finding research data inside a high-rise apartment
There’s no single “ENELICA” marker on the map, so knowing where to look is essential.
Part One: Locating an ENELICA Building
Which Maps Contain ENELICA Buildings?
ENELICA structures appear on several maps, including:
-
Dam Battlegrounds
-
Buried City
-
Blue Gate
You can complete the first part of the quest on any of these maps. However, Dam Battlegrounds is the most efficient choice—especially if you are also progressing through quests tied to water treatment facilities.
Best Route: Dam Battlegrounds
Load into Dam Battlegrounds and head toward the Water Treatment Control Building. This structure is already familiar to many players due to other Apollo questlines, making it an ideal overlap point.
As you approach the building:
-
Watch for ARC patrols around entrances
-
Use cover near exterior structures
-
Avoid lingering in open areas
Once inside or near the front of the building, your objective will update, prompting you to search for a notice board.
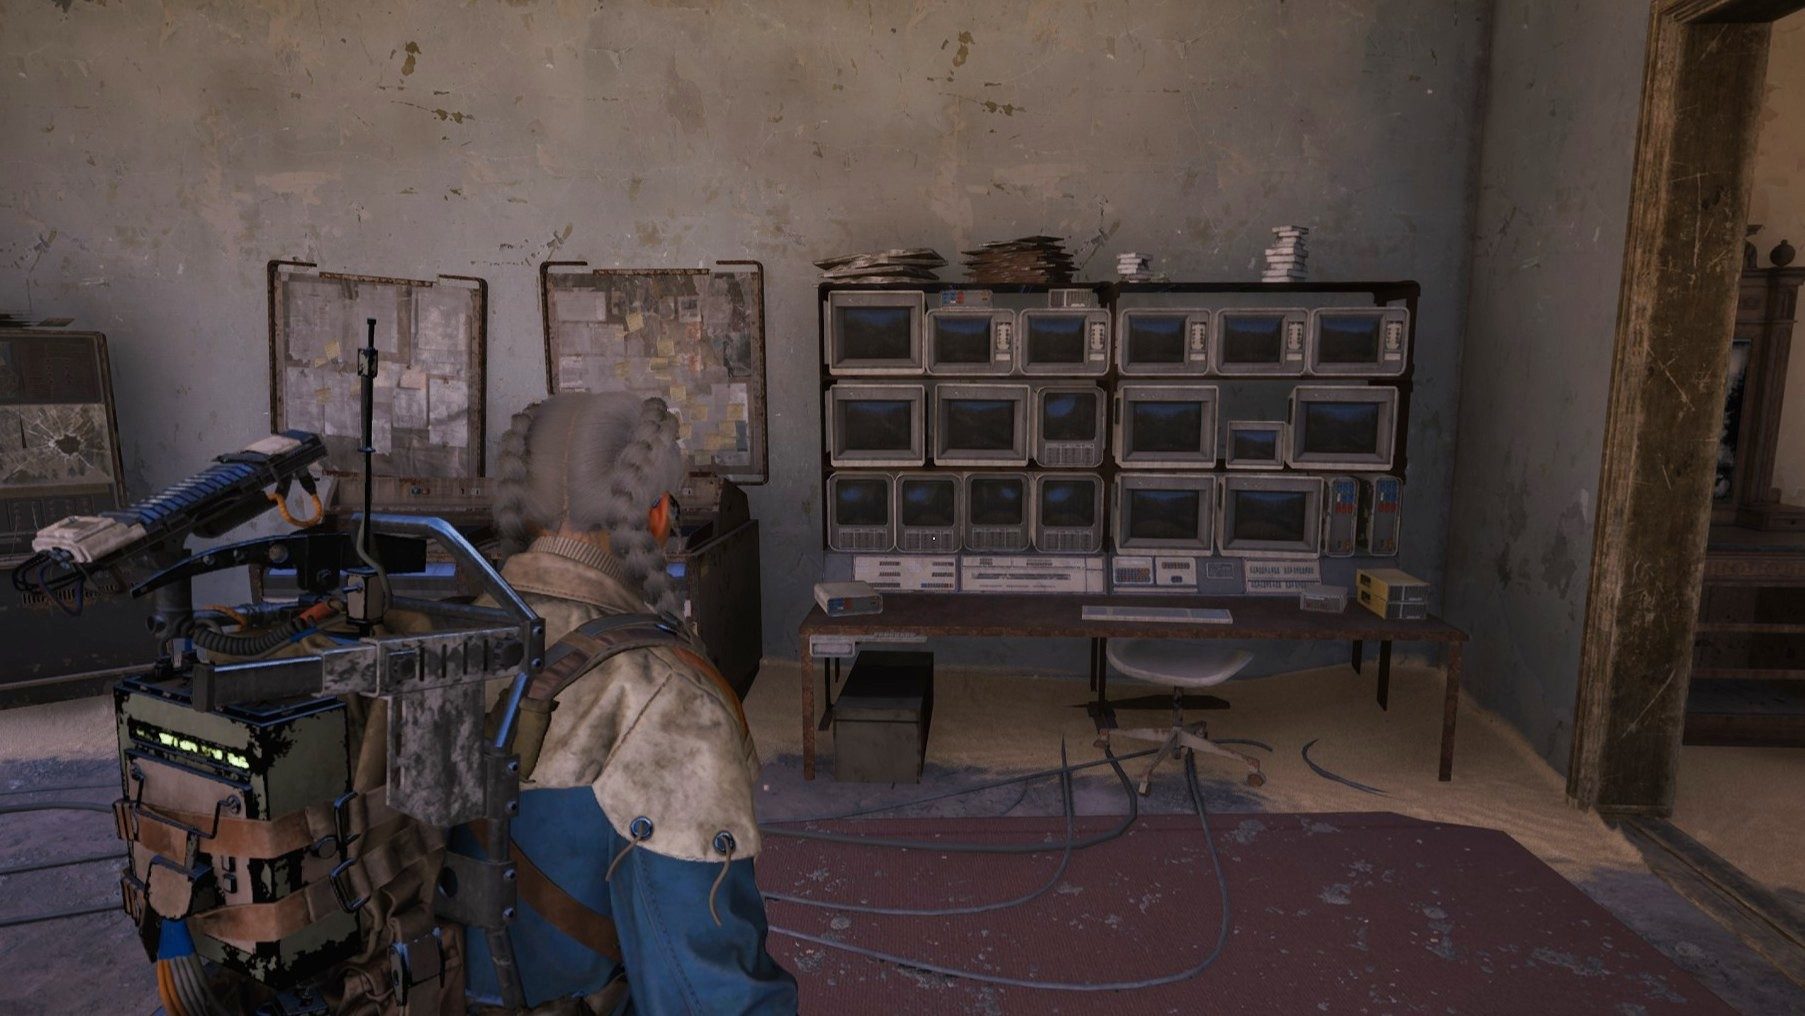
Finding the ENELICA Notice Board
Move to the front exterior of the Water Treatment Control Building. You’ll see the ENELICA branding clearly displayed on the structure.
Right next to the ENELICA signage, there is a notice board mounted on the wall. Interact with it to complete the first stage of Paving the Way.
After this step:
-
The objective will mark as complete immediately
-
You do not need to explore further in this area
Use the Water Treatment elevator nearby to extract safely and prepare for the second phase of the quest.
Part Two: Buried City and the Researcher’s Flat
The second half of Paving the Way is more dangerous and requires vertical movement in a densely populated ARC zone.
Deploying to Buried City
Load into the Buried City map and mark the Piazza Roma area. Your destination is a large building west of the metro station entrance, standing taller than most surrounding structures.
This area is known for:
-
Aggressive ARC enemy spawns
-
Tight movement corridors
-
Vertical traversal using ziplines
Move carefully and avoid drawing unnecessary attention.
Climbing the Building Safely
To reach the upper floors, you’ll need to use a zipline that runs along the exterior of the building.
Key threats to watch for:
-
Fireballs, which can punish stationary movement
-
Pops, often lurking near ledges and entry points
Tips for survival:
-
Clear enemies near the base before ascending
-
Use short movement bursts on the zipline
-
Listen for audio cues before entering each level
Patience here dramatically reduces the chance of a failed run.
Reaching the Researcher’s Flat (Sixth Floor)
Once inside the building, work your way up to the sixth floor. On this level, look to the right-hand side for an apartment labeled as the researcher’s flat.
Inside, you’ll find the data object required for the quest. Interact with it to finalize Paving the Way. The completion prompt appears instantly once the interaction finishes.
At this point, your objective is complete, and you can extract or leave the raid as you see fit.
Quest Rewards
After returning to Esperanza and turning in the quest to Apollo, you’ll receive the following rewards:
-
Raider Hatch Key
-
Seeker Grenade x3
-
Advanced Electrical Components x1
These rewards are particularly useful for mid-game progression and future locked-area exploration.
Need Help Reaching High-Risk Areas?
The Buried City portion of Paving the Way can be especially punishing due to vertical combat, enemy density, and limited escape options. If repeated attempts are slowing your progress, Arc Raiders Boosting at GladiatorBoost offers a reliable alternative. With experienced players handling dangerous routes and objectives, you can complete quests like Paving the Way efficiently while protecting your loadout and saving valuable time. GladiatorBoost is ideal for players focused on progression without repeated trial-and-error runs.
Final Tips for Completing Paving the Way
-
Choose Dam Battlegrounds for part one to minimize travel
-
Avoid unnecessary combat—speed matters more than loot
-
Clear enemies before using ziplines in Buried City
-
Listen carefully when approaching upper floors
Paving the Way rewards players who plan their routes and stay disciplined. With the right approach, this quest becomes a smooth stepping stone toward deeper Cold Snap progression.
Related Guides
How to Earn More Crowns in Sand: Raiders of Sophie – The Complete Money Farming Guide

Black Ops 7 Kowakujo Guide: How to Complete Takeo's Secret Side Easter Egg
Rainbow Six Siege Calypso Casino Guide: Best Strategies, Operators & Site Setups

Black Ops 7 Illicit Cargo Event Rewards Guide: Every Camo, Challenge & Unlock Explained