


Dying Light: The Beast — Every Armor Set & How to Get Them (All 9 Sets)

Armor in The Beast isn’t just drip; each set grants specific bonuses and most are tied to precise locations, quests, or vendors. There are nine core sets, each with six pieces (54 total), excluding any DLC-only set. Below is a clean, use-in-game checklist version with the exact perks and where to find each piece.

Table of Contents
- 1 Scavenger Set (loot & accessory damage)
- 2 Heavy Set (pure defense)
- 3 Bruiser Set (two-handers & power attacks)
- 4 Explorer Set (leveling/EXP)
- 5 Parkourist Set (parkour & thrown melee)
- 6 Survivor Set (melee value + healing)
- 7 Soldier Set (firearms specialist)
- 8 Merc Set (infected DR, headshots, recoil)
- 9 Rogue Set (stealth / backstab)
- 10 Which Set Should You Use?
- 11 GladiatorBoost Spotlight
Scavenger Set (loot & accessory damage)
Bonuses per piece: +6% Common Craftparts Loot (max 36%), +3% Uncommon Craftparts Loot (max 18%), +4% Accessory Damage (max 24%).
How to get all 6:
-
Headpiece: Nate Market Dark Zone, just north of Town Hall.
-
Pants: Vanity Store near Town Hall.
-
Boots: Taurus Megastore Dark Zone (Recreation Island).
-
Bracers: Nate Market Dark Zone (across the Industrial Zone bridge).
-
Chest: Golden Pines’ Vanity Store.
-
Gloves: Nate Market in the Farmlands.
Heavy Set (pure defense)
Bonus per piece: Added armor rating (max +51 across the full set).
How to get all 6:
-
Chest: Station Sq. Apartment Dark Zone (Old Town).
-
Pants: Library Sq. Apartment near the Library Tower safe zone.
-
Mask: Gallery Sq. Apartment below Town Hall.
-
Boots: Warehouse Dark Zone (Industrial Park).
-
Gloves: Factory Offices.
-
Bracers: School Dark Zone (Villa region).
Bruiser Set (two-handers & power attacks)
Bonuses per piece: +1.5% Damage Resistance vs Infected (max 9%), +3% Two-Handed Damage (max 18%), +3% Power Attack Damage (max 18%).
How to get all 6 (quest chain):
-
Cap: Complete Trouble in Paradise.
-
Pants: Complete Good Vibrations.
-
Bracers: Complete Hydro Puzzle.
-
Boots: Complete Killing Streak.
-
Gloves: Finish main campaign, then loot inside Town Hall.
-
Chest: Building opposite the Nate Market Dark Zone in Pembroke.
Explorer Set (leveling/EXP)
Bonus per piece: +2% EXP (max 12%).
How to get all 6: Buy the entire set from Doug at Town Hall (costs Old World Money).
Parkourist Set (parkour & thrown melee)
Bonuses per piece: +7% Parkour Attack Damage (max 42%), +4% Melee-Throw Damage (max 24%), −3% Melee Stamina Cost (max −18%).
How to get all 6: Purchase from the vendor in Exiles’ Cave.
Survivor Set (melee value + healing)
Bonuses per piece: −3% Melee Stamina Cost (max −18%), +2% Melee Damage (max 12%), +3% HP restored by healing items (max 18%).
How to get all 6 (quest rewards):
-
Boots: Vengeance Is Mine.
-
Gloves: Some Like It Dark.
-
Headpiece: One Flew Over the Volatiles’ Nest.
-
Pants: Power Gambit.
-
Chest: A New Strain.
-
Bracers: Requiem for a Scream.
Soldier Set (firearms specialist)
Bonuses per piece: +3% Firearm Damage (max 18%), −3% Firearm Recoil (max −18%), +1.5% Damage to Humans (max 9%).
How to get all 6 (Killing Streak arc):
-
Boots: Killing Streak: Volume One.
-
Bracers: During Volume One, search the small bench near the Convoy.
-
Gloves: Killing Streak: Volume Two (inside the Church).
-
Headpiece: Killing Streak: Volume Four (dining table, abandoned house).
-
Pants: Killing Streak: Final Chapter.
-
Chest: Complete Killing Streak: Final Chapter.
Merc Set (infected DR, headshots, recoil)
Bonuses per piece: +1.5% Damage Resistance vs Infected (max 9%), +3% Headstrike/Headshot Damage (max 18%), −6% Firearm Recoil (max −36%).
How to get all 6 (safe spots route):
-
Chest: Fishermen Island Tower Safe Spot.
-
Boots: Highway Tower Safe Spot.
-
Pants: Chimney’s Tower Safe Spot.
-
Gloves: Recreation Island Tower Safe Spot.
-
Bracers: Village Tower Safe Spot.
-
Headpiece: Mountain Shelter Tower Safe Spot.
Rogue Set (stealth / backstab)
Bonuses per piece: +3% Enemy Recognition Time (max 18%), +6% Stamina Damage (max 36%), +3% Backstab Damage (max 18%).
How to get all 6 (hidden spots):
-
Chest: Unnamed bunker in the hills southwest of Old Town.
-
Gloves: House southwest of the Hardware Store Dark Zone.
-
Pants: A2 treasure map reward area near Chimney’s Tower Safe Spot.
-
Mask: Safe inside the Green House (Old Town) — code 14-11-20.
-
Bracers: House across from the Pharmacy in Golden Pines (behind a painting).
-
Boots: Another house near the same Pharmacy marked with a peace sign (basement).
Which Set Should You Use?
-
Solo exploration & resource stockpiling: Scavenger, Survivor.
-
Melee-centric runs: Parkourist (burst + throw synergy), Bruiser (2H + power).
-
Gunplay & human outposts: Soldier, Merc.
-
Tanky story pushes: Heavy.
-
Stealth routes and silent clears: Rogue.
-
Early leveling: Explorer, then pivot once EXP needs drop.
GladiatorBoost Spotlight
Collecting 54 pieces across vaults, Dark Zones, quest chains, and hidden interiors can be a grind. If you want the sets now—especially Parkourist, Soldier, or Rogue for specialized builds—Dying Light: The Beast Boosting at GladiatorBoost can help you secure full sets quickly so you spend your time playing the content you enjoy.
Related Guides

Black Ops 7 Illicit Cargo Event Rewards Guide: Every Camo, Challenge & Unlock Explained
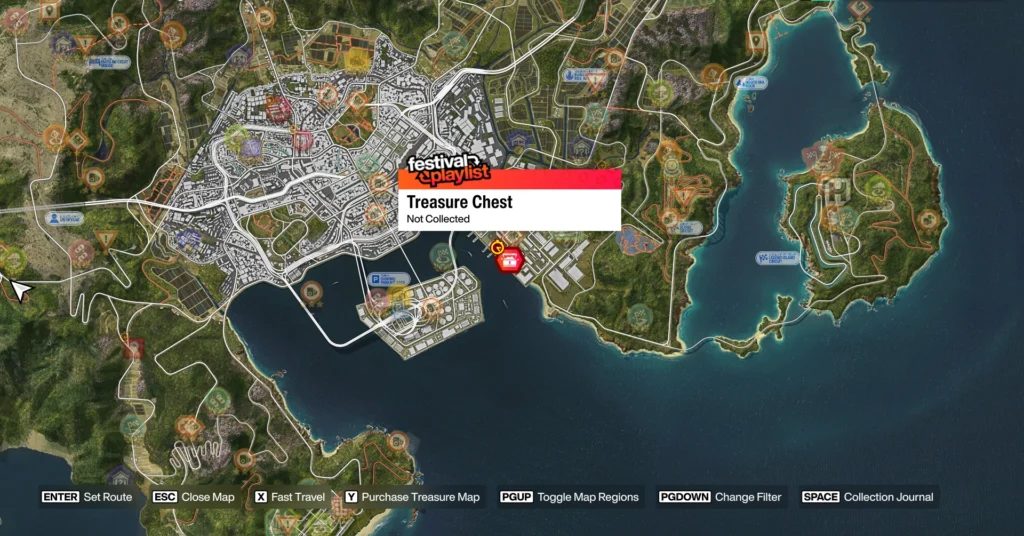
Forza Horizon 6 Treasure Hunt in Tokyo City Location (Spring) – Complete Guide

Forza Horizon 6 AstroToy Photo Challenge Guide: HZN-VI Rocket Location Explained
Guild Wars 2 Leveling Guide: The Fastest Ways to Reach Level 80