


Marathon’s Return on Investment 2 contract is part of the Traxus priority mission chain and challenges players to acquire explosive supplies and deal significant explosive damage. While the objective sounds simple, the mission becomes much easier when you know where to find explosives, how to safely access them, and the fastest way to farm explosive damage.
This comprehensive guide covers everything you need to complete Return on Investment 2 efficiently, including safe entry strategies, optimal farming locations, and expert tips to maximize your progress.
Table of Contents
- 1 How to Complete Return on Investment 2 in Marathon
- 2 Where to Find Explosive Supplies in Marathon
- 3 How to Safely Break Into the Explosives Building
- 4 Where to Find the Explosives Inside
- 5 How to Deal 750 Explosive Damage Fast
- 6 Best Ways to Farm Explosive Damage
- 7 Best Loadout for Explosive Damage
- 8 Does Explosive Damage Carry Over?
- 9 Best Strategy for Fast Completion
- 10 Risk Management Tips
- 11 Rewards for Completing Return on Investment 2
- 12 Why Return on Investment 2 Is Worth Completing
- 13 Pro Tips From Experienced Marathon Players
- 14 Common Mistakes to Avoid
- 15 Final Thoughts
- 16 FAQ — Return on Investment 2
How to Complete Return on Investment 2 in Marathon
The Return on Investment 2 contract has two main objectives:
- Acquire explosive supplies
- Deal 750 explosive damage
Both objectives take place primarily in Dire Marsh, and knowing the layout of Maintenance is key to finishing the contract quickly.
Before jumping in, it’s worth preparing your loadout with extra grenades or explosive tools. If you’re missing gear, you can always buy items in Marathon to speed up your contract completion and reduce risk.
Where to Find Explosive Supplies in Marathon
To acquire explosive supplies, you’ll need to travel to Maintenance on Dire Marsh, specifically the southwestern section of the area.
Here’s how to identify the correct building:
- Small white and red structure
- Connected to an elevated catwalk
- Windows lined with green laser security sensors
- Located near Maintenance perimeter
These green lasers signal that the building is locked down by a security system, which must be disabled before entering.
How to Safely Break Into the Explosives Building
The building is heavily secured and entering without preparation can be dangerous. Triggering the security system can:
- Activate alarms
- Lock exits
- Alert enemy players
- Activate hidden claymores
Instead of rushing in, follow this safer method:
Step-by-Step Safe Entry Strategy
- Approach the building carefully
- Look through windows from outside
- Locate the security breaker boxes
- Destroy both breaker boxes
- Enter safely after disabling security
There are two security breaker boxes:
- One on the first floor
- One on the second floor
Each breaker has a red indicator light, making them easier to identify. Shooting both will disable the security system and allow safe entry.
Once inside, proceed carefully — claymores are scattered across the floors.
Where to Find the Explosives Inside
After entering the building:
- Head to the second floor
- Locate the yellow and orange explosive container
- Loot grenades and explosive equipment
These explosives will help you progress toward the 750 explosive damage requirement.
However, you’re not limited to just these explosives. Bringing additional grenades or explosives significantly speeds up completion.
Players looking to finish contracts faster often rely on Marathon boosting to reduce grind and complete objectives efficiently.
How to Deal 750 Explosive Damage Fast
After acquiring explosives, your next objective is to deal 750 explosive damage. There are two main targets:
- UESC robots
- Enemy Runners
While both count toward progress, UESC robots are the safest and most consistent option.
Best Ways to Farm Explosive Damage
To complete this objective quickly, look for situations where enemies cluster together.
Here are the best opportunities:
1. UESC Dropships
UESC dropships often deploy multiple robots at once. These tightly grouped enemies are ideal for grenades and explosive attacks.
Why this works well:
- Multiple enemies in one location
- Easy explosive damage
- Low risk compared to players
2. Guarded Exfils
Guarded extraction zones often spawn enemy robots in groups.
This allows you to:
- Throw grenades into clustered enemies
- Quickly accumulate damage
- Farm safely before extraction
3. Container Hacks
Hacking containers can trigger enemy spawns. This is a reliable way to force enemies to group together.
Best strategy:
- Start hack
- Wait for enemies to spawn
- Use explosives immediately
4. Proximity Sensors in Maintenance
Maintenance contains proximity sensors that trigger enemy reinforcements.
Use this to your advantage:
- Trigger sensor
- Wait for spawn
- Use grenades on grouped enemies
Best Loadout for Explosive Damage
To maximize efficiency, bring:
- Frag grenades
- Sticky grenades
- Explosive launchers
- Additional explosive tools
Stacking explosives significantly reduces completion time.
Does Explosive Damage Carry Over?
Yes — Return on Investment 2 does not require completion in one run.
This means:
- Progress carries over between runs
- No need to rush
- Safer gameplay options
This is particularly helpful if you’re playing solo or avoiding PvP.
Best Strategy for Fast Completion
For the fastest completion:
- Go to Maintenance southwest building
- Disable security breakers
- Loot explosives
- Trigger enemy spawn events
- Use explosives on grouped enemies
- Repeat until 750 damage reached
This method is the most consistent and efficient.
Risk Management Tips
Completing Return on Investment 2 can be risky, especially in contested areas. Follow these tips:
Avoid Loud Entry
Disabling breakers quietly reduces attention from nearby players.
Watch for Claymores
Always scan floors before moving inside the building.
Bring Extra Explosives
More explosives mean faster progress and less exposure.
Avoid Player Combat
Focus on robots instead of enemy Runners to reduce risk.
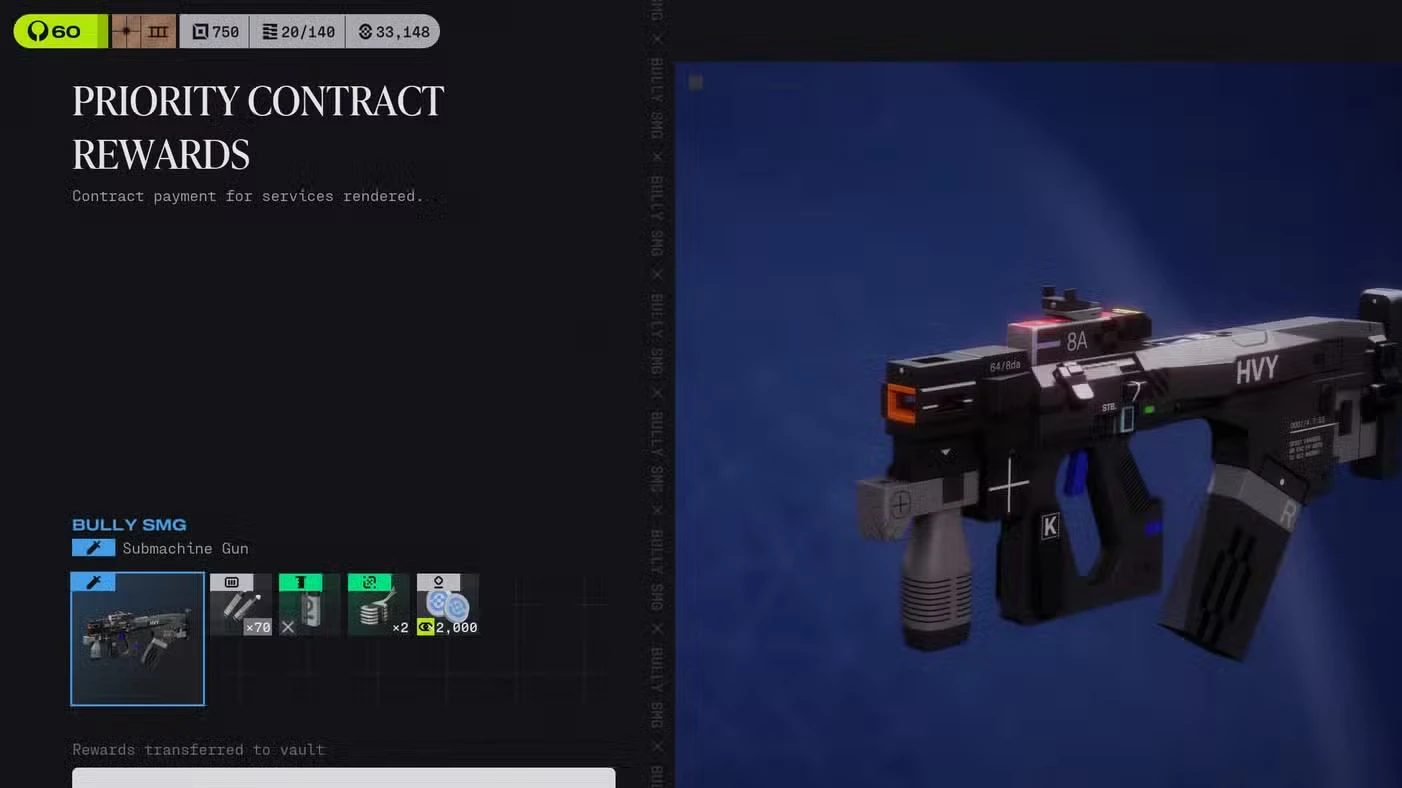
Rewards for Completing Return on Investment 2
Completing the contract rewards players with valuable gear and reputation:
Return on Investment 2 Rewards:
- 420 Traxus Reputation
- Deluxe Bully SMG
- 70 Heavy Ammo
- Random Enhanced Grip Mod
- Random Enhanced Salvage (x2)
- 2,000 Credits
These rewards make the contract highly worthwhile, especially early in progression.
Why Return on Investment 2 Is Worth Completing
This contract provides:
- Strong early weapon reward
- Reputation progression
- Valuable crafting materials
- Credits for gear upgrades
It’s also one of the more efficient contracts in Marathon’s Traxus chain.
Pro Tips From Experienced Marathon Players
Use Enemy Clusters
Wait for grouped enemies before throwing explosives.
Bring Backup Grenades
Don’t rely only on building explosives.
Play Smart, Not Aggressive
Focus on PvE instead of PvP.
Farm Multiple Events
Trigger multiple spawn events in one run.
Common Mistakes to Avoid
Triggering the Alarm
Entering without disabling breakers alerts enemies.
Ignoring Claymores
Moving too quickly inside the building can be fatal.
Targeting Players Only
UESC robots are safer and faster for farming.
Not Bringing Extra Explosives
Relying on limited explosives slows progress.
Final Thoughts
Return on Investment 2 is one of the more straightforward Traxus contracts in Marathon, but preparation and knowledge make a huge difference. By safely acquiring explosive supplies and targeting grouped enemies, you can complete the objective quickly and efficiently.
FAQ — Return on Investment 2
Where are explosive supplies in Marathon Return on Investment 2?
They are located in a secured building in the southwestern part of Maintenance on Dire Marsh.
How much explosive damage is required?
You must deal 750 explosive damage to complete the contract.
Does progress carry over between runs?
Yes, explosive damage carries over if you don’t finish in one run.
What’s the easiest way to deal explosive damage?
Target grouped UESC robots from dropships, container hacks, or proximity sensors.
Is PvP required?
No, you can complete the objective entirely through PvE.
Related Guides

ARC Raiders Red Coral Jewelry Farming Guide: Best Locations and Fastest Loot Routes

Best Early Cars in Forza Horizon 6: Fastest Budget Unlocks for New Players

Forza Horizon 6 House Locations Guide: Every Home, Price, Perk, and Unlock Requirement

Black Ops 7 Zombies Wonder Weapons Ranked: The Ultimate Tier List