


The Charge Blade remains one of the most versatile and rewarding weapons in Monster Hunter Wilds, balancing devastating power with complex mechanics. Whether you’re switching between Sword & Shield combos or landing a fully charged Ultra Burst, your armor choice makes or breaks your effectiveness. The right gear will boost survivability, stamina management, burst damage, and guard options—essential for mastering this weapon.
To help new and experienced hunters alike, this guide ranks the best armor sets for Charge Blade builds in Monster Hunter Wilds, spanning early game to High Rank. We’ve included synergies, key skills, and crafting strategies to give you a competitive edge in your hunts.
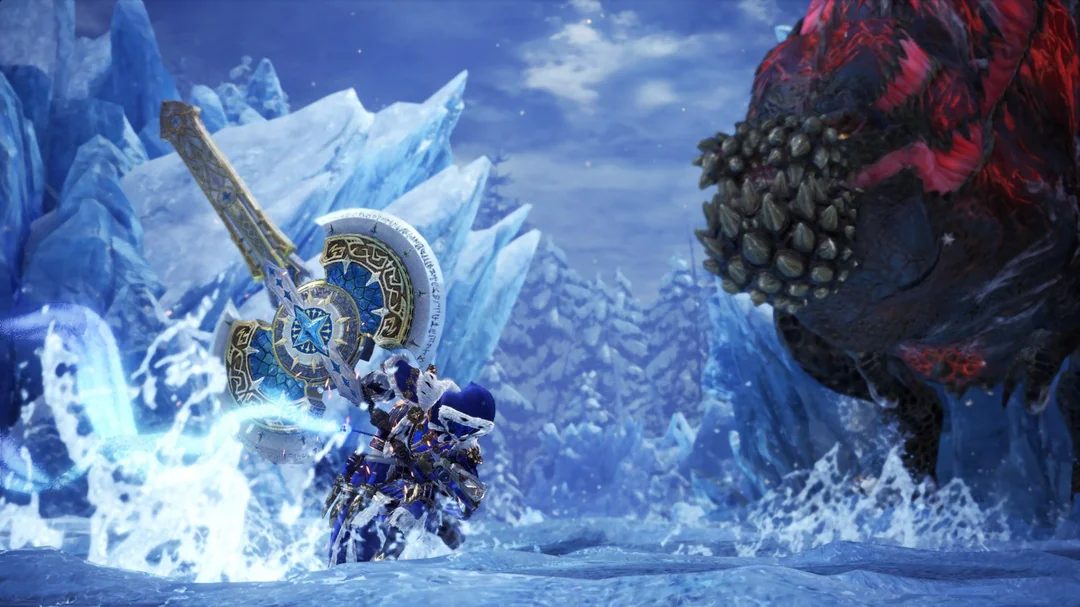
Table of Contents
7. Doshaguma Four-Piece Set
Best For: Early Game Offense & Utility
Armor Pieces:
-
Doshaguma Helm
-
Doshaguma Mail
-
Doshaguma Braces
-
Balahara Coil
-
Doshaguma Greaves
Key Bonuses:
-
Powerhouse Rank 2 (Temporary +25 Attack Boost after power clashes or offset attacks)
-
Free Meal Rank 3 (Chance to not consume items)
Ideal for hunters starting their journey, this set complements the Charge Blade’s shield-based mechanics by rewarding power clashes with a substantial attack boost. It’s easy to trigger and pairs nicely with Free Meal, conserving precious healing and buff items.
🔄 Transition Tip: This set is great for early hunts, but should be replaced once you hit Tier 2 or encounter tougher monsters.
6. Rey Dau & Balahara Mix
Best For: Early Game Evasion & Sustain
Armor Pieces:
-
Rey Sandhelm
-
Rey Sandmail
-
Balahara Vambraces
-
Balahara Coil
-
Rey Sandgreaves
Set Bonus:
-
Thunderous Roar Rank 1 (Extended Latent Power duration)
This set prioritizes Latent Power (affinity and stamina efficiency) and Evade Extender, giving you extra mobility when dodging in Axe Mode. It’s a strong comfort-focused set for players still refining their Charge Blade timing.
⚡ Add Rey Sandbraces for an additional Latent Power rank and activate the full Thunderous Roar bonus.
5. G. Ebony Odogaron & G. Arkveld Mix
Best For: Mid-Game Burst Damage & Sustain
Armor Pieces:
-
G. Ebony Helm
-
G. Arkveld Mail
-
G. Ebony Braces
-
G. Arkveld Coil
-
G. Rathalos Greaves
Key Bonuses:
-
Burst Boost Rank 1 (Boosts continuous attacks)
-
Decimator Rank 1 (Heal on wound breaks)
-
Weakness Exploit
Great for mid-game players transitioning into High Rank content, this build enhances multi-hit combos and wound targeting. With Savage Axe Mode, you’ll make full use of Burst while healing through Decimator every time you break a part.
4. Rathian Two-Piece Mix
Best For: Status-Based Builds (Poison/Paralysis)
Armor Pieces:
-
Barina Headgear (Beta)
-
Rathian Mail (Alpha)
-
Kut-Ku Vambraces (Alpha)
-
Rathian Coil (Beta)
-
Conga Greaves (Beta)
Key Skill:
-
Foray (x4) (Increased damage/affinity against poisoned or paralyzed enemies)
This set trades set bonuses for pure skill stacking, particularly with Foray, ideal if your Charge Blade uses Poison or Paralysis phials. Combined with Critical Boost and Weakness Exploit, it becomes a solid offensive option in early High Rank.
☠️ Poison is recommended for consistent uptime, while Paralysis adds crowd control value.
3. G. Ebony Odogaron & Blango Mix
Best For: Early High Rank Agitator/Burst Build
Armor Pieces:
-
G. Ebony Helm (Beta)
-
Blango Mail (Beta)
-
G. Ebony Braces (Alpha)
-
Blango Coil (Beta)
-
G. Rathalos Greaves (Beta)
Set Bonuses:
-
Burst Boost Rank 1
-
War Cry Rank 1
This aggressive build capitalizes on Agitator (huge damage when monsters enrage) and Burst, ideal for Charge Blade users who favor constant aggression. It’s a practical choice in High Rank hunts, where enraged monsters are frequent and damage windows open up more often.
🔥 Pair this build with a Charge Blade that has high raw damage for best results.
2. Gore Magala & Jin Dahaad Mix
Best For: Late Game Frenzy/Burst Combo
Armor Pieces:
-
Dahaad Shardhelm (Beta)
-
Arkvulcan Mail (Beta)
-
Dahaad Shardbraces (Alpha)
-
Gore Coil (Beta)
-
Gore Greaves (Beta)
Set Bonuses:
-
Black Eclipse Rank 1
-
Binding Counter Rank 1
This setup is ideal for high-damage playstyles. Black Eclipse and Antivirus enhance frenzy synergy, giving both damage and healing after entering frenzy mode. Combined with Binding Counter (damage after power clashes) and Agitator, this build plays well with Charge Blade’s burst potential.
🧪 Slot in skills like Offensive Guard or Crit Boost for even more burst consistency.
1. Zoh Shia & Gore Magala Mix
Best For: High Rank Meta-Endgame Builds
Armor Pieces:
-
Numinous Crown (Beta)
-
Numinous Shroud (Beta)
-
G. Arkveld Vambraces (Beta)
-
Gore Coil (Beta)
-
Gore Greaves (Beta)
Set Bonuses:
-
Black Eclipse Rank 1
-
Super Recovery Rank 1
-
Ward of Wyveria
This set is the top-tier choice for endgame Charge Blade hunters. While maintaining the frenzy synergy of Black Eclipse, it adds Super Recovery (heal even without red health) and Ward of Wyveria (reduced elemental/unique damage). It balances sustain and offense while still allowing you to stack Agitator and Weakness Exploit via decorations.
💡 This build allows you to stay aggressive without needing frequent healing breaks.
⚡ Power Up Faster with GladiatorBoost
Whether you’re grinding out High Rank materials or struggling to craft your ideal Charge Blade set, GladiatorBoost offers expert Monster Hunter Wilds Boosting services designed to help you hit your goals.
With GladiatorBoost, you can:
-
Get help crafting top-tier armor sets
-
Complete High Rank and Master Rank hunts
-
Farm rare monsters and materials efficiently
-
Build meta loadouts for Charge Blade and other weapons
Explore our Monster Hunter Wilds Boosting services here and get the gear you need to dominate any hunt.
Final Thoughts: Build Smart, Hit Hard
Monster Hunter Wilds gives Charge Blade users incredible flexibility—but your armor is what determines your combat effectiveness. Whether you prefer sustained burst damage, Frenzy synergy, or status-inflicting tactics, there’s an armor set that enhances your playstyle.
Start with sets that support survivability and transition into aggressive High Rank builds as your mastery and resources grow. With the right gear—and a little help from GladiatorBoost—you’ll be charging and bursting your way through Ashenfront’s deadliest monsters in no time.
Related Guides

ARC Raiders Red Coral Jewelry Farming Guide: Best Locations and Fastest Loot Routes

Best Early Cars in Forza Horizon 6: Fastest Budget Unlocks for New Players

Forza Horizon 6 House Locations Guide: Every Home, Price, Perk, and Unlock Requirement

Black Ops 7 Zombies Wonder Weapons Ranked: The Ultimate Tier List