


Top Commando Mission Loadouts for Helldivers 2 (Stealth & Survival Guide)

Helldivers 2 introduces Commando Missions as some of the most punishing and tactical content in the game. Dropping far behind enemy lines without Super Destroyer support forces Helldivers to rethink everything they know about loud, explosive warfare. These operations reward stealth, precision, and disciplined aggression, especially since—at the time of writing—Commando Missions are exclusive to fighting the Automatons.
This guide breaks down the best loadouts for Commando Missions in Helldivers 2, covering stratagems, weapons, armor passives, and three proven playstyles that work even if you don’t own every Warbond.
Table of Contents
Understanding Commando Missions
Commando Operations differ from standard missions in several key ways:
-
You deploy without long-term Super Destroyer support
-
Reinforcements are limited
-
Enemy density is high and constant
-
Detection often snowballs into overwhelming fights
Because of this, success comes from avoiding prolonged engagements and eliminating threats before Automatons can call reinforcements.
Best Stratagems for Commando Operations
You can’t bring everything, so stratagem selection should always support your chosen strategy.
Mobility Stratagems
-
Jump Pack / Warp Pack / Hover Pack
Essential for repositioning, escaping patrols, and reaching objectives from unexpected angles. These are near-mandatory for stealth-focused runs.
Sustain & Utility
-
Supply Pack
With no resupply pods available, this is invaluable for demolition-heavy objectives and extended missions.
Anti-Tank & Structure Destruction
-
Quasar Cannon – Infinite ammo, excellent against tanks and structures
-
Recoilless Rifle – Higher damage, but limited ammunition
Crowd Control
-
Airburst Rocket Launcher – Destroys clustered Automatons quickly
-
Orbital Laser – Clears bases and reinforcement waves
-
Exosuits – Excellent for early base wipes and emergency survivability
Silent Demolition
-
C4 Pack – Ideal for destroying objectives like Anti-Air Guns without alerting enemies
Three Proven Commando Mission Strategies
1. Hot Drop Assault
This strategy abuses the one-minute grace period before your Super Destroyer leaves orbit.
How It Works
-
Drop near a large objective or Automaton fortress
-
Immediately deploy Orbital Laser, Exosuit, and heavy weapons
-
Destroy key targets and reinforcement callers
-
Abandon the Exosuit and disappear before enemies regroup
This approach is extremely risky but can eliminate major objectives in seconds. You’ll usually get one more opportunity later in the mission to repeat this tactic.
2. Guerrilla Warfare Strategy
This method focuses on hit-and-run destruction.
Recommended Tools
-
Airburst Rocket Launcher
-
Autocannon (Flak ammo)
-
Recoilless Rifle (HE ammo)
The goal is to:
-
Strike fast
-
Kill reinforcement-capable enemies first
-
Leave before patrols converge
On planets with short sightlines, like dense urban or jungle maps, swap Airburst for Autocannon or Grenade Launcher. Team reloads significantly increase reliability.
3. Pure Stealth Infiltration
This is the hardest—but safest—approach when executed correctly.
Key Requirements
-
Jump/Warp/Hover Packs
-
C4 Pack (ideal) or Thermite Grenades
-
Long-range suppressed weapons
You’ll approach objectives from vertical angles, destroy them quietly, and leave before detection escalates. If you lack C4 or Thermite, bring an AT weapon like the Quasar Cannon—stealth becomes harder, but still possible.
Best Armor Passives for Commando Missions
Top Choices
-
Reduced Signature – Less noise, harder to detect
-
Scout – Enemy detection on radar and reduced visibility
-
Engineering Kit – Extra grenades for demolition
-
Servo-Assisted – Longer grenade throws for safe Thermite placement
-
Extra Padding / Med-Kit – Survivability for mistakes
Pick armor passives that match your strategy. Stealth players benefit most from Scout + Reduced Signature, while guerrilla players prefer Engineering Kit or Servo-Assisted.
Best Weapons for Commando Missions
Primary Weapons
-
Censer – Suppressed marksman rifle, excellent one-tap potential
-
Deadeye / Diligence CS – Long-range eliminations outside detection
-
Suppressor / M7S SMG – Quiet close-range options
-
Eruptor – Outstanding AoE damage and structure destruction
Grenades
-
Thermite Grenades – Fantastic for armor and objectives
-
Dynamite – Extremely versatile, even against Hulks and Factory Striders
Sidearm
-
Ultimatum – Emergency solution when stealth fails
Suppressed weapons are ideal, but range can also substitute for silence. Enemies killed from extreme distance often won’t alert others.
Patrols: The Real Threat
No matter how stealthy your loadout is, patrols should almost always be avoided. Shooting one unit nearly guarantees alerting the entire group. Reposition, hide, or wait them out whenever possible.
Speeding Up Progress
Commando Missions demand high mechanical skill, unlocks, and experience. If you want faster access to optimized gear, stratagems, or Warbond rewards, Helldivers 2 Boosting at GladiatorBoost can help streamline progression.
Many players use boosting services to unlock key equipment faster, improve mission success rates, and prepare for high-difficulty operations without excessive trial and error.
Final Tips for Commando Success
-
Stealth doesn’t mean passive—controlled aggression wins missions
-
Always kill reinforcement callers first
-
Plan your exit before engaging
-
Mobility saves more lives than armor
With the right loadout and mindset, Commando Missions in Helldivers 2 become some of the most rewarding and intense experiences the game has to offer.
Related Guides
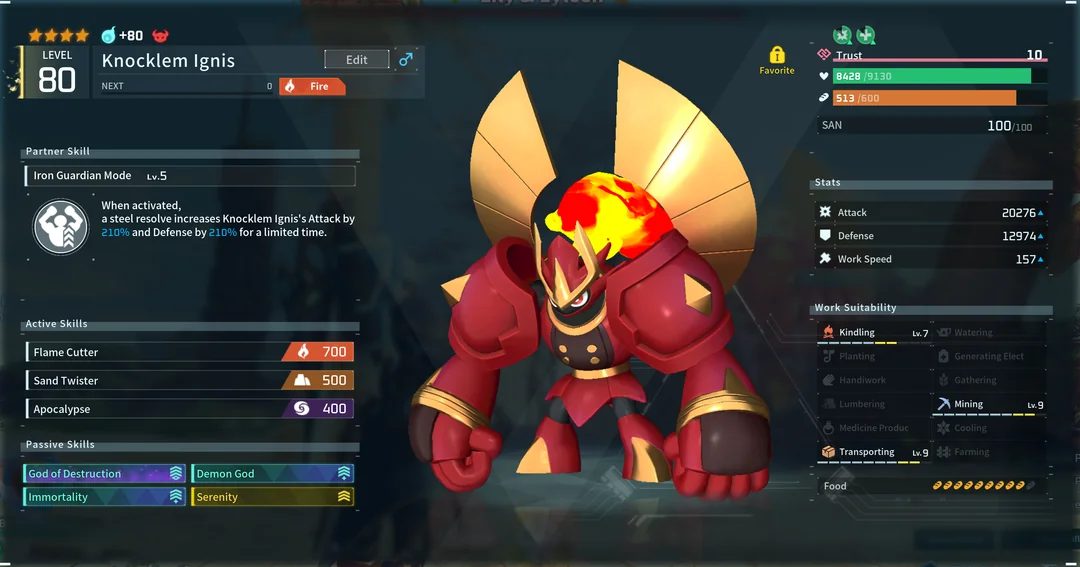
Best Farming Pals in Palworld 1.0: The Ultimate Guide to Base Automation

Shikisai-no-Oka in Forza Horizon 6: Complete Location Guide
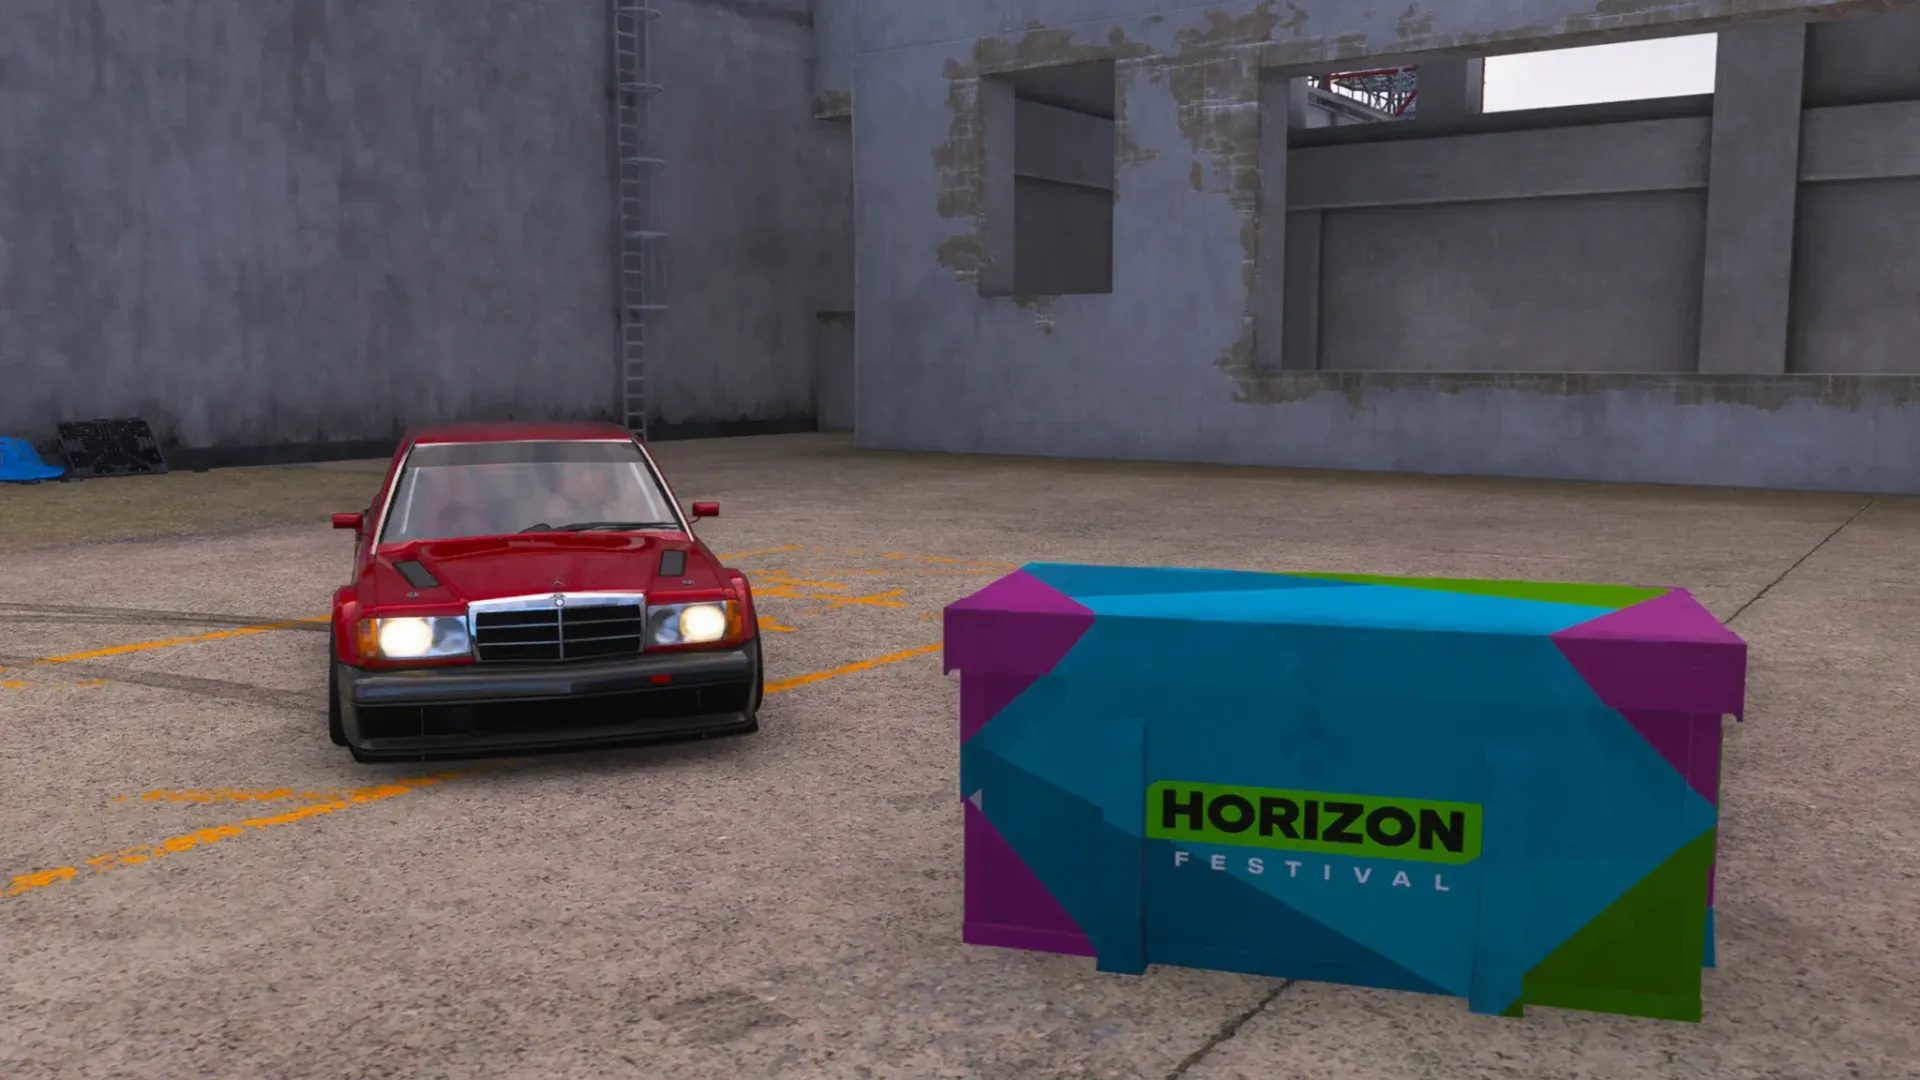
Forza Horizon 6 Nangan Treasure Hunt Guide: Rocket Ship Treasure Chest Location
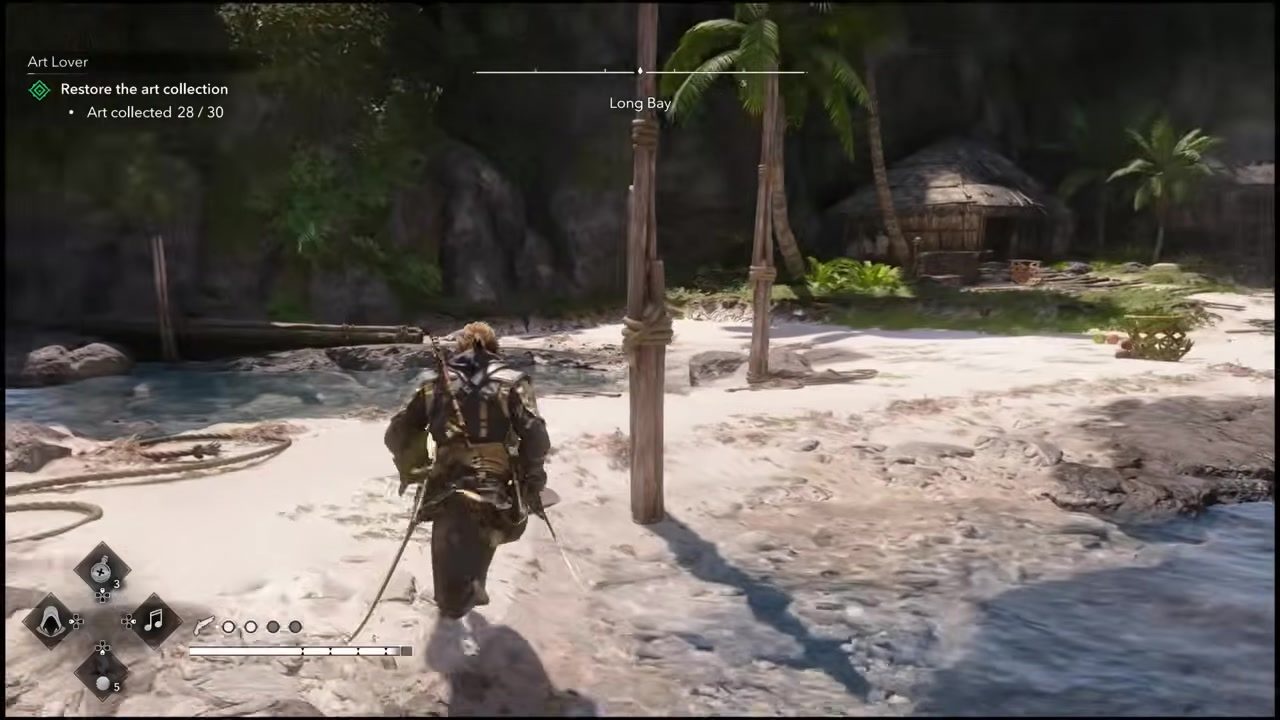
Assassin's Creed Black Flag Resynced Blow the Man Down Trophy Guide