


Black Ops 7 Zombies introduces one of the most demanding rule sets the series has seen with Cursed Mode. Instead of traditional difficulty scaling, players activate Relics that permanently alter how the match functions. Each Relic adds both risk and reward, and choosing poorly can make Tier 3 feel nearly impossible.
Reaching Tier 3 Cursed Mode is the ultimate objective, unlocking Golden Armor, Ultra Weapon Rarity, and Pack-a-Punch Tier 4. The challenge isn’t raw skill alone—it’s picking Relics that increase difficulty without sabotaging survivability. This guide breaks down the best Relics to equip for Tier 3, why they work, and which ones you should avoid entirely.
Table of Contents
How Cursed Mode Relics Work
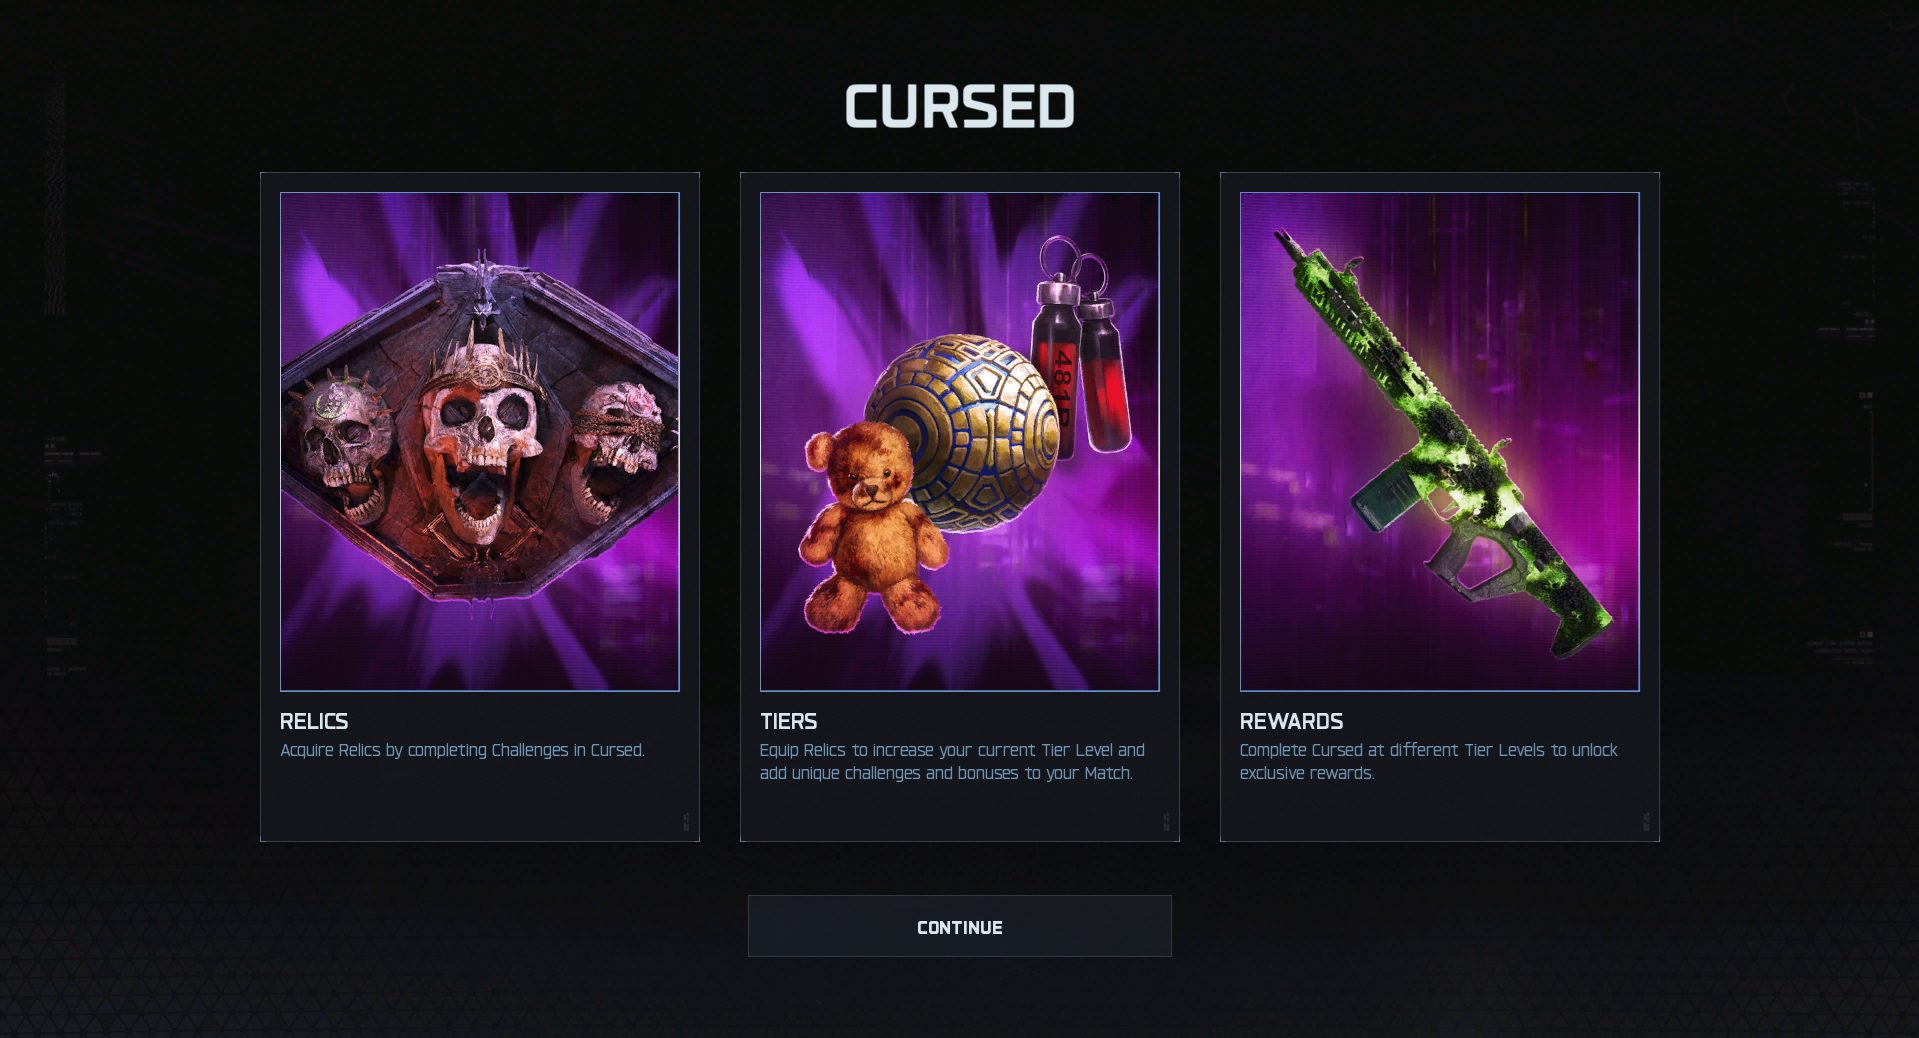
Cursed Mode allows you to activate Relics across multiple tiers. Each Relic introduces a modifier that stays active for the entire match. To unlock Tier 3 rewards, you need enough active Relics—but not all Relics are created equal.
Some Relics add manageable pressure, while others cripple core systems like perks, augments, or power-ups. The goal is to stack Relics that barely impact high-level play, especially once you’re training zombies efficiently and relying on Pack-a-Punch Tier 4 weapons.
Best Relics for Tier 3 Cursed Mode
The following Relics provide enough activation points to reach Tier 3 while keeping the match stable, predictable, and manageable.
Teddy Bear (Grim Relic)
The Teddy Bear Relic dramatically shortens the delay between rounds, cutting downtime by roughly three-quarters. While this may sound stressful at first, it’s actually one of the safest Relics in Cursed Mode.
Experienced players rarely rely on round transitions to prepare. Most upgrades, crafting, and repositioning should happen while one zombie remains alive at the end of a round. Faster round starts simply keep momentum high and reduce idle time.
Why it’s ideal for Tier 3:
-
No direct combat penalty
-
Keeps gameplay flow consistent
-
Encourages efficient end-of-round management
Seed (Grim Relic)
Seed disables the Mystery Box entirely. On paper, that sounds restrictive—but in practice, the Mystery Box is largely irrelevant in Cursed Mode.
Wall weapons across maps are reliable, Wonder Weapons are obtained through quests, and Ray Guns can be earned via Easter Eggs or T.E.D.D. Trials. Even if you absolutely need the box, there are temporary ways to activate it through upgrades and consumables.
Why it’s ideal for Tier 3:
-
Removes an unnecessary system
-
Doesn’t affect weapon progression
-
Encourages consistent loadout planning
Focusing Stone (Sinister Relic)
Focusing Stone prevents players from crafting Self-Revive Kits, which initially feels dangerous. However, this downside is easily mitigated through perks and Trials.
Quick Revive’s survival augments allow players to avoid death multiple times without a self-revive. Additionally, T.E.D.D. Trials frequently reward Self-Revives, making the restriction far less punishing than it appears.
Why it’s ideal for Tier 3:
-
Self-Revives become redundant at high skill levels
-
Perk-based survival options remain intact
-
No impact on damage or economy
Spider Fang (Sinister Relic)
Spider Fang locks perk prices so they never decrease after death. In standard modes, this would be problematic—but Cursed Mode economy works differently.
Points are abundant due to hit-based scoring, and once all perks are acquired, T.E.D.D. Trials can grant Eternal Perks, which persist even after downs. This makes perk repurchasing largely irrelevant in late-game runs.
Why it’s ideal for Tier 3:
-
Essence income easily offsets perk costs
-
Eternal Perks bypass the downside entirely
-
No effect on combat pacing
Bus (Wicked Relic)
Bus is the only Wicked Relic recommended for Tier 3 runs. It causes enemies to regenerate health if left untouched for too long. While that sounds dangerous, proper zombie training negates the drawback almost completely.
As long as you’re consistently damaging enemies—especially while training large groups—health regeneration never becomes an issue. Even Elite enemies are manageable, as focused fire prevents recovery. Boss health regeneration is capped per phase, preventing drawn-out fights.
Why it’s ideal for Tier 3:
-
Rewards aggressive, efficient play
-
Minimal impact with proper training
-
No permanent stat penalties
Relics You Should Avoid
Some Relics introduce difficulty that far outweighs their benefit. These are not recommended for Tier 3 progression:
-
Lawyer’s Pen – Overloads matches with Shock Mimics, disrupting flow
-
Dragon Wings – Removes all Power-Ups, crippling ammo and survival
-
Gong – Severely limits Field Upgrade usage
-
Matryoshka Doll – Slashes Salvage gains, slowing progression
-
Blood Vials – Disables all Augments, gutting build depth
-
Golden Spork – Doubles enemy damage, making mistakes lethal
-
Civil Protector Head – Randomly removes perks during normal play
These Relics drastically increase stress without offering strategic upside, making Tier 3 runs far less consistent.
Saving Time
Grinding Relics, mastering Cursed Mode mechanics, and pushing into Tier 3 can take dozens of attempts—especially if you’re short on time. For players who want to skip the trial-and-error phase, Black Ops 7 boosting services offer a streamlined alternative.
At GladiatorBoost, experienced Zombies players help with Cursed Mode progression, Relic unlocks, and Tier 3 clears. Whether you’re aiming for Pack-a-Punch Tier 4 or just want consistent high-round success, boosting services let you focus on enjoying the mode rather than grinding it.
Final Thoughts on Tier 3 Cursed Mode Relics
Tier 3 Cursed Mode isn’t about stacking the hardest modifiers—it’s about choosing Relics that barely affect skilled play. The Teddy Bear, Seed, Focusing Stone, Spider Fang, and Bus form a balanced setup that unlocks maximum rewards without compromising survivability.
With smart training, efficient upgrades, and the right Relic choices, Tier 3 becomes challenging—but fair—and transforms Black Ops 7 Zombies into one of the most rewarding experiences in the franchise.
Related Guides

ARC Raiders Red Coral Jewelry Farming Guide: Best Locations and Fastest Loot Routes

Best Early Cars in Forza Horizon 6: Fastest Budget Unlocks for New Players

Forza Horizon 6 House Locations Guide: Every Home, Price, Perk, and Unlock Requirement

Black Ops 7 Zombies Wonder Weapons Ranked: The Ultimate Tier List