


Windrose Crafting Station Upgrades Explained: A Complete Progression Guide

Upgrading crafting stations in Windrose is one of the most important systems tied to your overall progression—but it doesn’t work the way most players expect. Instead of simple upgrade buttons, the game uses a modular building system that rewards planning, efficiency, and exploration.
This guide breaks down everything you need to know, from how the system works to advanced optimization strategies—so you can craft stronger gear, unlock new recipes, and scale your power faster.
Table of Contents
- 1 Understanding the Crafting Upgrade System in Windrose
- 2 All Crafting Stations and Their Upgrade Add-Ons
- 3 How Bonfire Radius Affects Upgrades
- 4 Why Upgrading Crafting Stations Matters
- 5 Unlocking Add-On Recipes
- 6 Advanced Base Planning Strategies
- 7 Crafting Progression and Gear Scaling
- 8 Common Mistakes to Avoid
- 9 Expert Tips for Faster Crafting Progression
- 10 Final Thoughts
- 11 FAQ: Windrose Crafting Station Upgrades
Understanding the Crafting Upgrade System in Windrose
In Windrose, crafting stations improve through add-on structures, not direct upgrades. To level up a station, you must:
- Build specific support structures (add-ons)
- Place them within the same Bonfire radius
- Ensure each required add-on is present at least once
This system encourages base-building strategy rather than simple resource dumping.
Unlike other survival games, proximity is flexible. Add-ons don’t need to sit right next to the station—only within the shared influence of a Bonfire. This opens up more creative layouts and efficient base design.
All Crafting Stations and Their Upgrade Add-Ons
Below is a complete breakdown of every station and the structures needed to upgrade them:
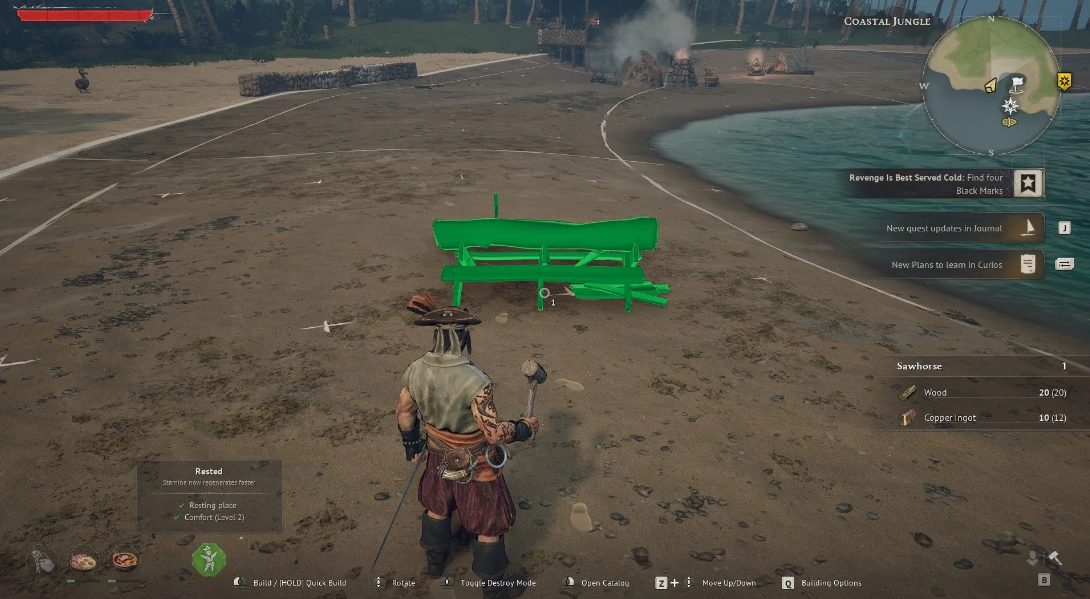
Workbench Upgrades
- Sawhorse
- Tool Shelf
- Toolbox
Weaponsmith Workshop Upgrades
- Anvil
- Bellows
- Water Barrel
Armor & Clothing Workshop Upgrades
- Material Rack
- Shoemaker’s Bench
- Try-on Mannequin
Cooking Station Upgrades
- Cutting Table
- Cookware Shelf
- Supplies Rack
Alchemy Table Upgrades
- Reagent Table
- Distiller
- Stove and Pot
Jewelry Table Upgrades
- Jewelry Cabinet
- Jeweller’s Bench
💡 Important Tip:
Building duplicates of the same add-on does not provide additional benefits. One of each is enough.
How Bonfire Radius Affects Upgrades
The Bonfire acts as the core system that links your crafting network.
Any station and add-on placed within the same Bonfire radius will interact—even if they’re not physically close. This allows you to:
- Centralize upgrades across multiple stations
- Share add-ons between compatible stations
- Reduce clutter and optimize resource usage
Efficient players often build clustered crafting hubs inside one Bonfire zone for maximum efficiency.
Why Upgrading Crafting Stations Matters
Upgrading isn’t optional—it’s essential for progression.
Higher-tier crafting stations unlock:
- Advanced weapons and armor
- Inventory upgrades (like backpacks)
- Better consumables and buffs
- Late-game crafting recipes
For example, early inventory upgrades require both:
- A specific crafted item
- An upgraded Workbench with the correct add-on
Without upgrades, you’ll hit a progression wall quickly.
If you want to skip early grind and accelerate progression, many players rely on Windrose boosting services to fast-track materials and unlocks.
Unlocking Add-On Recipes
You won’t have all add-ons available from the start. Recipes unlock through:
- Exploration
- Quest progression
- Discovering new materials
- Interacting with new regions
This system reinforces Windrose’s exploration loop—meaning the more you explore, the more efficient your crafting becomes.
Advanced Base Planning Strategies
1. Build a Central Crafting Hub
Instead of spreading stations across your base, group them within one Bonfire radius.
Benefits:
- Shared add-ons
- Easier upgrades
- Faster crafting loops
2. Avoid Redundant Structures
Many players waste resources by overbuilding.
Remember:
- One add-on = full benefit
- Extra copies = wasted materials
3. Expand Bonfire Coverage Strategically
As your base grows, you’ll need to:
- Extend your crafting network
- Place additional Bonfires
- Connect zones efficiently
Think long-term—your early layout impacts late-game efficiency.
4. Prioritize High-Impact Upgrades
Focus first on:
- Workbench (core progression)
- Weaponsmith Workshop (combat scaling)
- Armor Workshop (survivability)
If you’re aiming to optimize combat performance quickly, it may also help to buy weapons in Windrose rather than crafting everything from scratch early on.
Crafting Progression and Gear Scaling
Crafting upgrades directly impact your combat strength and exploration capabilities.
With upgraded stations, you gain access to:
- Stronger weapons with better stats
- Armor with improved durability and bonuses
- Tools that increase gathering efficiency
This ties directly into your ability to explore dangerous zones and gather rare materials.
For players focused on naval gameplay and exploration, upgrading crafting also helps you unlock better ship-related items. Some players choose to buy Windrose ships to skip early grind and jump straight into high-tier exploration content.
Common Mistakes to Avoid
1. Ignoring Bonfire Mechanics
Placing add-ons outside the radius means they won’t work.
2. Overbuilding Add-Ons
Duplicates don’t stack—save your resources.
3. Poor Base Layout
Disorganized bases lead to inefficiency and wasted space.
4. Delaying Upgrades
Waiting too long to upgrade slows progression significantly.
Expert Tips for Faster Crafting Progression
- Always check if a new recipe requires a station upgrade
- Upgrade stations immediately after unlocking new add-ons
- Combine exploration with resource farming routes
- Keep your crafting hub organized and expandable
Consistency is key—small upgrades compound into massive power spikes.
Final Thoughts
Crafting station upgrades in Windrose are designed to reward planning, exploration, and efficiency rather than brute-force grinding. By understanding how add-ons, Bonfires, and station synergy work, you can dramatically speed up your progression and unlock the game’s best content faster.
Mastering this system is what separates casual players from optimized builds—so invest time into your crafting setup early, and the payoff will follow throughout your entire journey.
FAQ: Windrose Crafting Station Upgrades
How do you upgrade crafting stations in Windrose?
You upgrade them by building specific add-ons and placing them within the same Bonfire radius.
Do add-ons need to be placed next to the station?
No. They only need to be within the same Bonfire area.
Can one add-on upgrade multiple stations?
Yes, if the stations are compatible and within the same Bonfire range.
What happens if I build duplicate add-ons?
Nothing—duplicates don’t provide additional benefits.
What should I upgrade first?
Start with the Workbench, then move to combat-focused stations like Weaponsmith and Armor workshops.
Related Guides

ARC Raiders Red Coral Jewelry Farming Guide: Best Locations and Fastest Loot Routes

Best Early Cars in Forza Horizon 6: Fastest Budget Unlocks for New Players

Forza Horizon 6 House Locations Guide: Every Home, Price, Perk, and Unlock Requirement

Black Ops 7 Zombies Wonder Weapons Ranked: The Ultimate Tier List